46-
Phonebook
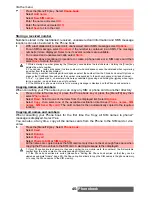
Moving names and numbers
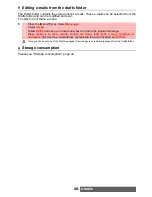
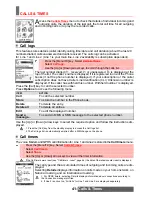
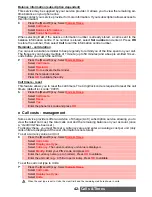
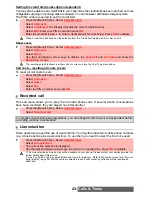
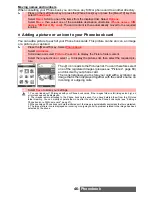
When consulting your Phone book you can move any SIM or phone card to another directory
.
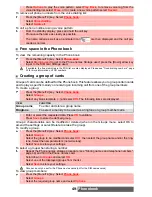
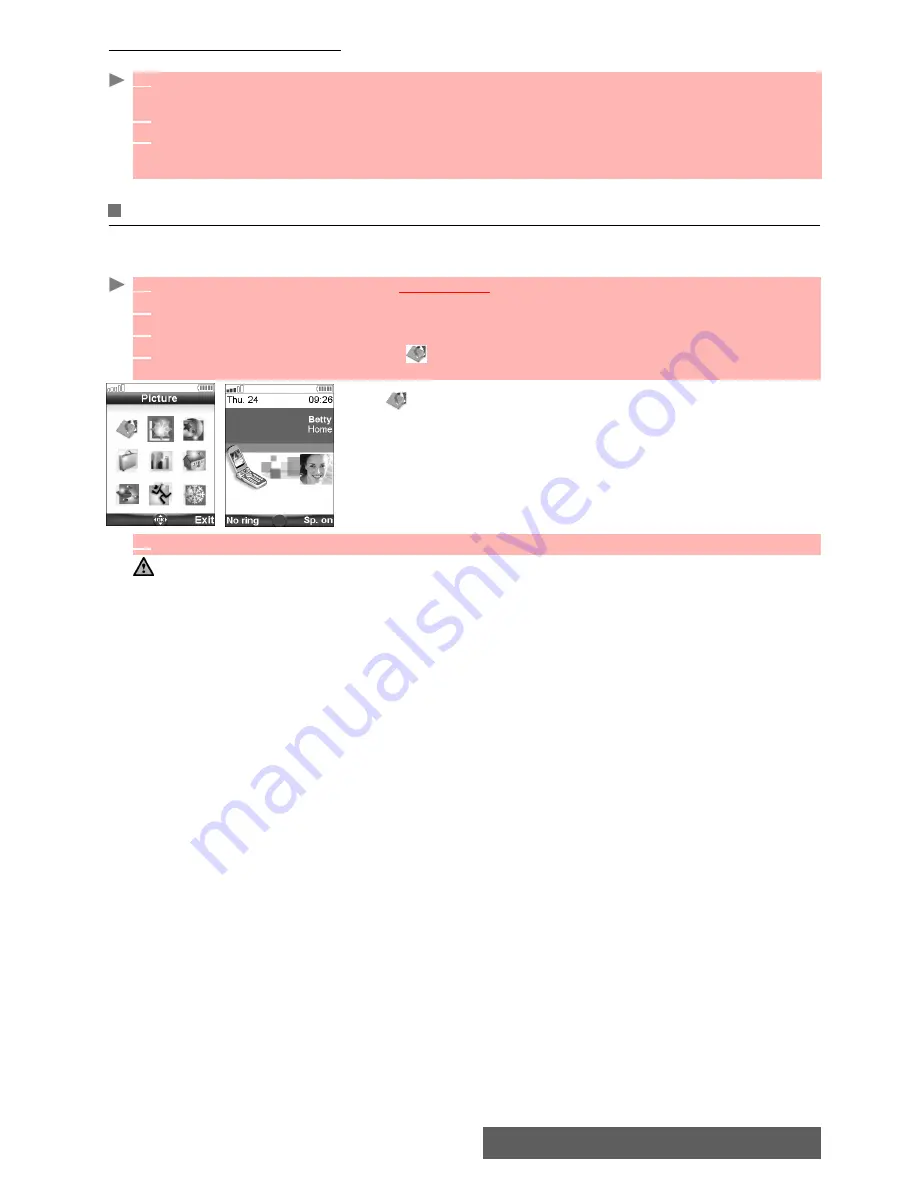
Adding a picture or an icon to your Phone book card
You can add a picture to each of your Phone book cards. This picture can be an icon, an image
or a picture you captured
The
icon leads to the Pictures list. You can therefore select
one of the registered images (please see "Pictures", page 69)
and link it with your phone card
The icons list allows you to store your card with a symbol or an
image that is then displayed together with the caller’s name on
incoming or outgoing calls.
1
Press on the [Left] arrow key or press the [Phone book] key or press the [Menu/T9] key then
select
Phone book
.
2
Select
Read
. Scroll to one of the items from the displayed list. Select
Options
.
3
Select
Move
, then select one of the available destination directories (
Phone names
,
SIM
names
,
SIM fixed
,
My card
). The card content is then automatically moved to the required
location.
1
Press the [Menu/T9] key.
Select
Phone book
.
2
Select
Add name
.
3
Scroll down and select
Picture
. Press
OK
to display the Picture folder content.
4
Select the required icon or select
to display the pictures list, then select the required pic-
ture.
5
Select
Save
to store your settings.
1. You can link about 100 images with your Phone book cards. If the images folder is full (images too big), an
error message will be displayed.
2. The images remain attached to the Phone book cards even if you have deleted them from the Pictures
folder memory. You can modify or delete them one after the other via the Phone book cards (see "Editing a
Phone book or a SIM name card", page 47).
3. When sending a Phone book card via the infrared port, the image is automatically sent unless the file is protected.
4. The Image failure icon is displayed on incoming or outgoing calls if a problem related to the image has been
detected by the phone.

