62
••••••••••••••••••••••••••••••••••••••••••••••••••••••••••••••••••••••••••••••••••••••••••••••••••••••••••••••••••••••••••••••••••••••
Making copies
It is possible to copy the part of the contents recorded on
the HDD to a Compact Flash Card or restore the data in a
Compact Flash Card to the HDD. In addition, it is possible
to copy data to a videotape by connecting an analog video
cassette recorder.
Before use, read the cautionary notes described
in the manual included with Compact Flash Card.
■
Copying from HDD to Compact Flash Card/
Restoring from Compact Flash Card to HDD
1. Insert the Compact Flash Card into the COMPACT FLASH
slot of this unit.
2. Press the COPY button.
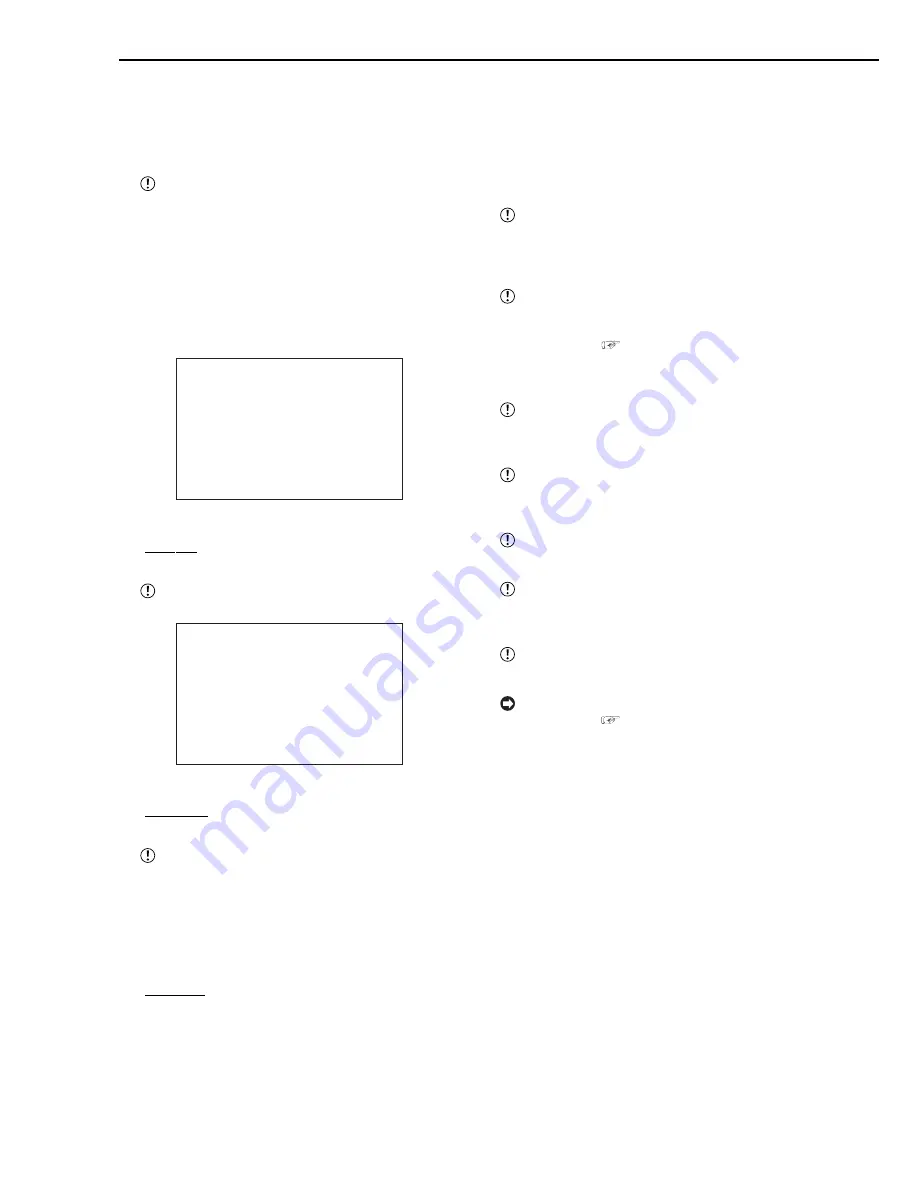
• The <COPY> screen appears.
<COPY>
>>DIRECTION HDD}CFC
MODE OVERWRITE
TRANSFER PERIOD START•END
START 01-01-2003 00:00:00
END 01-01-2003 00:00:10
EXECUTE
3. Display the desired setting in “DIRECTION” and confirm.
• Setting ( default : “HDD
}
}
}
}
}
CFC” )
“HDD
}
}
}
}
}
CFC” : Copying from HDD to Compact Flash Card.
“CFC
}
}
}
}
}
HDD” : Restoring from Compact Flash Card to HDD.
When selecting “CFC
}
HDD”, the menu will
change to <RESTORE>.
<RESTORE>
>>DIRECTION CFC}HDD
MODE OVERWRITE
TRANSFER PERIOD START•END
START 01-01-2003 00:00:00
END 01-01-2003 00:00:10
EXECUTE
4. Display the desired setting in “MODE” and confirm.
• Setting ( default : “OVERWRITE” )
“OVERWRITE” : Overwrites the recorded contents.
“FIFO” : Adds to the recorded contents.
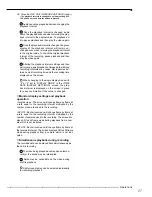
Caution is advised when setting and executing
“HDD
}
CFC” for “DIRECTION” and “OVERWRITE”
for “MODE”, since all recorded data will be
overwritten regardless of whether the data in the
Compact Flash Card is recording data or menu data.
5. Display the desired setting in “TRANSFER PERIOD” and
confirm.
• Setting ( default : “START•END” )
“START•END” : Sets the recording start/end date/time.
“START” : Sets the recording start date/time.
6. Set the desired copy (restore) start date and time to “START”
and confirm.
7. (When setting “START•END” in step 5 • • • )
Set the desired copy (restore) end date and time to “END”
and confirm.
8. Select “EXECUTE” and turn the SHUTTLE ring clockwise.
• The copy (restore) operation is executed.
• If the copy (restore) operation does not start, turn the
SHUTTLE ring counterclockwise or press the COPY button.
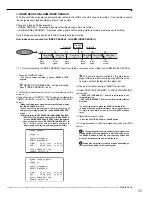
When Compact Flash Card is not inserted in
the COMPACT FLASH slot, if the copy(restore)
is executed, “NO MEDIA” warning wil appear on
the screen.
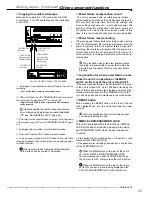
If the copy range exceeds the available ca-
pacity of the Compact Flash Card, “COPY/SIZE/
DATA ERROR” warning will appear on the screen
when copying (
see page 72). In this case,
set again using narrower copy range or insert a
Card with larger capacity.
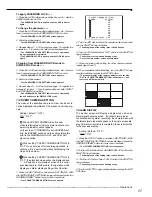
If a data with no date is included in the copy
range, “COPY/MEDIA ERROR” warning will
appear on the screen.
When there is no data to restore in the Compact
Flash Card, “REST/SIZE/DATA ERROR” warning
will appear on the screen when restoring.
Compact Flash Card recording format : Original
format (FSM1).
When restoring from Compact Flash Card of a
different format, “REST/MEDIA ERROR” warning
will appear on the screen.
For usable Compact Flash Card, check with your
dealer of purchase.
For the recordable time when copying to a Com-
pact Flash Card,
see page 67.
Содержание DX-TL900U
Страница 75: ...75 Specifications ...
Страница 76: ...872C276A8 PRINTED IN MALAYSIA ...


