38
MAKING AN INDEX SCAN
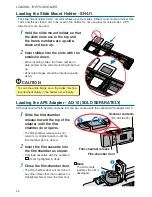
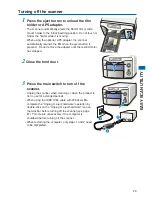
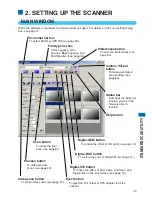
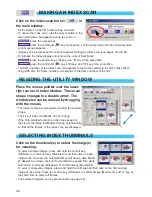
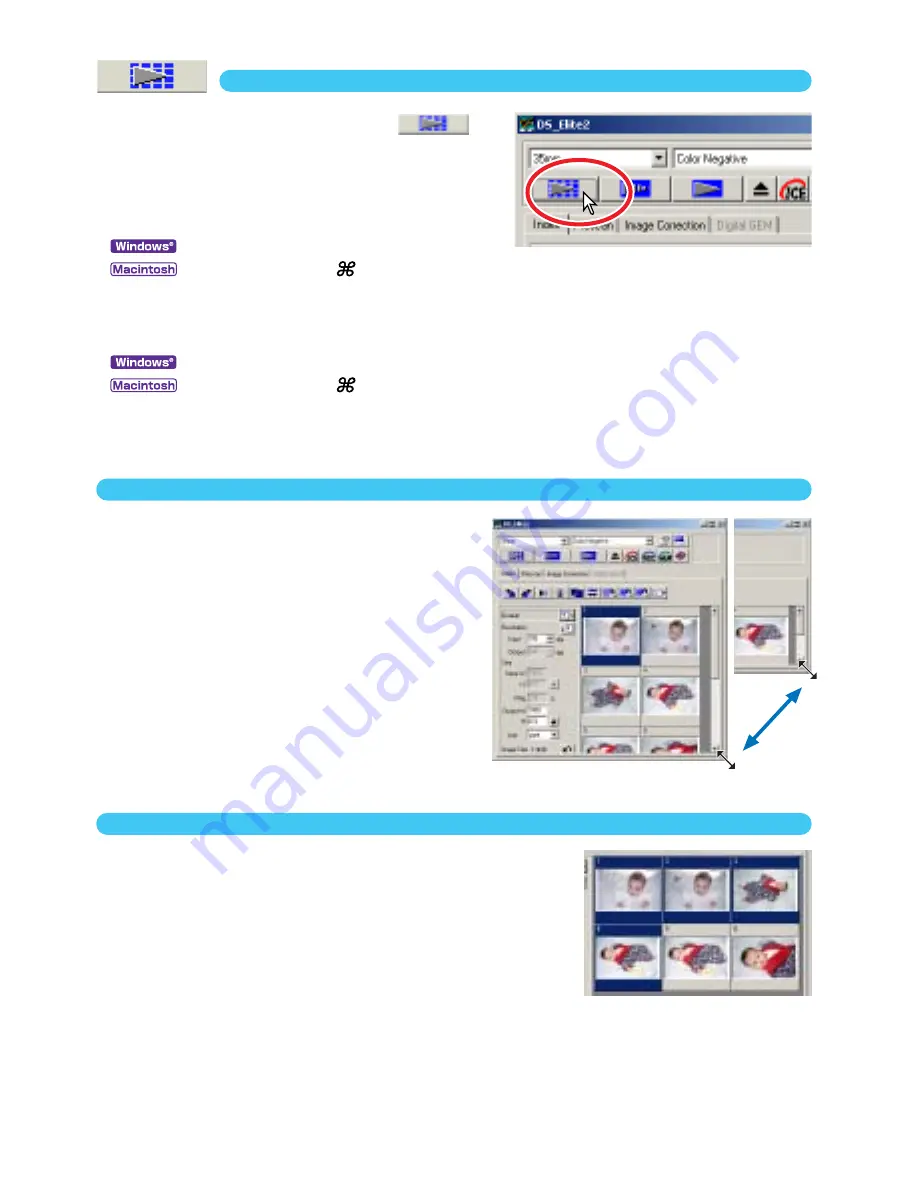
Click on the index-scan button
in
the main window.
• All the frames in the film holder will be scanned.
• To cancel the index scan, click the cancel button in the
small dialog box that appears during the scan, or...
:press the escape key
:press the command (
) key and period (.) at the same time until the canceling-index-
scan message appears.
• Images can be prescanned or scanned without making an index scan (see pages 43 and 81).
• To initialize the index display and remove the current thumbnails:
:press the control key, shift key, and “R” key at the same time.
:press the command (
) key, shift key, and “R” key at the same time.
• The frame number of the index scan corresponds to the frame number in the film holder. When
using APS film, the frame number corresponds to the frame number of the film.
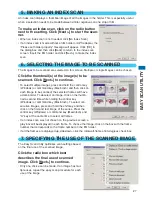
RESIZING THE UTILITY WINDOW
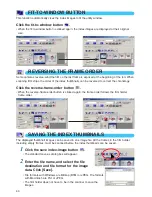
Place the mouse pointer over the lower-
right corner of Index window. The cursor
shape changes to a double arrow. The
window size can be resized by dragging
with the mouse.
• The index frames are arranged according the window
shape.
• The size of index thumbnails do not change.
• If the fit-to-window function is active (see page 40),
the size of the index thumbnails change automatically
so that all the frames of the index scan are displayed.
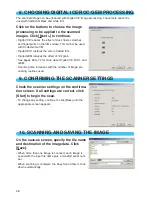
SELECTING INDEX THUMBNAILS
Click on the thumbnail(s) to select the image(s)
for scanning.
• To select multiple images, press and hold the control key
(Windows) or command key (Macintosh) and then click on each
image to be scanned; the selected frames will have a dark border.
To deselect an image, click on the thumbnail a second time while
holding the control key (Windows) or command key (Macintosh).
To select consecutive images, press and hold the shift key and then click on the first and last
image of the series. Press the control key (Windows) or command key (Macintosh) and “A” key at
the same time to select all frames.
• The selected image(s) can be prescanned (see page 42).

