.
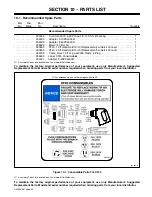
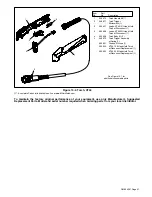
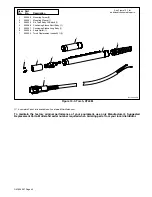
A complete Parts List is available at www.MillerWelds.com
OM-264 267 Page 35
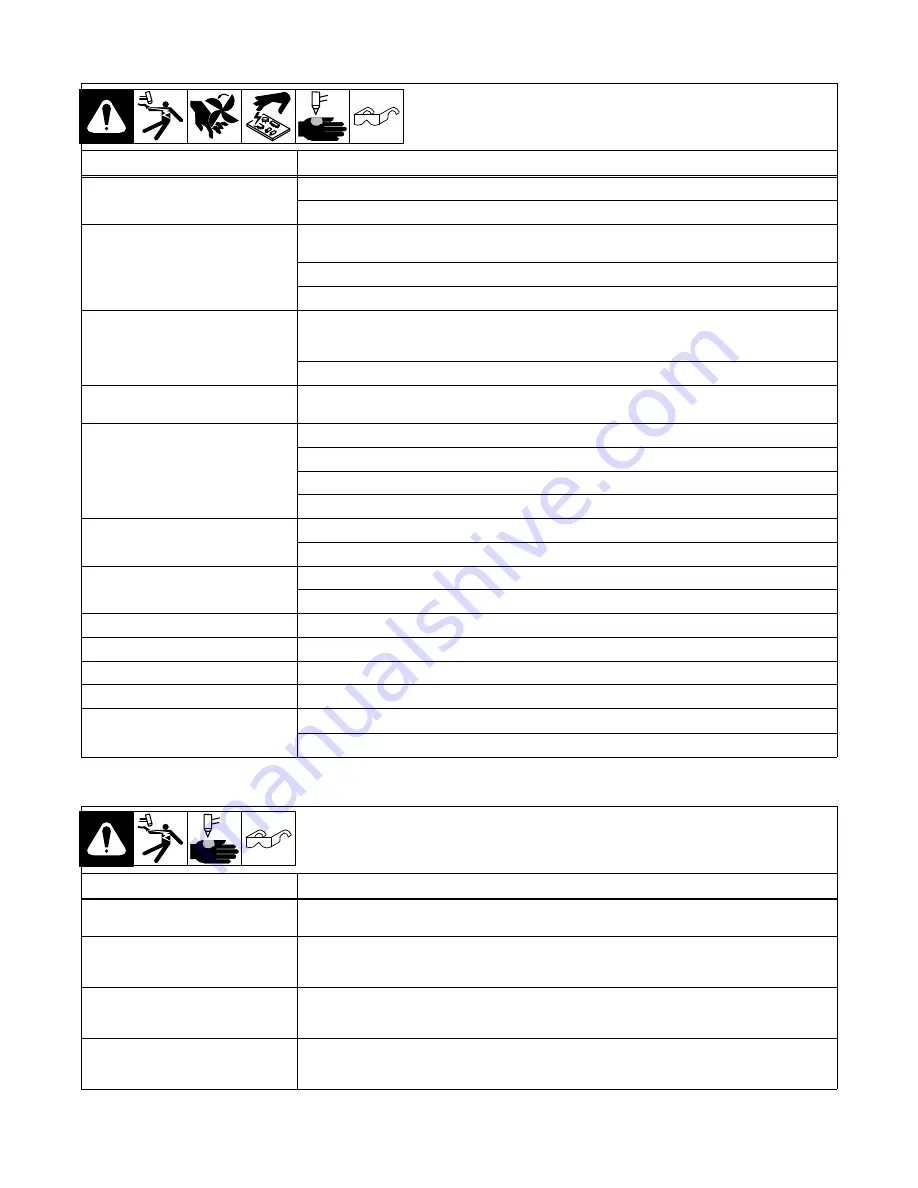
8-7. Troubleshooting Power Source
Trouble
Remedy
No pilot arc; difficulty in establishing an
arc.
Clean or replace worn consumables as necessary (see torch Owner’s Manual).
Check for damaged torch or torch cable (see torch Owner’s Manual).
No cutting output; Power light off; status
lights off; fan motor FM does not run.
Place Power switch in On position.
Place line disconnect device in On position (see Section 5-10).
Check line fuse(s) and replace if needed or reset circuit breakers (see Section 5-10).
Pilot arc working; no cutting output;
Power light on; status lights off; fan
motor running.
Be sure work clamp is connected.
Clean or replace worn consumables as necessary (see torch Owner’s Manual).
No gas/air flow; Power light on; status
lights off; fan motor running.
Have Factory Authorized Service Agent check for proper torch connections. Check operation of gas
valve AS1, and check gas/air system for leaks. Check filter element (see Section 8-3).
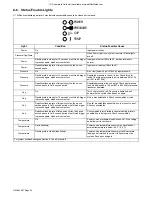
Pressure status light On.
Check for sufficient gas/air supply pressure (see Section 5-2).
Check for dirty air filter and replace, if necessary (see manufacturer’s instructions).
Check air lines for leaks.
Have Factory Authorized Service Agent check pressure switch and control board.
Cup status light On.
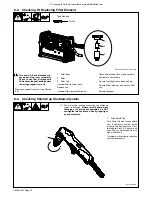
Check torch shield cup (see Section 8-4). Reset power switch.
Have Factory Authorized Service Agent check torch.
Temperature status light
On.
Unit overheating. Allow fan to run; the Trouble light goes out when the unit has cooled.
Have Factory Authorized Service Agent check control board.
Status lights not working.
Have Factory Authorized Service Agent check unit.
Power light flashing, status lights off.
Reset power switch. Have qualified technician check input line power.
Pressure status light flashes.
Unit lost pressure (momentarily) while cutting. Check air line for leaks.
Cup status light flashes.
Unit lost output while attempting to cut or pilot. Check consumables and torch for wear.
Short tip life.
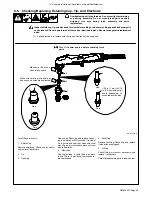
Check and clean drag shield of any slag, particles, and debris.
Check input air pressure.
8-8. Troubleshooting Torch
Trouble
Remedy
Arc goes on and off while cutting.
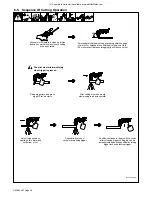
Torch travel speed too slow; increase travel speed (see Section 6-5). Clean or replace torch consumables
as necessary (see Section 8-5). Be sure work clamp is securely attached to workpiece.
Arc goes out while cutting.
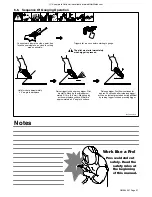
Be sure work clamp is securely attached to workpiece. Make sure tip is on or near [1/16 in. (1.6 mm) to
1/8 in. (3.2 mm)] workpiece (see Section 6-4). Clean or replace torch consumables as necessary (see
Section 8-5).
Sparks come out top of cut or cut is not
clean.
Torch travel speed too fast; reduce travel speed (see Section 6-4). Clean or replace torch consumables
as necessary (see Section 8-5). Be sure work clamp is securely attached to workpiece. Unit not capable
of cutting metals thicker than rating (see Section 6-2).
Trouble lights are on; unit has no cutting
output.
Check torch consumables. Check for gas/air flow at torch. Check air supply connection and pressure to
unit and torch. Reset unit Power switch. Have Factory Authorized Service Agent check torch and
connections inside unit.
Содержание XT40 Torch
Страница 23: ...A complete Parts List is available at www MillerWelds com OM 264 267 Page 19 Notes...
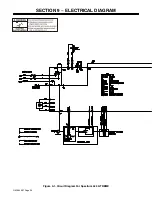
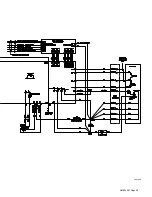
Страница 40: ...OM 264 267 Page 36 SECTION 9 ELECTRICAL DIAGRAM Figure 9 1 Circuit Diagram For Spectrum 625 X TREME...
Страница 41: ...OM 264 267 Page 37 264 143 A...
Страница 42: ...OM 264 267 Page 38 Figure 9 2 Circuit Diagram For Spectrum 625 X TREME CNC...
Страница 43: ...OM 264 267 Page 39 265 480 A...
Страница 48: ...Notes...
Страница 50: ...Notes Work like a Pro Pros weld and cut safely Read the safety rules at the beginning of this manual...

