


38
CHAPTER 4
3. Click
OK
to add the new Page. The new Page appears
as a new tab to the right of the last Page created and
becomes the current Page.
The following keyboard shortcuts are useful for navigating
multiple Pages:
■
Press
Tab
to cycle through the Pages from left to right.
■
Press
Shift-Tab
to cycle through the Pages from right
to left.
■
Use the
number keys
to select Pages 1-10.
TIP:
When monitoring loudspeakers, limit-
ing, excursion and abnormal conditions for
any loudspeaker on a Page will propagate to that
Page tab. This is a good first-level troubleshooting
indicator.
Deleting a Page
To delete a Page, perform the following steps:
1. From the Panel menu, click
Delete Page
. The Delete
Page and Loudspeakers Views dialog appears.
2. Click
Yes
to delete the Page.
CAUTION:
The loudspeakers on a Page
that you delete will not be decommissioned.
Renaming a Page
To rename a Page, perform the following steps:
1. From the Panel menu, click
Rename Page
. The Enter
Page Name dialog appears.
2. Type in a new name for the Page, then click
Yes
to ap-
ply the change.
NOTE:
A Page name cannot be greater
than 10 characters long.
Adding and Commissioning a Loudspeaker
Once you’ve created a Page, the next step is to add the
loudspeakers you want to monitor. Once added, you com-
mission the loudspeaker to establish a link between it and
the RMS application. You can also remove the loudspeak-
er and/or decommission it from the your network.
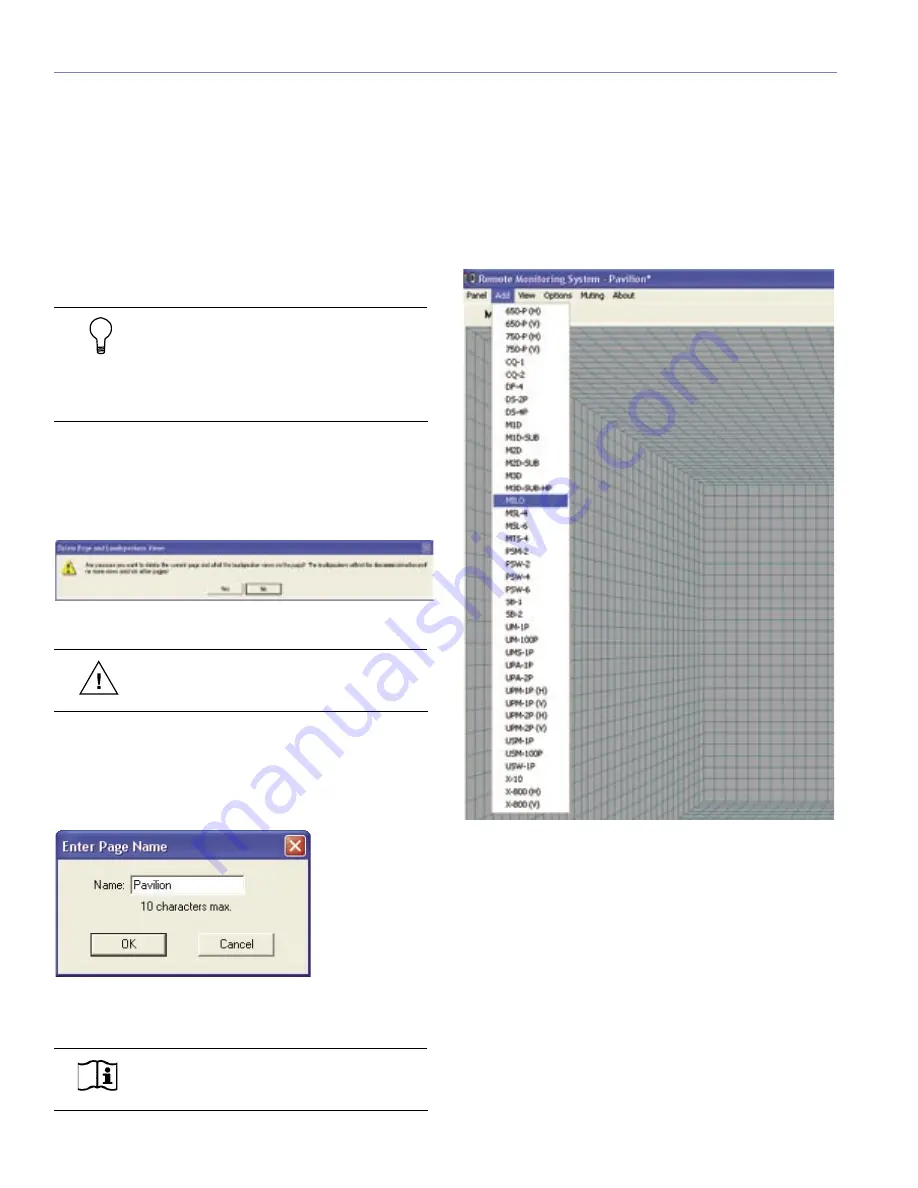
The Add menu (Figure 4.2) contains all Meyer Sound self-
powered loudspeakers compatible with RMS.
Figure 4.2. All RMS-equipped loudspeakers appear in the Add menu.
Содержание RMS 4.5
Страница 1: ...USER GUIDE RMS 4 5...
Страница 28: ...24 CHAPTER 2...
Страница 56: ...52 APPENDIX A...
Страница 60: ...56 APPENDIX B...
Страница 62: ......
Страница 63: ......
Страница 64: ...2004 Meyer Sound Laboratories Inc 05 033 302 02 A...


