


User Guide version 3.60
Release: 12_APR_2016
15
SECTION 12: Installation of V-Sperm Software and Hardware
Overview:
The Video Capture Device should be installed prior to using V-Sperm!
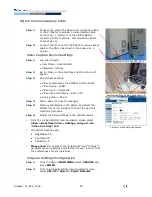
Step 1: Video Capture Device Installation
V-Sperm requires that the user install the video capture device provided by the manufacturer. For video capture
device installation instructions, please refer to the package insert in the V-Sperm package.
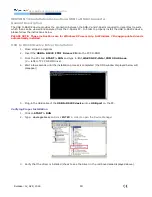
Step 2: USB to RS232 driver installation
An RS232 link is required between the V-Sperm and the SQA-V. If the V-Sperm computer does not have an
RS232 port an external USB to RS232 cable must be installed. For Windows 7, the drivers are installed
automatically when the cable is plugged into the computer. For Windows XP, the drivers must be installed.
Installation instructions are provided in the Section 14 of this guide for XP operating systems.
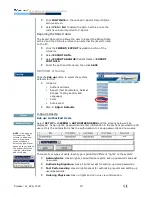
Step 3: V-Sperm Software Installation
(Refer to User Guide for PC specifications)
Step 1:
Insert the
V-Sperm
CD into the PC CD-ROM to automatically begin installation.
Step 2:
The screen will display:
Initializing Wise Installation Wizard.
Step 3:
Close any programs that are open or running.
Step 4:
Run the installation program and click
YES
when finished.
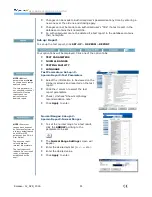
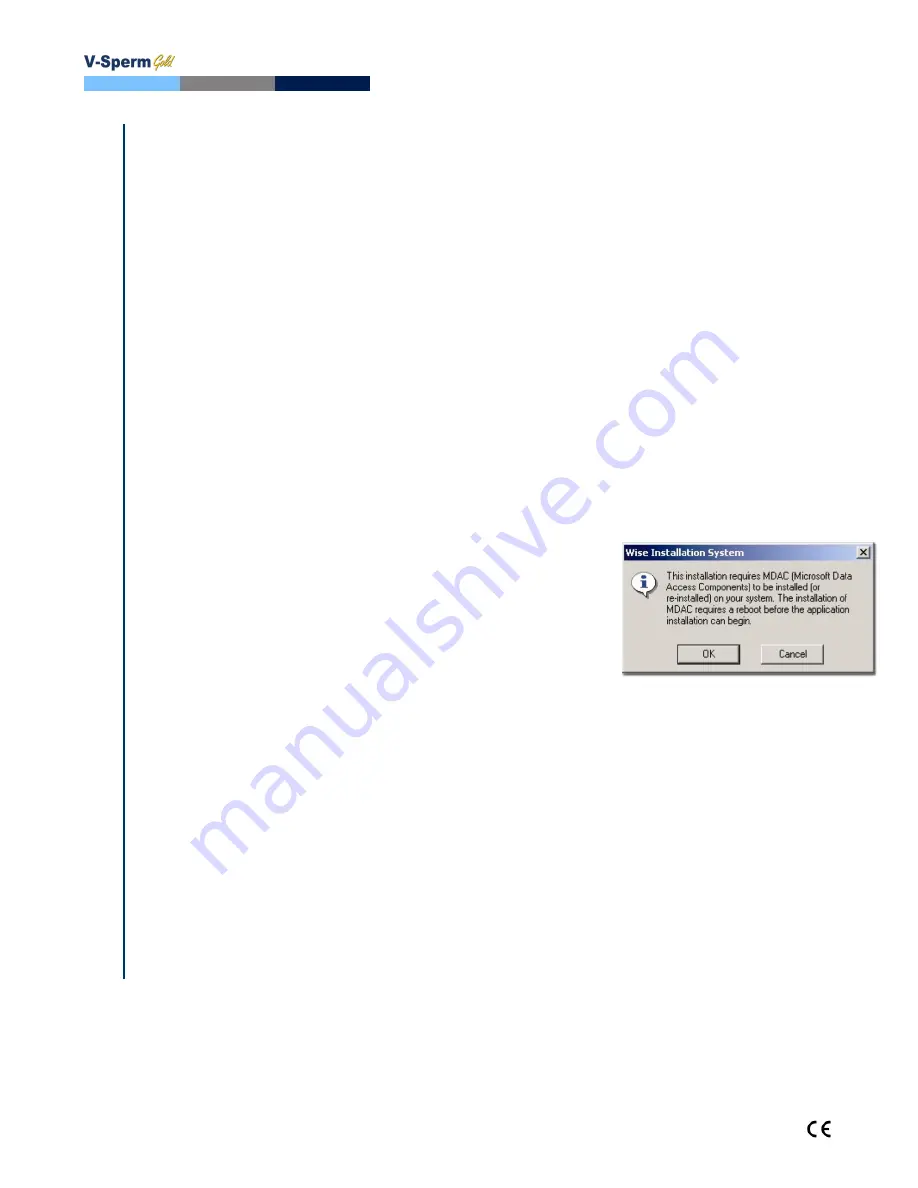
Step 4: MDAC Installation
(This step is required only if the MDAC component was not already
installed in the computer)
Step 1:
A message will appear if MDAC (2.6 or above) is not
installed on the PC.
Step 2:
Click
OK
to install.
Step 3:
Once installed, restart the computer by clicking
OK
when prompted.
Step 4:
After re-start, click
YES
to proceed.
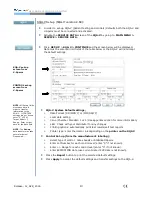
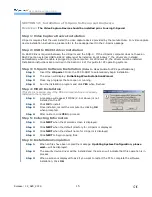
Step 5: Collecting Information
Step 1:
Click
NEXT
when the Welcome screen is displayed.
Step 2:
Click
NEXT
when the default directory for V-Sperm is displayed.
Step 3:
Click
NEXT
when the default name for V-Sperm is displayed.
Step 4:
Click
NEXT
to begin copying files.
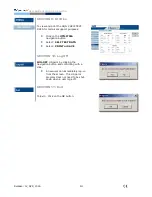
Step 6: Installation Completion
Step 1:
When all files have been copied the message:
Updating System Configuration, please
wait…
will be displayed.
Step 2:
The security device driver will be installed and the screen will indicate that this operation is in
process.
Step 3:
When a screen is displayed to ask if you want to restart the PC to complete the software
installation, Click
OK.
Содержание SQA-V Gold
Страница 39: ...Revision 21_Sep_2015 39 User Guide Version 2 60 I button WHO 5th APPENDIX 8 Dilution Media...
Страница 41: ...Revision 21_Sep_2015 41 User Guide Version 2 60 I button WHO 5th APPENDIX 10 Assayed Control QwikCheck Beads...
Страница 44: ...Revision 21_Sep_2015 44 User Guide Version 2 60 I button WHO 5th APPENDIX 13 GLOBOZOOSPERMIC SAMPLES...


