14
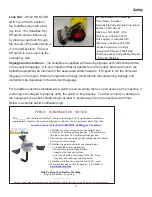
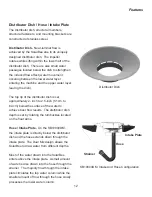
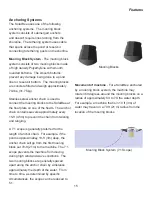
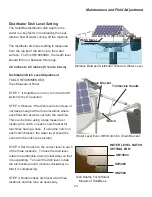
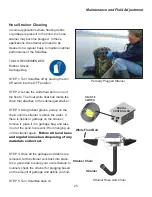
If the distributor dish lip is too low, the water
coming off the lip will flow just underneath the
surface of the pond and the surface will not be
renewed.
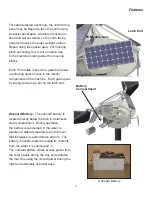
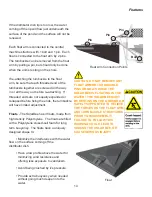
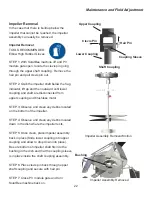
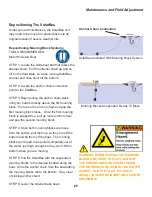
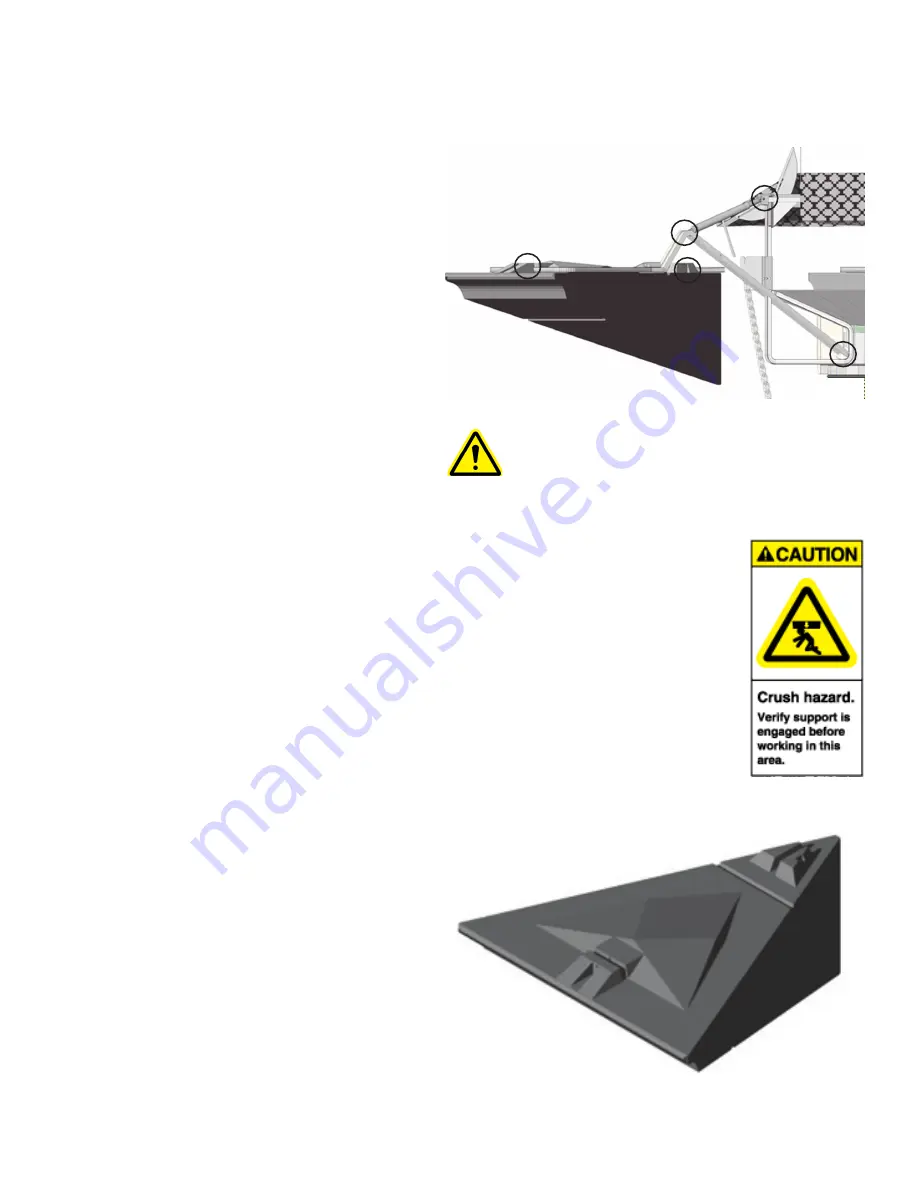
Each float arm is connected to the central
machine structure with 1 bolt and 1 pin. Each
float is connected to the float arm by 2 pins.
The turnbuckle can be removed from the float
arm by pulling a pin, but should only be done
when the unit is resting on the shore.
If re-attaching the turnbuckle to the float
arm, be sure that each threaded end of the
turnbuckle together are screwed all the way
in or all the way out before re-attaching. If
threaded ends are not equally expanded or
collapsed before fixing the ends, the turnbuckle
will have limited adjustment.
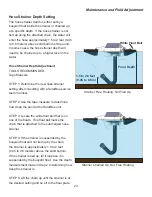
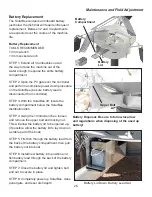
Floats
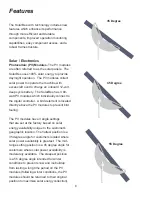
- The SolarBee has 3 floats, made from
high density Polyethylene. The floats are filled
with a Polystyrene closed-cell foam for long
term buoyancy. The floats have a uniquely
designed shape to:
• Minimize the interference with the water
flow on the surface coming off the
distributor dish.
• Have a low profile above the water for
minimizing wind resistance and
offering less exposure to vandalism.
• Avoid being crushed by ice pressure.
• Provide extra buoyancy when needed
without going much deeper into the
water.
Features
Float Arm Connection Points
Pin
Pin
Pin
Bolt
Pin
Float
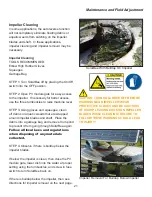
CAUTION: DO NOT REMOVE ANY
FLOAT ARM OR TURNBUCKLE
PINS OR BOLTS WHILE THE
SOLARBEE IS FLOATING IN THE
WATER! THE SOLARBEE MUST
BE RESTING ON THE GROUND OR
SAFELY SUPPORTED TO RELIEVE
THE FORCES ON THE FLOAT ARM
AND TURNBUCKLE STRUCTURES
PRIOR TO DISASSEMBLY!
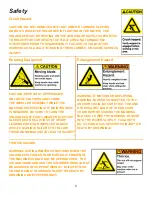
FAILURE TO FOLLOW THIS
WARNING COULD LEAD TO
SINKING THE SOLARBEE, OR
CAUSE SERIOUS INJURY!
Содержание SolarBee SB10000DM
Страница 2: ...1 Carefully read safety information when you see any safety symbols...
Страница 31: ...30 Maintenance and Field Adjustment...
Страница 38: ...37...


