9
The machine handling operations must
be carried out in observance of the
regulations in force regarding safety in
the workplace.
Dispose of the packaging in the
appropriate manner in accordance with
the regulations in force in the country of
use.
4.2.
Component Assembly
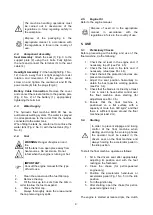
Seat Assembly
: Attach the seat (1) Fig. 3 to the
support plate (2) using the 4 bolts. Fully tighten
the nuts and connect the terminal (3) to the seat
cable (4).
Headlight Assembly
: Fit the headlight (Fig. 1 No.
12) in such a way that it is tight enough to resist
rotation and movement. Fit the ground cable,
screw on and tighten the counternut and fit the
power cable (6) into the plugs (Fig. 8).
Battery Cable Connection
: Remove the cover
and connect the relevant cable to the positive pole
(Fig. 9 No. 2) of the battery (1), appropriately
tightening the terminal.
4.3.
Water Supply
The hydraulic float machine MK8 90 has an
autonomous wetting system. The water is sprayed
in correspondence to the rotors from the nozzles
connected to the water tank.
When filling the tank, be careful not to confuse the
water tank (Fig. 2 No. 9) with the fuel tank (Fig. 1
No. 8).
4.4.
Fuel
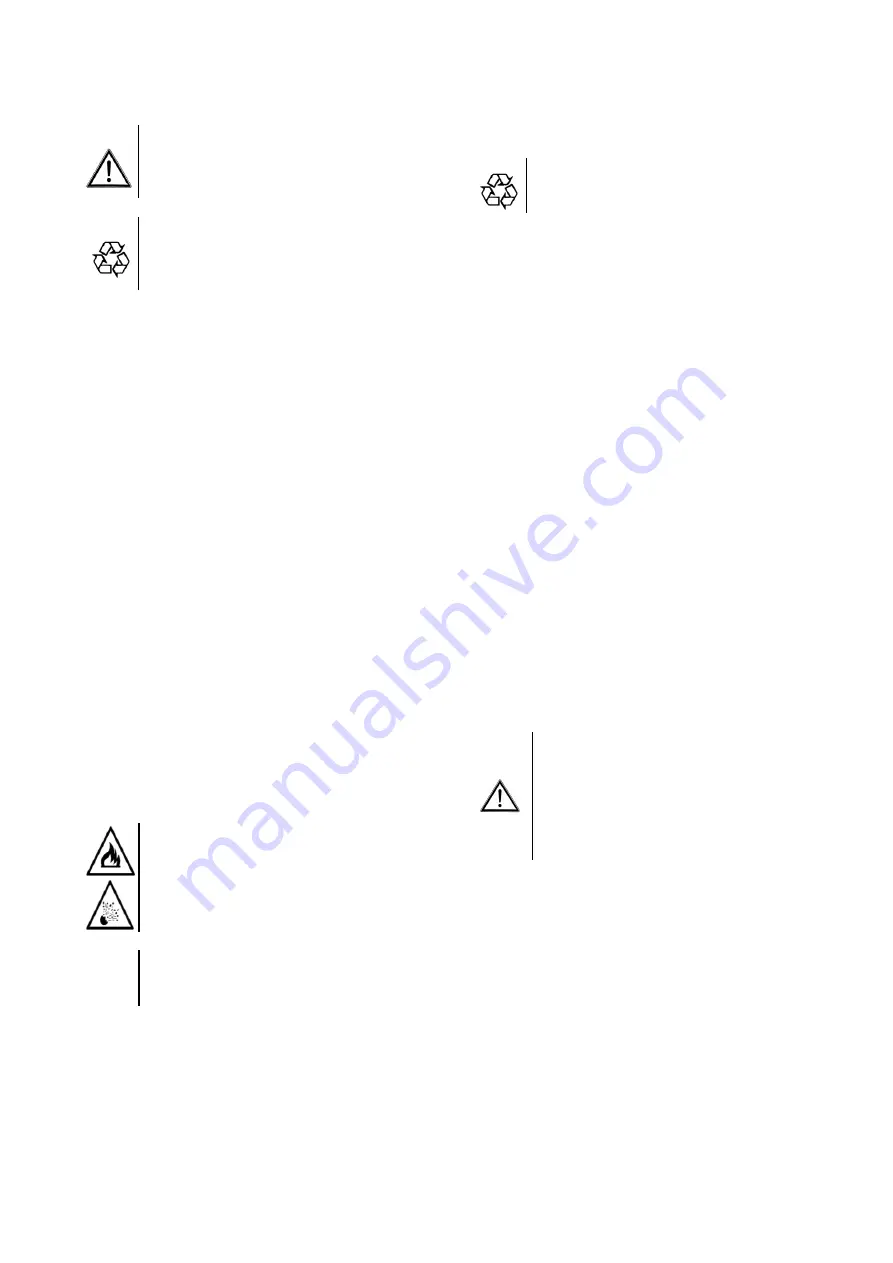
WARNING
:
Danger of explosion and
fire.
Fill the tank in an open place away from
heat sources. Do not smoke. Do not
refuel when the engine is running or hot.
IMPORTANT:
Consult the engine manual for the type
of fuel to use.
1.
Clean the area around the fuel filler cap.
2.
Remove the cap.
3.
Fill the tank up to 3-4 cm from the brim in
order to allow the fuel to expand.
4.
Close the filler cap.
5.
Always thoroughly clean the area around
the cap removing any spills.
4.5.
Engine Oil
Refer to the engine manual.
Dispose of used oil in the appropriate
manner
in
accordance
with
the
regulations in force in the country of use.
5. USE
5.1.
Preliminary Checks
Before proceeding with starting and use of the
float machine, do the following:
1. Check the oil level in the engine and, if
necessary, top off (see Par. 4.5).
2. Check the fuel level in the tank and, if
necessary, refuel (see Par. 4.4).
3. Check that all the protection devices are
present and working.
4. Adjust the seat position horizontally to
obtain the best possible working position
(see Par. 3.4).
5. Check that the blade is inclined by at least
1 cm in order to have better control over
the float machine when starting (for
adjustment see Par. 3.5).
6. Ensure
that
the
float
machine
is
positioned on a flat surface with a
capacity of more than 300 kg/m
2
and that
there is sufficient space around the float
machine (at least 2 m).
5.2.
Starting
In order to prevent slippage and losing
control of the float machine when
starting and during the working phases
the operator must be seated in the
driver’s seat on the float machine and
always holding the accelerator pedal in
the idle position.
To start the float machine, operate as follows:
1.
Sit in the driver’s seat after appropriately
adjusting its position and with the feet
resting on the footboard.
2. Close the choke (for petrol-powered
engine only).
3. Position the accelerator hand-lever or
accelerator pedal (Fig. 1 No. 5) in the idle
position.
4. Turn the ignition key.
5. After starting, open the choke (for petrol-
powered engines only).
The engine is started at reduced rpm, the clutch
Содержание 1830041
Страница 3: ...3...
Страница 14: ...14 7 11 Parts List...
Страница 15: ...15...
Страница 16: ...16...
Страница 17: ...17...
Страница 18: ...18...
Страница 19: ...19...
Страница 20: ...20...
Страница 21: ...21...
Страница 22: ...22...
Страница 23: ...23...
Страница 24: ...24...
Страница 25: ...25...
Страница 26: ...26...
Страница 27: ...27...
Страница 28: ...28...
Страница 29: ...29...
Страница 30: ...30...
Страница 31: ...31...
Страница 32: ...32...
Страница 33: ...33...
Страница 34: ...34...
Страница 35: ...35...
Страница 36: ...36...
Страница 37: ...37...
Страница 38: ...38...
Страница 39: ...39...
Страница 40: ...40...
Страница 41: ...41...
Страница 42: ...42...
Страница 43: ...43...
Страница 44: ...44...
Страница 45: ...45...
Страница 46: ...46...
Страница 47: ...47...
Страница 48: ...48...
Страница 49: ...49...
Страница 50: ...50...
Страница 51: ...51...
Страница 52: ...52...
Страница 55: ...55 NOTES...


