55
E
TROUBLESHOOTING, DIAGNOSTICS, AND MAINTENANCE
mAiNTENANCE
CONTINUED
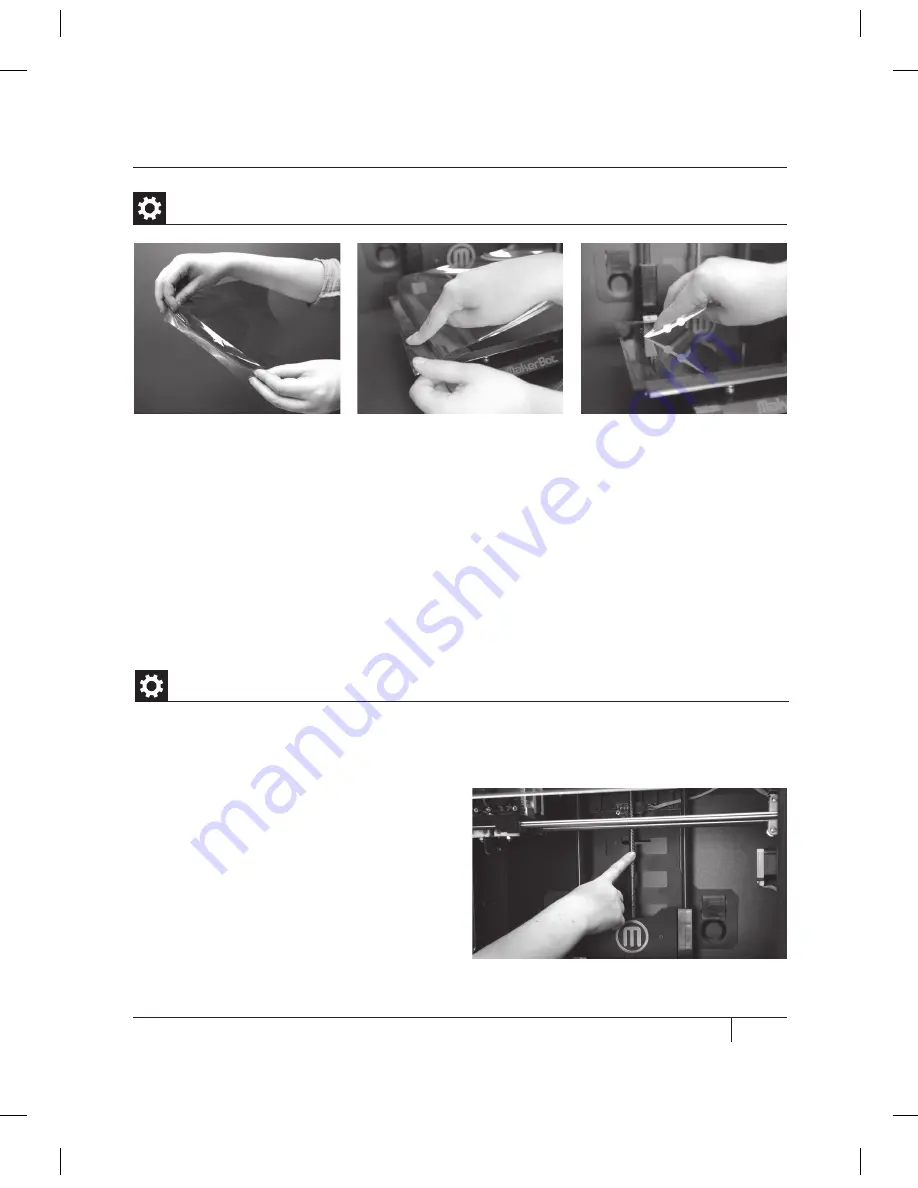
4. Peel off the plastic backing bit by bit, smoothing the newly exposed kapton tape as you
go. Use the tape applicator from the MakerBot Replicator 2X package to remove bubbles.
If you don’t have the tape applicator, use a credit card to remove bubbles.
5. Continue smoothing the tape down bit by bit until you have covered the entire plate.
If there are still bubbles under the kapton tape, lift the edge of the tape that is nearest
to the bubbles and use the tape applicator to smooth the tape from the center out.
6. When the kapton tape is applied as smoothly as possible, trim the edges of the sheet or fold
them over the sides of the build plate.
Applying Kapton Tape | Continued
After approximately 50 hours of build time, you should lubricate the threaded rod on your
Z-axis and the X-axis idler pulley. To lubricate the threaded rod and the idler pulley:
1. Find the tube of PTFE-based grease from
the MakerBot Replicator 2X package.
2. Grasp both sides of the build platform
and push it gently to the bottom of the
MakerBot Replicator 2X.
3. Use a clean, lint-free rag [or your finger]
to spread the PTFE-based grease onto the
top section of the threaded rod.
Lubricating the Threaded Rod and the X-Axis Idler Pulley
Содержание Replicator 2X
Страница 1: ...USER MANUAL DUAL EXTRUSION...
Страница 2: ......
Страница 4: ...Welcome Let s get started A...
Страница 8: ...Setting Up Your MakerBot Replicator 2X Experimental 3D Printer B...
Страница 20: ...Startup Process Leveling Loading Testing C...
Страница 35: ...35 NOTES C Startup PROCESS leveling loading testing...
Страница 36: ...Making an Object with MakerBot MakerWare D...
Страница 37: ...37 How to make an object using a computer and MakerBot MakerWare D MAkING AN OBJECT WITH MAkERBOT MAkERWARE...
Страница 46: ...E Troubleshooting Diagnostics and Maintenance...
Страница 64: ...MakerBot One MetroTech Center 21st Floor Brooklyn NY support makerbot com makerbot com...


