21
ThE LCD KEyPAD
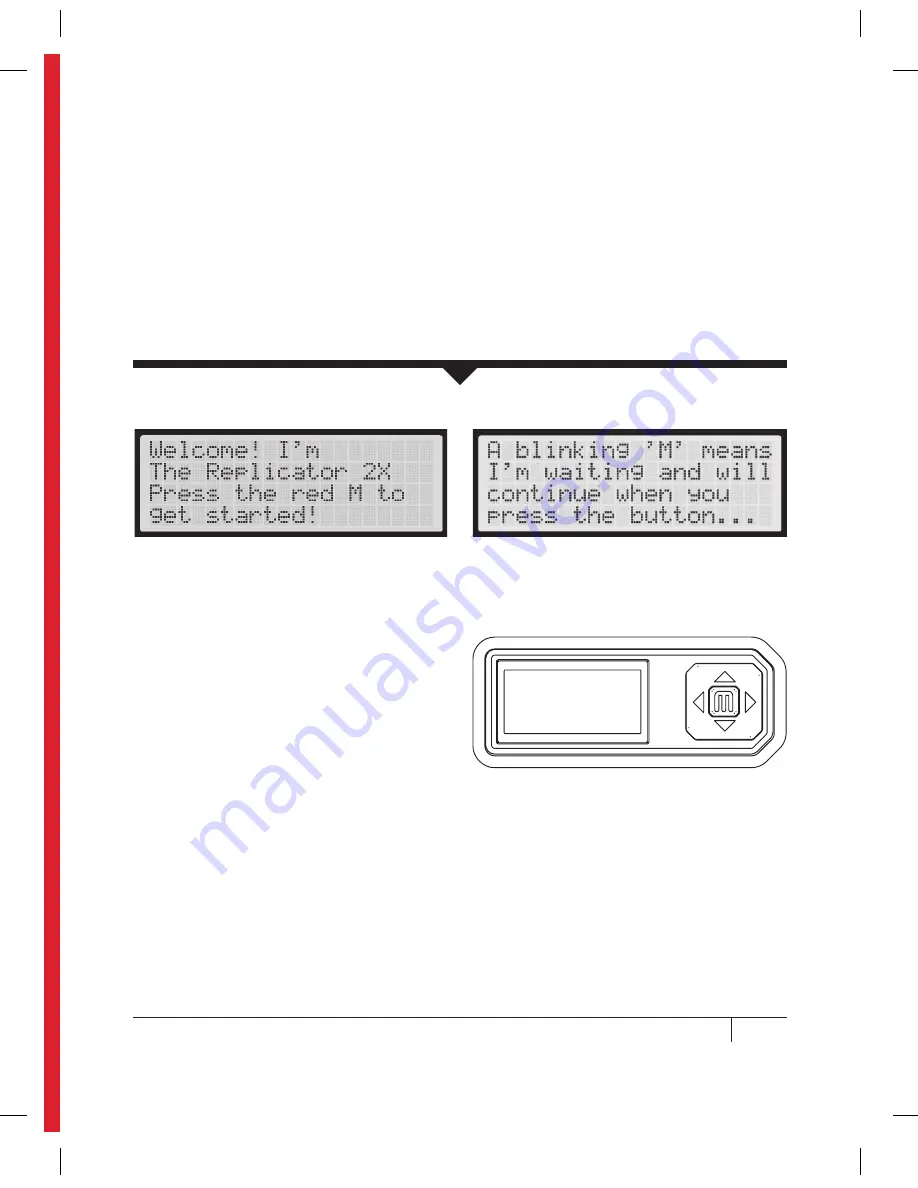
• Four Arrow buttons surround a central M
button. Use the arrows to navigate through
the LCD menus and the M button to
make selections.
• The left arrow often allows you to go
back or cancel an action.
• A solid red M means the MakerBot
Replicator 2X is working.
• A blinking red M means the MakerBot
Replicator 2X is waiting for user input.
NOTE: If you don’t see the Startup Script, use the up and down arrow buttons to scroll through the top
level menu on the LCD panel and use the M button to select Utilities. Scroll to Run Startup Script and
select it. You can use these menus to return to the Startup Script at any time. You can view videos of the
startup process on the MakerBot Replicator 2X video page at makerbot.com/support/replicator2x/videos.
If you have any problems or questions, refer to the troubleshooting chapter of this manual or contact
MakerBot Support by emailing [email protected].
After you power on the MakerBot
®
Replicator
®
2X
Experimental 3D Printer, the LCD panel will light
up and display text. This is the beginning of the
Startup Script. The Startup Script will guide you
through leveling the build plate, loading MakerBot
ABS Filament, and creating your first 3D print.
C
STARTUP PROCESS: LEVELING, LOADING, TESTING
Содержание Replicator 2X
Страница 1: ...USER MANUAL DUAL EXTRUSION...
Страница 2: ......
Страница 4: ...Welcome Let s get started A...
Страница 8: ...Setting Up Your MakerBot Replicator 2X Experimental 3D Printer B...
Страница 20: ...Startup Process Leveling Loading Testing C...
Страница 35: ...35 NOTES C Startup PROCESS leveling loading testing...
Страница 36: ...Making an Object with MakerBot MakerWare D...
Страница 37: ...37 How to make an object using a computer and MakerBot MakerWare D MAkING AN OBJECT WITH MAkERBOT MAkERWARE...
Страница 46: ...E Troubleshooting Diagnostics and Maintenance...
Страница 64: ...MakerBot One MetroTech Center 21st Floor Brooklyn NY support makerbot com makerbot com...


