34
C
STARTUP PROCESS: LEVELING, LOADING, TESTING
mAKiNg A TEST OBjECT FrOm ThE SD CArD
CONTINUED
Projects Available on the SD Card | Continued
How to add files to the SD card
*
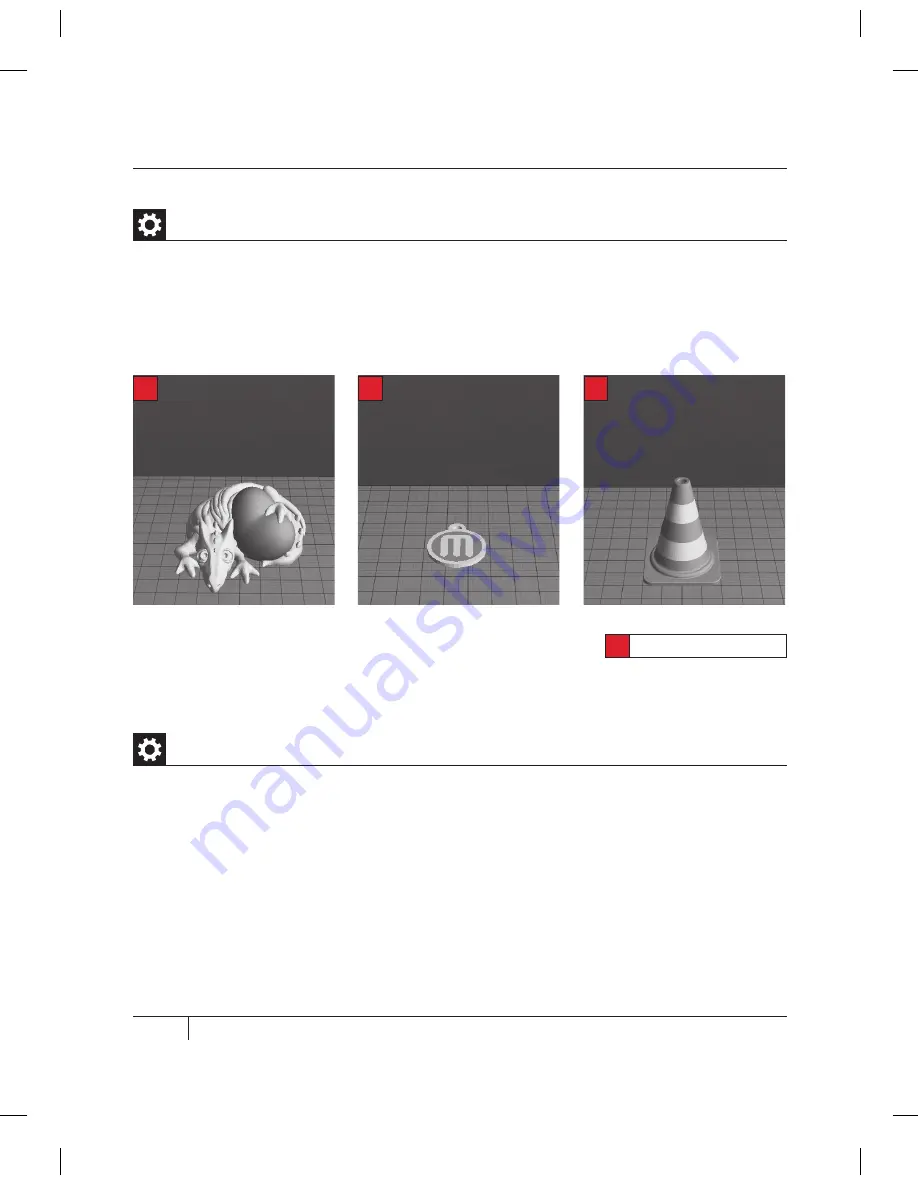
Dual extrusion print
PET mONSTEr VALENTiNE
File Name: Heartless Dragon
Make Time: 40 minutes
Design By: andreas, tbuser
Thingiverse: 29088
*
TrAFFiC CONE
File Name: Traffic Cone
Make Time: 42 minutes
Design By: CocoNut
Thingiverse: 21773
*
mAKErBOT PENDANT
File Name: pendant
Make Time: 8 minutes
Design By: Todd
Thingiverse: 25556
*
1. Insert the SD card into an SD card reader on or attached to your computer.
2. Open a .stl, .obj or .thing file in MakerWare, as detailed in the following chapter.
3. Click the Make button and select your desired print settings.
4. Ensure that the “Export to a File” radio button at the top of the Make dialog is selected.
5. Click Export! and save the resulting .x3g file to the SD card.
Содержание Replicator 2X
Страница 1: ...USER MANUAL DUAL EXTRUSION...
Страница 2: ......
Страница 4: ...Welcome Let s get started A...
Страница 8: ...Setting Up Your MakerBot Replicator 2X Experimental 3D Printer B...
Страница 20: ...Startup Process Leveling Loading Testing C...
Страница 35: ...35 NOTES C Startup PROCESS leveling loading testing...
Страница 36: ...Making an Object with MakerBot MakerWare D...
Страница 37: ...37 How to make an object using a computer and MakerBot MakerWare D MAkING AN OBJECT WITH MAkERBOT MAkERWARE...
Страница 46: ...E Troubleshooting Diagnostics and Maintenance...
Страница 64: ...MakerBot One MetroTech Center 21st Floor Brooklyn NY support makerbot com makerbot com...


