33
ASH PAN: Empty as needed.
Empty the ash pan before it overflows with ash. Clean out the area that the ash pan sits in so that the ash
pan can go back to its original location.
NOTE:
The ash pan door must be latched for the unit to operate.
WARNING: Failure to clean the stove is a leading and preventable cause of stove malfunctions.
Fuel types and installations may dramatically affect the cleaning intervals required for your stove.
Sampling different brands of fuel to find the cleanest burning fuel available in your area can
greatly reduce the amount of maintenance required.
HEAT EXCHANGER:
This stove is designed with a built-in heat exchange
rake. The rake handle is located on the front of the stove
and is moved backwards and forwards several times
to remove the buildup of ash. After cleaning, push the
rake handle in until it stops.
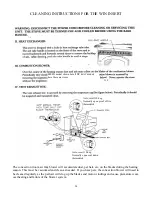
COMBUSTION BLOWER:
Over the course of the heating season dust and ash may
collect on the blades of the combustion blower.
Periodically they should be inspected, vacuumed, and
clean. The combustion blower is accessed by opening
the stove’s right side panel and then removing the
inspection caps or the exhaust manifold cover (See
figure to the right). Never
operate the stove without
the inspection cap or
manifold cover in place.
The convection (room air fan) blower will accumulate dust, pet hair, etc. on
the blades during the heating season. This must be vacuumed and clean as
needed. If you have pets, the convection blower will need to be cleaned
regularly as the pet hair will clog up the blades and motor windings and
cause premature wear, overheating and failure of the blower system.
Ash Rake Handle
200 Manual Reset
High Temp Shut Off
Auger Thermodisk
Inspection Cap
Auto Reset
110 deg Normally open
Cool Down
Содержание Winchester WINACI
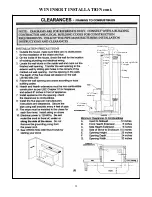
Страница 21: ...21 MAGNUM WIN INSERT INSTALLATION ...
Страница 25: ...25 ...
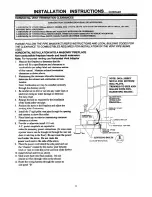
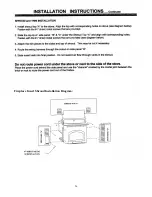
Страница 26: ...Fireplace Insert Shroud Installation Diagram 26 ...
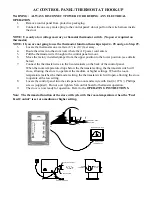
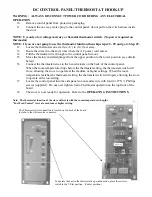
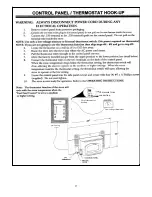
Страница 27: ...27 Thermostat wire connection Low voltage thermostat Molex Plug 24 volt thermostat hookup ...
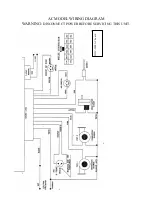
Страница 41: ...AC MODEL WIRING DIAGRAM WARNING DISCONNECT POWER BEFORE SERVICING THIS UNIT 41 DHC 3000 AC board ...
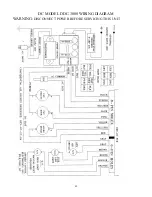
Страница 42: ...42 DC MODEL DDC 3000 WIRING DIAGRAM WARNING DISCONNECT POWER BEFORE SERVICING THIS UNIT ...

