33
5.9 Folding data setting
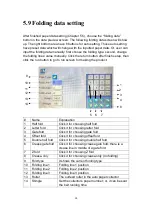
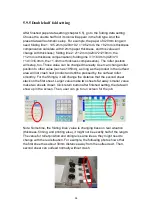
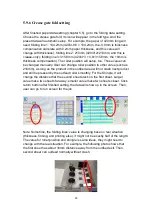
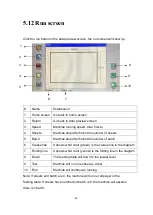
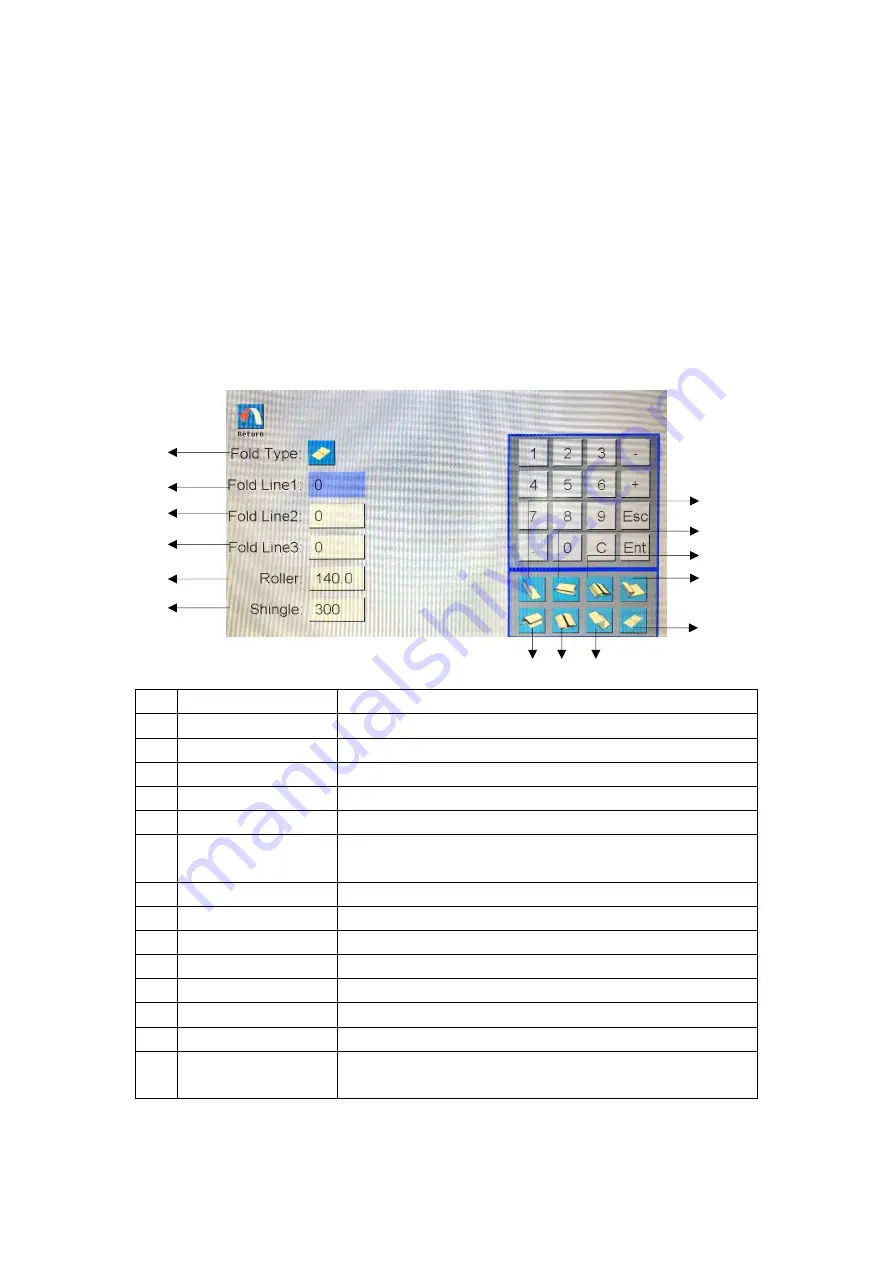
After finished paper data setting (Chapter 5.5), choose the “folding data”
button in the data preview screen. The following folding data screen will show
up. The right bottom area have 8 buttons for auto setting. Those auto setting
have preset data which will change with the inputted paper data. Or, user can
input the folding data manually: first choose the folding type; second, change
the folding lines’ value manually. Click the return button after finish setup, then
click the run button to go to run screen for making the product.
#
Name
Explanation
1
Half fold
Click it for choosing half fold
2
Letter fold
Click it for choosing letter fold
3
Gate fold
Click it for choosing gate fold
4
Offset fold
Click it for choosing offset fold
5
Double half fold
Click it for choosing double half fold
6
Crease gate fold Click it for choosing crease gate fold; there is a
crease line in middle of a gate fold
7
Z fold
Click it for choosing Z fold
8
Crease-only
Click it for choosing crease-only (no folding)
9
Fold type
It shows the current folding type
10 Folding line 1
Folding line 1 position
11 Folding line 2
Folding line 2 position
12 Folding line 3
Folding line 3 position
13 Roller
The outfeed roller in the auto paper collector
14 Shingle
Set the collector’s paper number; or, it can be said
the belt running time
14
12
13
11
10
9
3
1
4
8
7
6
5
2


