Appendix
– PM Alignment Procedure
14
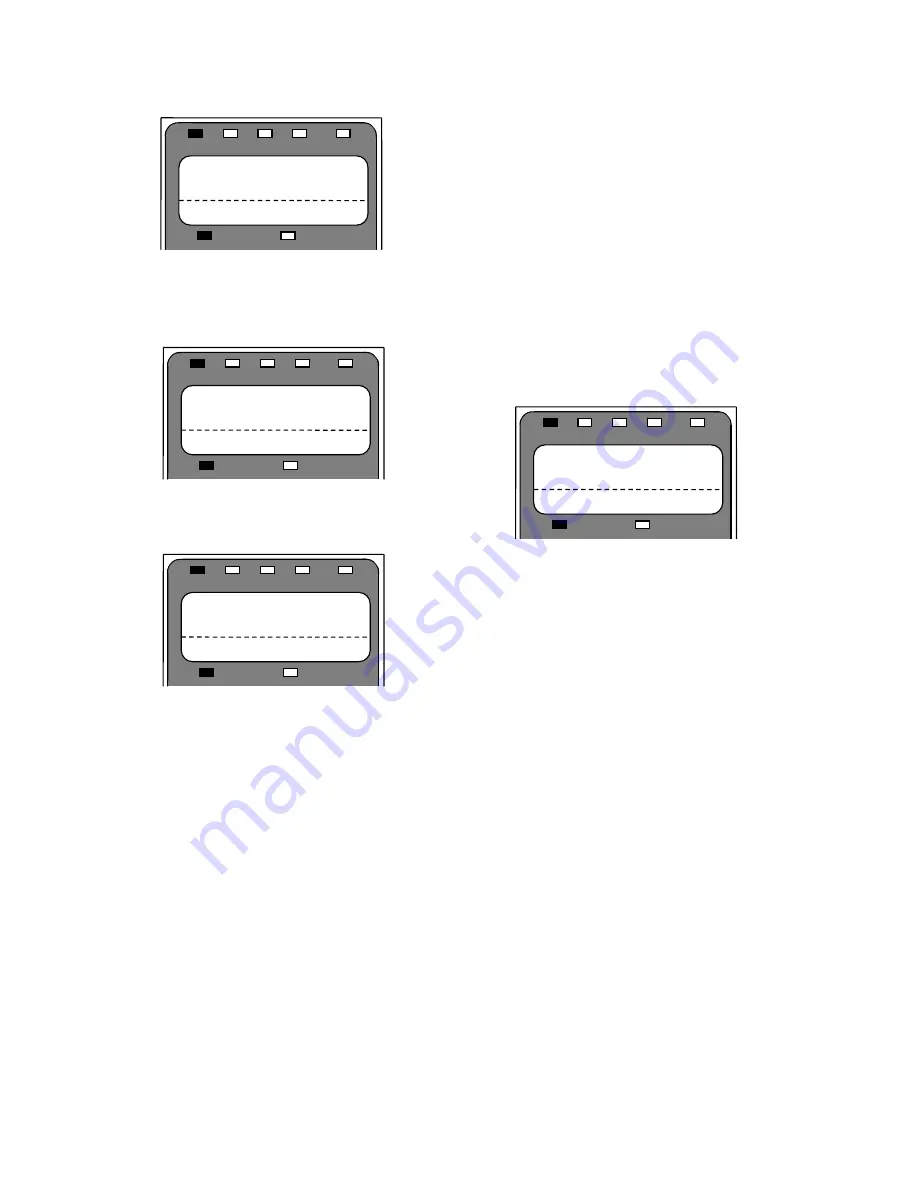
Verify ALIGNMENT METHOD is set to
AUTO ALIGN.
Scroll to ALIGNMENT and press Enter to
change parameter ALIGNMENT from
DISABLE to ENABLE. Press Enter.
Press the DOWN arrow to start the
alignment procedure. The Operator will
display:
Press Enter to change the data from NO to
either
YES
or
ON RUN
.
3) If
YES
is selected, the drive will
immediately start applying current to the
motor and calculate the alignment value.
NOTE: the motor contactor should be
manually pushed in BEFORE the ENTER
button is pressed.
4) If
ON RUN
is selected, the drive expects
the following sequence to occur:
f. Car Controller asserts DRIVE ENABLE
g. Car Controller issues RUN Command
h. Drive asserts CLOSE_CONTACT (all
other outputs will stay false during the
Alignment excluding READY TO RUN
which will stay active)
i. Motor Contactor closes
j. Drive starts the Alignment procedure
Note: If the operator displays the following
screen, verify ALIGNMENT (U10) is set to
enable, there are no active faults (FAULT
LED is off), and the drive is not in a RUN
mode (RUN LED is off).
During Alignment, a slight buzzing noise
should come from the motor for approximately
two seconds and the RUN light will be lit for
the duration of the procedure.
If the fault
AT
CONTACT FLT
is displayed,
verify the motor contactor is closed
If the fault
BRAKE IS OPEN
is displayed,
the drive has detected motion, verify the
brake is set. If brake is set and minimal
movement has occurred, increase BRK
FLT LEVEL (A4).
When the Alignment is finished, the drive will
simulate the removal of the run command even
if Run Command is still being asserted.
U10 10:00
Alignment Method
AUTO ALIGN
READY
RUN
USER
TORQUE
LIMIT
FAULT
SUBMENU
DATA ENTRY
U10 10:00
ALIGNMENT
ENABLE
READY
RUN
USER
TORQUE
LIMIT
FAULT
SUBMENU
DATA ENTRY
U10 10:00
BEGIN ALIGNMENT?
NO
READY
RUN
USER
TORQUE
LIMIT
FAULT
SUBMENU
DATA ENTRY
U10 10:00
NOT AVAILABLE AT THIS
TIME
READY
RUN
USER
TORQUE
LIMIT
FAULT
SUBMENU
DATA ENTRY


