IO-390-D Series Engine Maintenance Manual
72-10
© 2020 Avco Corporation. All Rights Reserved
Page 116
March 2020
IO-390-D Series Engine Maintenance Manual
Engine Assembly Procedure
A.
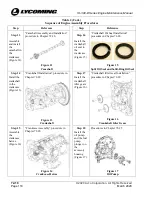
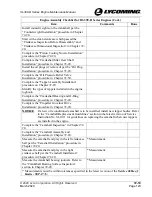
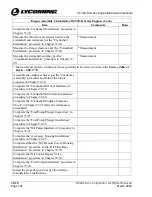
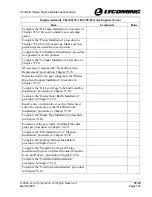
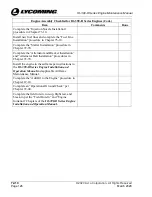
Complete the sequence of steps in Table 2.
B.
Complete the
Engine Assembly Checklist
in the chapter.
Table 2
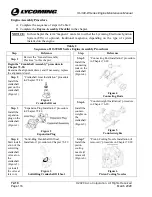
Sequence of IO-390-D Series Engine Assembly Procedures
Step
Reference
Step
Reference
Step 1
Review the “General Assembly
Practices” in this chapter
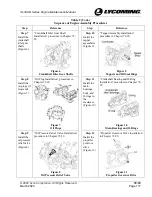
Step 5
Install the
connecting
rods on the
crankshaft
(Figure 4).
“Connecting Rod Installation” procedure
in Chapter 72-20
Begin the “Crankshaft Assembly” procedure in
Chapter 72-20.
Examine the alignment dowel, and if necessary, replace
the alignment dowel.
Step 2
Install the
crankshaft
gear on the
crankshaft
(Figure 1).
“Crankshaft Gear Installation” procedure
in Chapter 72-20
Figure 1
Crankshaft Gear
Figure 4
Connecting Rods
Step 6
“Counterweight Installation” procedure
in Chapter 72-20
Figure 5
Counterweights
Step 3
Install the
expansion
plug on the
crankshaft
(Figure 2).
“Expansion Plug Installation” procedure
in Chapter 72-20
Figure 2
Expansion Plug
Install the
counter-
weights on
the
crankshaft
(Figure 5).
Step 4
Start install-
ation of the
solid-ring
crankshaft
oil seal on
the
crankshaft
(Figure 3).
(or install
the oil seal
later on)
“Solid-Ring Crankshaft Oil Seal
Installation” procedure in Chapter 72-20
Figure 3
Solid-Ring Crankshaft Oil Seal
Step 7
Install the
piston
cooling
nozzle (if
removed)
(Figure 6).
“Piston Cooling Nozzle Installation (if
removed)” procedure in Chapter 72-20
Figure 6
Piston Cooling Nozzles
NOTICE:
In this chapter the term “magneto” can refer to either the Lycoming Electronic Ignition
System (EIS) or optional, traditional magnetos, depending on the type of system
installed on the engine.

