8 |
P a g e
These commands appear in the Assignable Items drop down when programming devices,
sensors, or timeclocks.
The other option is to not assign any items to the button in the programming software and
having the 3
rd
party system monitor network traffic for a command which would signify a button
press or release. When a Sleeve Button is pressed, a command similar to the following will be
sent out which the 3
rd
party system can subsequently listen to and react from:
#DEVICE,X,Y,Z
where
X = the integration ID of the Pico (acting as the LaunchPort placeholder)
Y = the component number of the button being pressed
Z = 3 (press) or 4 (release)
Most drivers will require the Component Number and Integration ID for all devices that it is to
control. This information can be found in the Integration Report, built into the programming
software.
Refer to the application note titled “Integration with Ethernet and RS-232 Devices” for further
information. This application note can be found on the HomeWorks QS Resource site under
Technical Information > HWQS > HWQS App Notes/FAQs
:
http://resi.lutron.com/Portals/3/Support/App%20Notes%20-%20FAQs/HWQS/HWQS%20RS-
232%20Ethernet%20Integration%20-%20Rev%20C.pdf
2.5 Activating LaunchPort Sleeve Buttons to a HomeWorks QS System
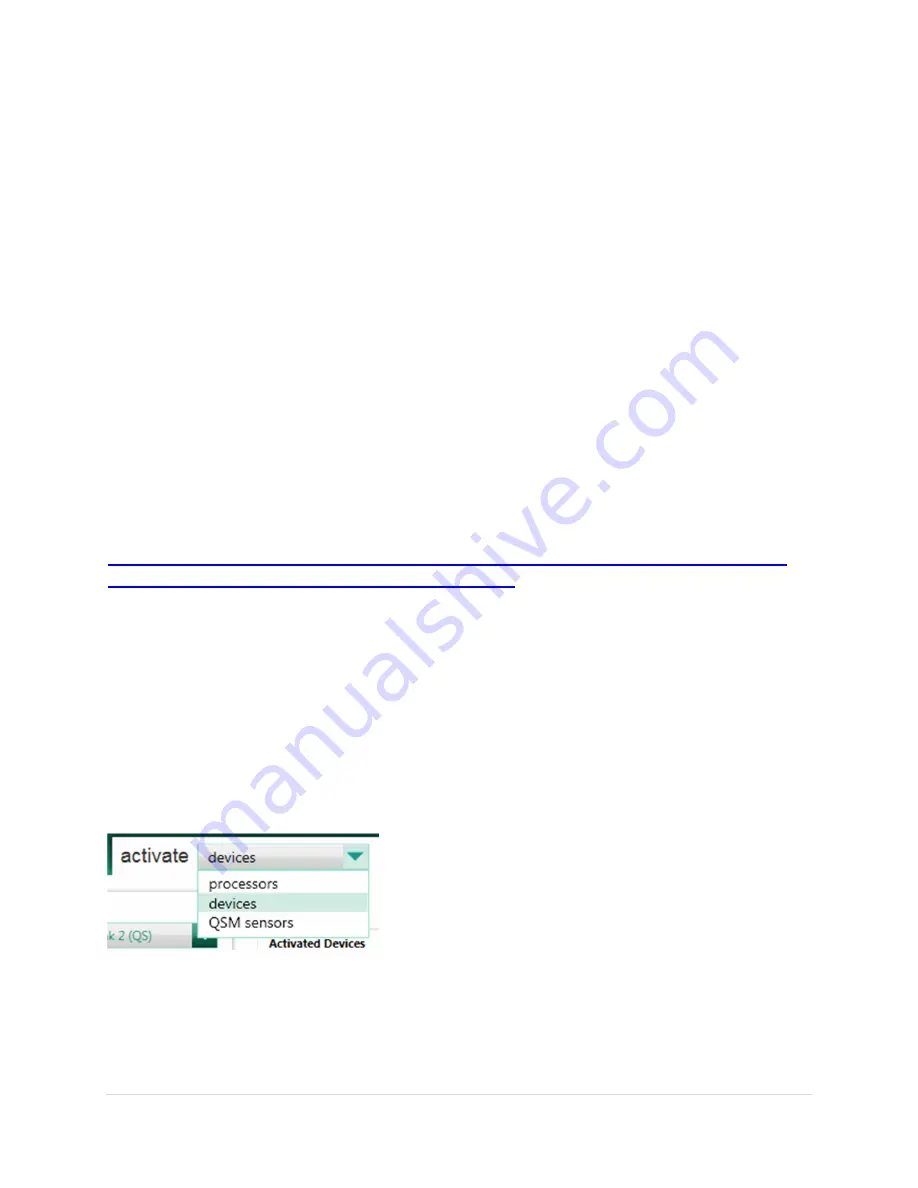
The process of activating the Sleeve Buttons to the HomeWorks QS system is the same as
activating a Pico to the system. First, use the Activate tab drop down menu to select either
Devices or QSM Sensors. Sleeve Buttons communicating via an RF Link can be found as a
Pico Keypad in Devices. Choose QSM Sensors when the Sleeve Buttons communicate to the
QSM and Wired Link.
To activate a Pico to either link type, the “Off” button will need to be held for a approximately 6-
10 seconds. Refer to
Appendix A
in
Section 5.0
to determine which of the Sleeve Buttons
maps to the Pico “Off” button.


