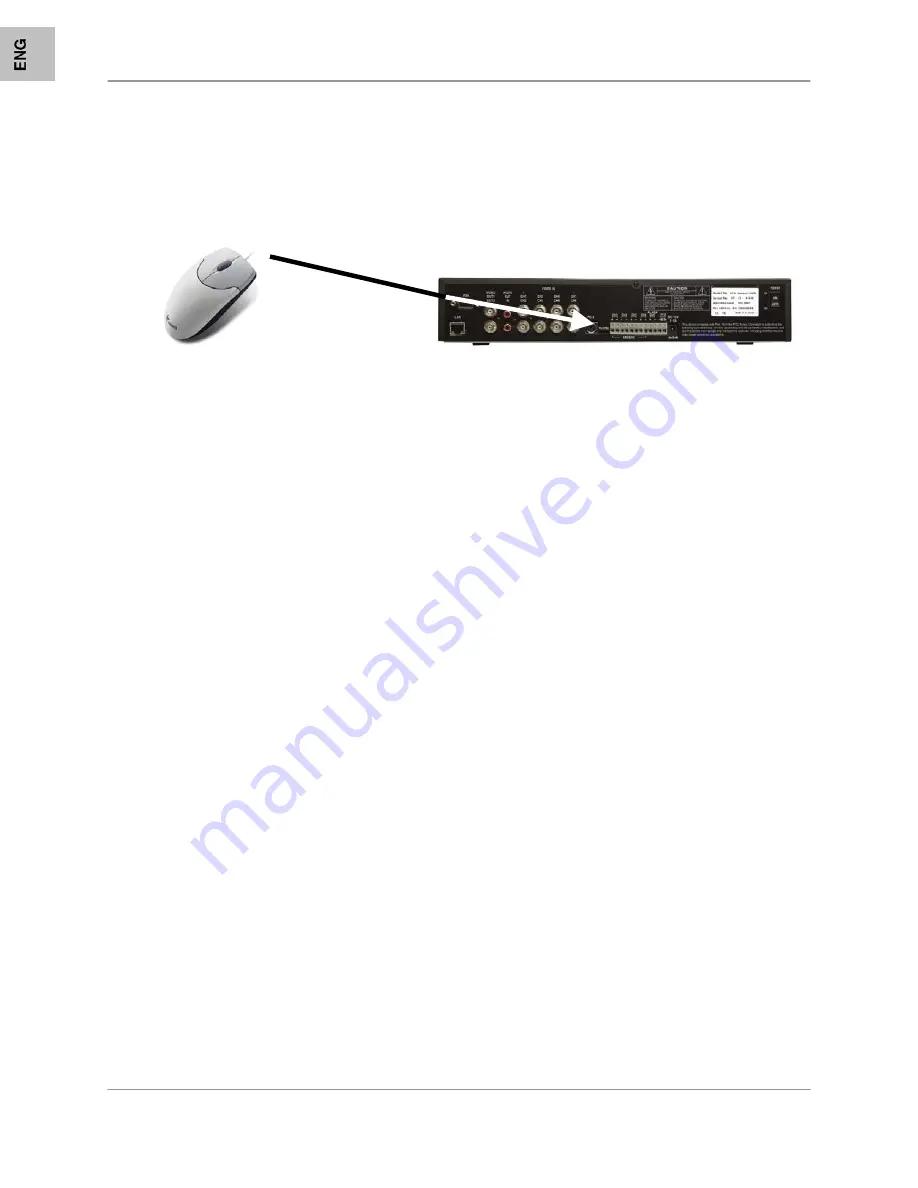
Mouse
Control
14
Mouse Control
A mouse can be used with this DVR for Playback and Menu controls. Connect a mouse to the
PS/2 port located on the back of the unit before powering the unit ON. Once the unit has loaded,
the mouse will be recognized by the system.
Mouse Controls
DVR Setup
•
The Setup window is displayed when the right mouse button is clicked in viewing mode.
•
When the mouse is moved, the purple highlight box will switch between menu options.
•
Click the left mouse button to access a menu selection
•
To change a setting, click the left button of mouse on the
◄
or
►
icons displayed onscreen.
•
Once the setting has been changed, click the right mouse button to exit the menu.
Data Playback
•
To use the Playback Options, first enter the System Setup menu as described above. To
playback data, navigate to either:
o
Setup
Æ
Search or
o
Setup
Æ
System
Æ
Event List
•
Click the right mouse button during playback to control the video using the icons located on the
lower left side of the screen.
•
Find the desired starting date and time for backup, and press the
▲
button to select a starting
point. The playback will go to the ending point for backup, then press
▼
button to select ending
point. Select [USB] or [CD] to move start the video backup.
NOTE:
Recording must be stopped prior to starting the backup.
Advanced Reservation Record using a mouse
•
Recording can be set for a desired time period using a mouse. Navigate to:
o
Set-up
Æ
Record
Æ
Record Schedule
•
Set the desired time period and date, and click the mouse to backup data.
Viewing Screen Control
•
You can change the view on the Live Viewing screen using the mouse. On the viewing screen,
double click the left mouse button on the desired channel screen to switch to full screen view.
•
Double click again to return to the QUAD View Screen.


