52
User Manual
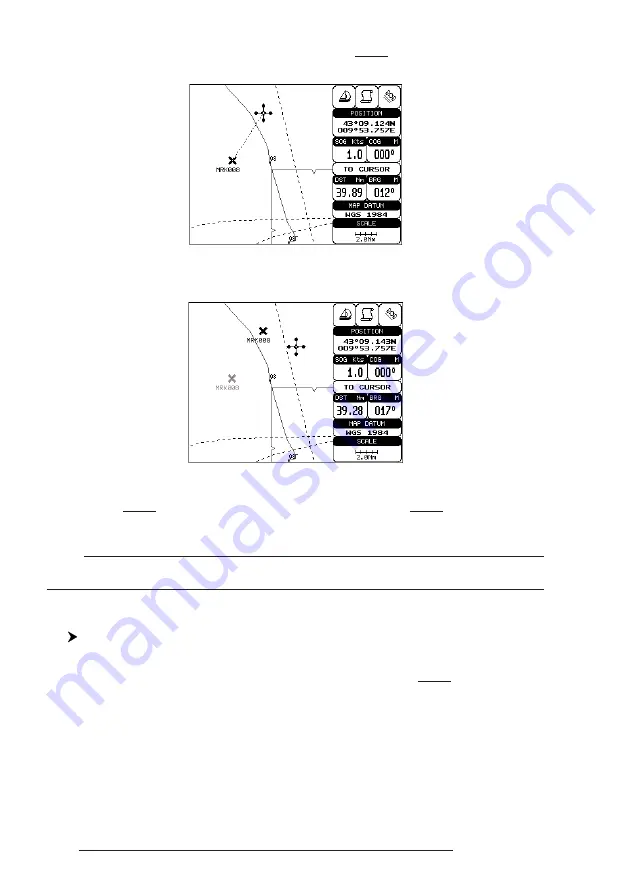
with the cursor key, a dotted line connecting the Mark with the new position is
shown:
Fig. 4.2.1.4 - Moving Mark function (I)
Press 'ENTER':
Fig. 4.2.1.4a - Moving Mark function (II)
The Mark is placed in the new position, the "old" Mark, remains on the
screen shaded until the screen is redrawn.
Note
If you try to move a Mark that belongs to many routes, the chart plotter emits three beeps and on
the screen a Warning message appears. If you want to move the Mark, press 'ENTER'.
4.2.1.5
Editing Mark
Select Advanced Mode + Adding Mark or Place cursor on Mark
Press 'ENTER'. Select "EDIT" and press 'ENTER'. A window appears to
modify Name, Symbol, Color and coordinates of the existing Mark.
Содержание Starlight Pro
Страница 10: ...12 User Manual...
Страница 38: ...40 User Manual...
Страница 92: ...94 User Manual...
Страница 94: ...96 User Manual Dimensions mm inch 6 2 INSTALLATION Fig 6 2 Installation types...
Страница 96: ...98 User Manual GPS on Port 2 GPS on Port 3 6 4 2 AUTOPILOT CONNECTIONS Autopilot on Port 1 Autopilot on Port 2...
Страница 102: ...104 User Manual...


