28
• You may not be able to record a program from TV or
from another device connected to this recorder, if the
source material is copy-protected (e.g. set in ‘Copy-
Once’ or ‘Copy-Never’ modes).
• You
CANNOT
record/copy a rented or purchased video/
disc from another device (video cassette recorder, DVD
player, DVD recorder, etc.) connected to this recorder.
• This DVD recorder adopts the DVD+VR recording
format, which enjoys a relatively greater compatibility.
However, it is still likely that recordings made with this
recorder may not be able to be played back on other
DVD recorders or DVD players.
Recording: Step by Step
Follow the steps to start your first recording.
Step 1.
Correctly connect all the cables
Connecting up Your DVD Recorder (p.11)
Connecting to External Devices(p.13)
Step 2.
Choose a recordable disc with enough
space
Check the disc types supported by the DVD recorder you
are using.
Model Comparison Chart (back cover)
Discs Types Supported (p.6)
Recording Mode (p.46)
Step 3.
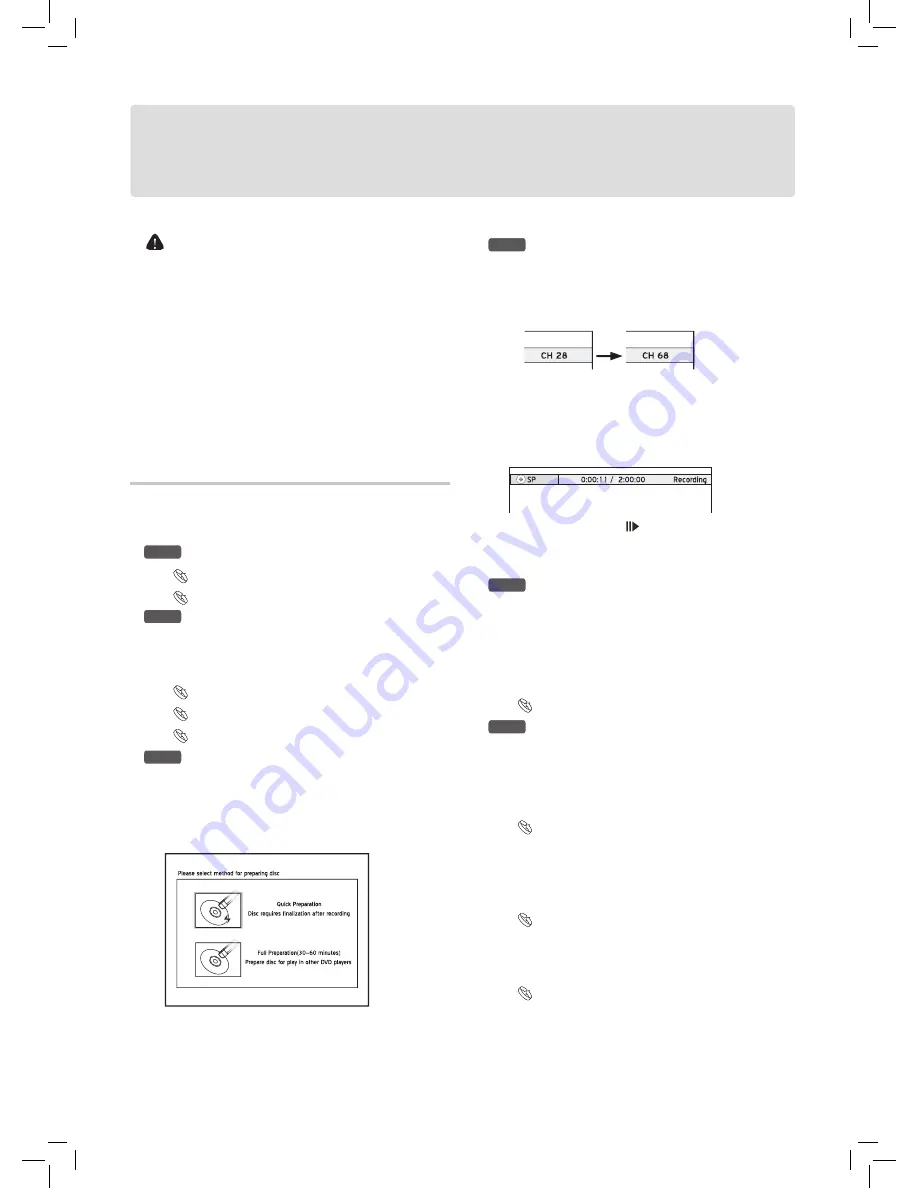
Prepare the disc
If the DVD recorder you are using supports recording on
minus (-) DVD discs, and you use blank DVD-RW discs to
record, you will need to format the discs before recording.
Press
to select ‘Quick Preparation’ or ‘Full Prepara-
tion’, then press
ENTER
.
Recording_01_03
Step 4.
Start recording
For Example, to record from TV, you need to select a
channel first. Press
TV(MODE)
to select ‘TV’ as the
signal source. then press
CH
and CH
to select a
desired channel.
Recording_01_02
You can select a channel by
pressing number buttons (0-
9) and
ENTER
. (For Channel 6, press
6,
then
ENTER.
For Channel 55, press
5, 5
and
ENTER
.)
Press
RECORD
to start recording
.
To pause recording, press
PAUSE/STEP.
For recording from other source, see the rest part of this
chapter.
Step 5.
Stop recording
Press
STOP
to stop the recording. To start another
recording session, press
RECORD
again after the
previous recording is stopped.
Each new recording session is placed after the previous
session unless a certain recording title is set to be over-
written.
Overwriting a Title (p.41)
Step 6.
Finalize the disc
For DVD+R. DVD-R and DVD-RW(formatted in ‘Quick
Preparation’ mode), finalization is a necessary step if you
want the discs to be played back on other compatible
devices. Use the ‘Disc Tool’ in ‘Easy Guider’ to complete
the process.
Using Easy Guider: Disc Tools (p.25)
You need to complete the channel scanning process
before recording from TV..
Setting TV Channels (p.18)
Before recording, you can set the recording mode
through
Recording
Recording Mode i
n the Setup
menu.
Recording Mode (p.46)
Recording
Содержание DD-A100 Series
Страница 5: ...5...
Страница 51: ...folding line...
Страница 52: ...folding line...
Страница 55: ......


