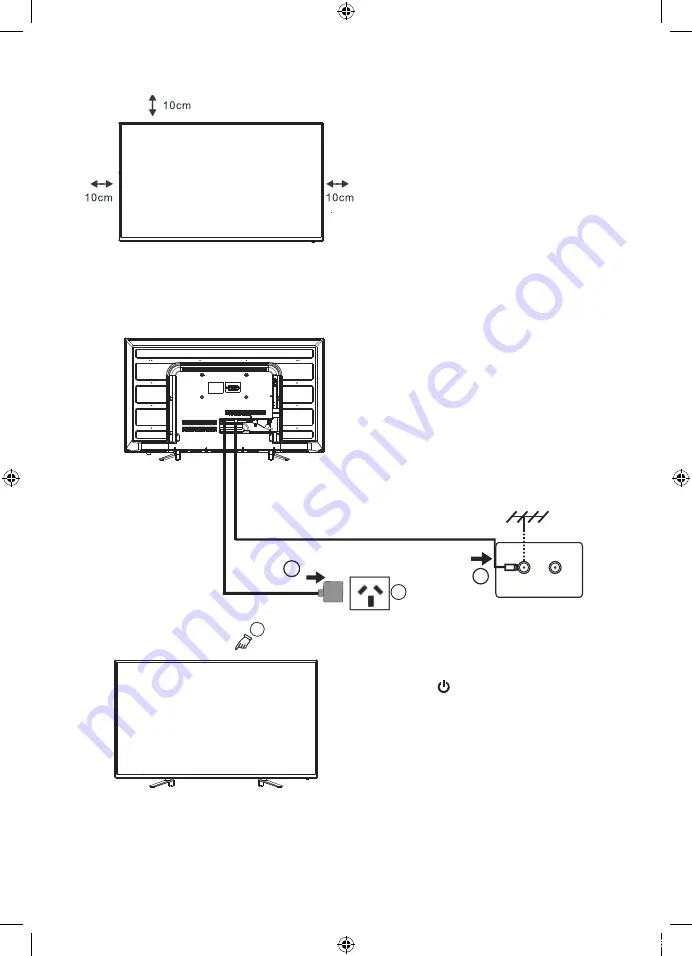
Basic Set Up
10
3
10
Basic Set Up
Turn
on
TV
Setting
up your
TV
Ensure
to
put
your
TV
in
a
firm
place
which
can
bear
the
weight
of
the
TV
.
To
avoid
any
danger
,
please
do
not
expose
or
place
the
TV
near
water
,
fire
place
and
/
or
heating
apparatus
.
(
such
as
heaters
,
candles
,
strong
lights
)
Do
not
block
the
ventilation
at
the
back
of
the
TV
.
Connect antenna and power
1.Connect one end of the antenna
cable to the ANT 75 (Antenna socket)
in the rear of your television set. Plug
the other end of the Antenna Cable into
a desired antenna wall socket. (Note
Antenna cable not included)
2.Your TV is equipped with an external
power supply. Please connect the
provided power supply to the Television
set and into the desired AC power outlet.
3.Switch on the TV using the rocker switch
on the bottom of the TV. (see below)
4.Press the Standby button on the
remote control to turn on the power to
the unit. The indication light will turn
on to a blank colour and the TV screen
will display first time setup menu.
NOTE If TV fail to turn on, check
power switch under front bottom
edge is turned on.
TV signal output
AC POWER socket
1
2
2
11
1
.
AV
input
Video
/
Audio
input
,
press
the
SOURCE
button
using
either
the
remote
control
or
the
button
Located
on
the
side
of
the
TV
set
and
select
the
AV
option
.
Advanced Connection Diagrams
Below diagrams show the basic connection options available.
DVD AV OUTPUT
Earphone
2. Earphone output
HDMI2
VGA
PC AUDIO
HDMI3 HEADPHONE
VIDEO
L
R
USB
AV INPUT
HDMI2
VGA
PC AUDIO
HDMI3 HEADPHONE
VIDEO
L
R
USB
AV INPUT
NOTE: To completely
disconnect the mains
power, please remove
the mains plug from the
AC power outlet.
Setting up your TV
Turn on TV
3. Press the
Standby button on the remote
control to turn on the power to the unit. The
indication light will turn on to a blank colour
and the TV screen will display first time setup
menu.
Connect aerial and power
L48MTV17a_IB_170814_Annie.indd 10
14/8/17 下午5:23
Содержание L48MTV17a
Страница 2: ...L48MTV17a_IB_170814_Annie indd 2 14 8 17 5 23...
Страница 33: ...L48MTV17a_IB_170814_Annie indd 31 14 8 17 5 23...
Страница 34: ...L48MTV17a_IB_170814_Annie indd 32 14 8 17 5 23...
Страница 35: ...L48MTV17a_IB_170814_Annie indd 33 14 8 17 5 23...


