


5-5
CONVERSION TO LP GAS
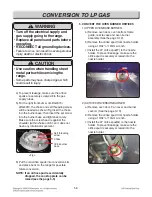
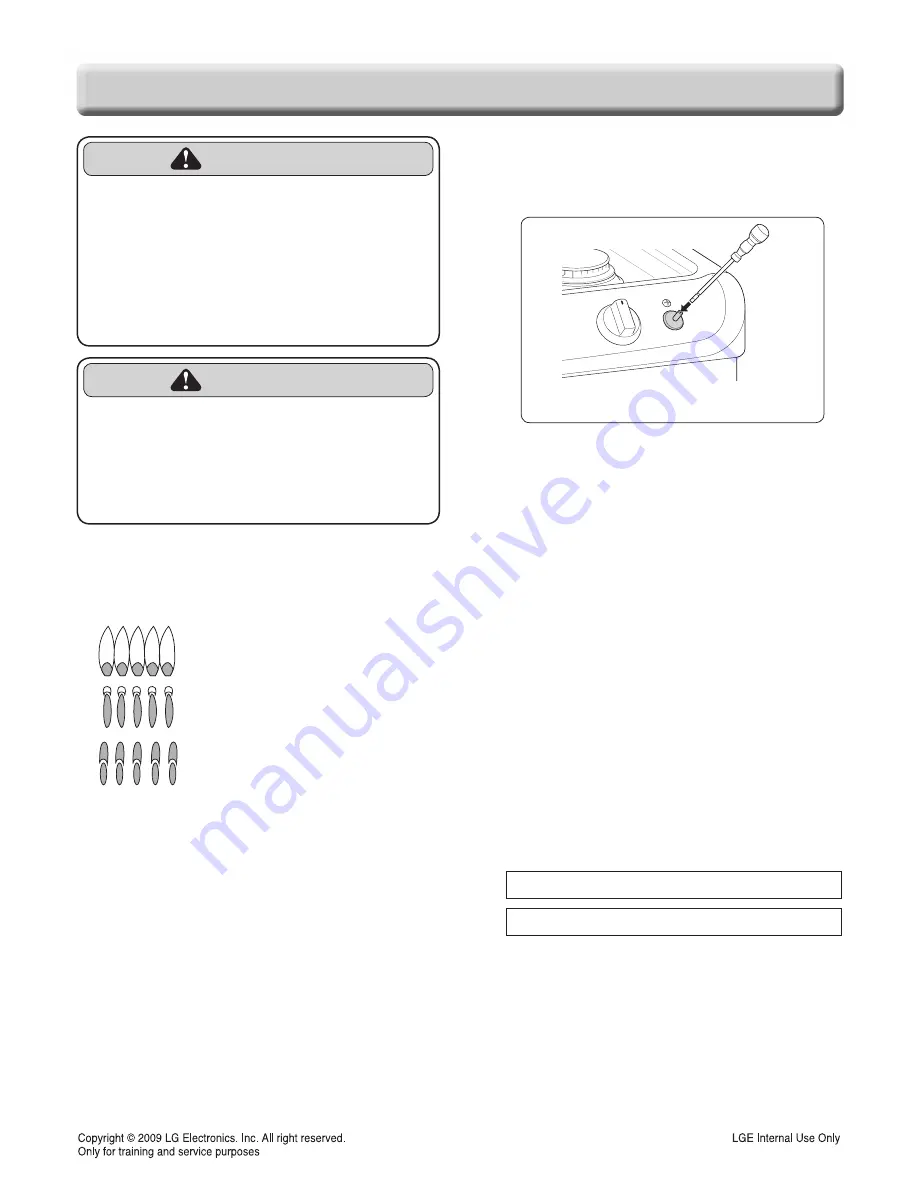
4) Insert a small, flat bladed screwdriver into the
valve shaft as shown in Fig. 1.
Turn the adjustment screw until the flame
reaches the desired size.
5) Replace the knob.
6) Test the flame stability.
Test 1: Turn the knob from “HI” to “LO”
quickly. If the flame goes out, increase the
flame size and test again.
Test 2: With the burner on a “LO” setting,
open and close the oven door quickly. If the
flame is extinguished by the air currents
created by the door movement, increase the
flame height and test again.
7) Repeat steps 1-5 for each surface burner.
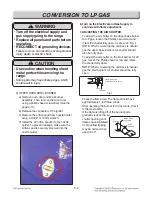
9. CONVERSION STICKER
Upon completion of the conversion, fill out the
LP sticker located with the instructions. Once
complete, attach the sticker to the back of the
range near the regulator.
Place all orifice's that were removed for natural
gas back into the plastic bag along with the
instructions. Place the kit back into its original
location.
Follow conversion process with original orifices to
convert the appliance to the original gas.
NOTE: The choke for the 18.5k top burner must be
removed when converting the range back to natural gas.
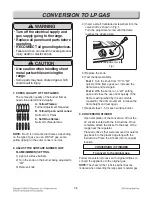
Counterclockwise to
0.4inch(10mm) open position.
Screw
Air Shutter
Screw
Air Shutter
Approx. 1”
INNER CONE
OF FLAME
OVEN
BURNER
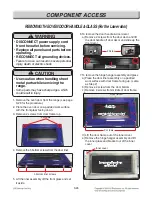
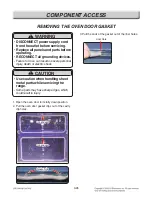
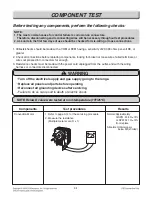
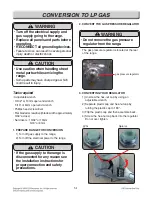
WARNING
• Turn off the electrical supply and
gas supply going to the range.
• Replace all panels and parts before
operating.
• RECONNECT all grounding devices.
- Failure to do so can result in severe personal
injury, death or electric shock.
CAUTION
• Use caution when handling sheet
metal parts while servicing the
range.
- Some parts may have sharp edges, which
could result in injury.
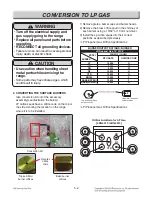
7. CHECK QUALITY OF THE FLAMES
The combustion quality of the burner flames
needs to be determined visually.
A. Yellow Flames:
Further Adjustment Required
B. Yellow tips on outer cones:
Normal for LP Gas
C. Soft Blue flames:
Normal for Natural Gas.
NOTE: B or C is normal burner flames, depending
on the type of gas you use. With LP gas, some
yellow tipping on the outer cones is normal.
8. ADJUST THE SURFACE BURNER LOW
FLAME(SIMMER) SETTING.
1) Light all surface burners.
2) Turn the knob on the burner being adjusted to
“LO”
3) Remove knob.
Fig.1
CONVERSION IS FINISHED
To convert to the original gas.
Center adjustment screw
Содержание LDG4313BD
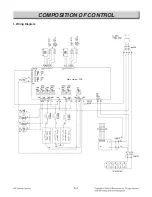
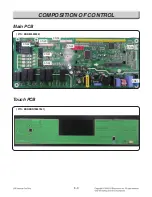
Страница 50: ...6 1 Composition of control 1 Wiring Diagram Main system PCB ...
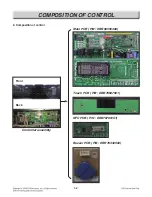
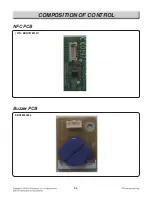
Страница 53: ...6 4 Composition of control NFC PCB P N EBR78789101 Buzzer PCB EBR76332902 ...
Страница 93: ......


