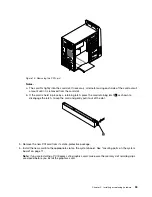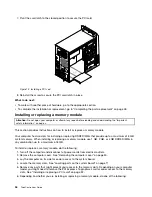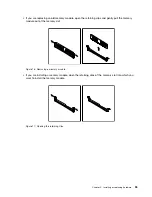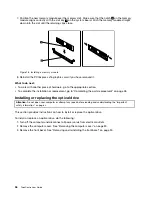
4. Remove the three screws that secure the optical drive. Then, slide the optical drive out of the front
of the computer.
Figure 19. Removing the optical drive
5. Slide the new optical drive into the drive bay from the front and align the screw holes in the new optical
drive with the corresponding holes in the drive bay. Then, install the three screws to secure the new
optical drive in place.
Figure 20. Installing the optical drive
Chapter 5
.
Installing or replacing hardware
37
Содержание ThinkCentre M60e
Страница 1: ...ThinkCentre User Guide Machine Types 1899 1928 1932 and 1934 ...
Страница 6: ...iv ThinkCentre User Guide ...
Страница 12: ...x ThinkCentre User Guide ...
Страница 26: ...14 ThinkCentre User Guide ...
Страница 40: ...28 ThinkCentre User Guide ...
Страница 62: ...50 ThinkCentre User Guide ...
Страница 70: ...58 ThinkCentre User Guide ...
Страница 77: ...14 Turn on the computer to restart the operating system Chapter 8 Updating system programs 65 ...
Страница 78: ...66 ThinkCentre User Guide ...
Страница 102: ...90 ThinkCentre User Guide ...
Страница 106: ...94 ThinkCentre User Guide ...
Страница 112: ...100 ThinkCentre User Guide ...
Страница 116: ...104 ThinkCentre User Guide ...
Страница 120: ...108 ThinkCentre User Guide ...
Страница 121: ......
Страница 122: ...Part Number 0A75017 Printed in USA 1P P N 0A75017 0A75017 ...


