After installing the rack latches:
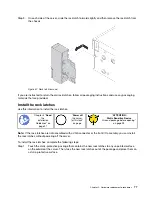
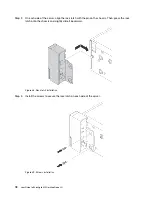
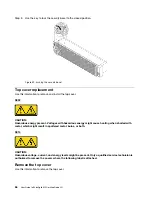
1. Install the ID label plate to the right rack latch as shown.
Figure 52. ID label plate installation
2. Complete the parts replacement. See “Complete the parts replacement” on page 32.
RAID adapter replacement
Use this information to remove and install the RAID adapter on the system board.
Notes:
• For a list of the supported RAID adapters, see
the Lenovo ServerProven website
.
• Depending on the specific type, your RAID adapter might look different from the illustrations in this topic.
Attention:
Replacing the RAID adapter might impact your RAID configurations. Back up your data before
you begin to avoid any data loss due to a RAID configuration change.
Remove the RAID adapter
Use this information to remove the RAID adapter from the RAID adapter slot on the system board.
“
Power off
the server
for this task”
on page
Ground package before opening”
Note:
The following procedure is based on the scenario that the RAID adapter is installed in the RAID
adapter slot on the system board. For the procedure about removing the RAID adapter from the PCIe slot,
see “Remove a PCIe adapter” on page 67.
.
Hardware replacement procedures
81
Содержание ThinkAgile MX Certified Node 2U
Страница 1: ...User Guide for ThinkAgile MX Certified Node 2U Machine Type 7Z20 ...
Страница 4: ...ii User Guide forThinkAgile MX Certified Node 2U ...
Страница 14: ...10 User Guide forThinkAgile MX Certified Node 2U ...
Страница 38: ...34 User Guide forThinkAgile MX Certified Node 2U ...
Страница 94: ...90 User Guide forThinkAgile MX Certified Node 2U ...
Страница 98: ...94 User Guide forThinkAgile MX Certified Node 2U ...
Страница 100: ...96 User Guide forThinkAgile MX Certified Node 2U ...
Страница 103: ......
Страница 104: ......

