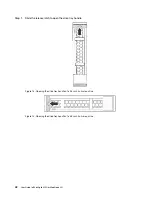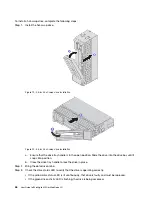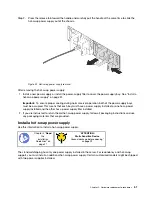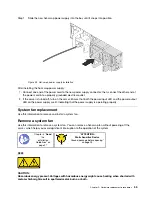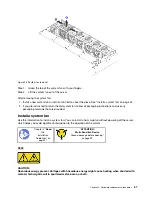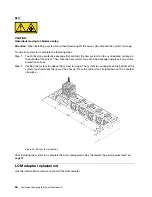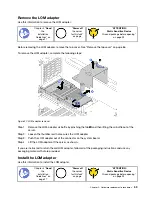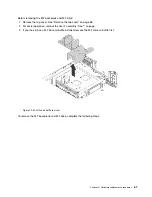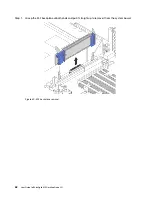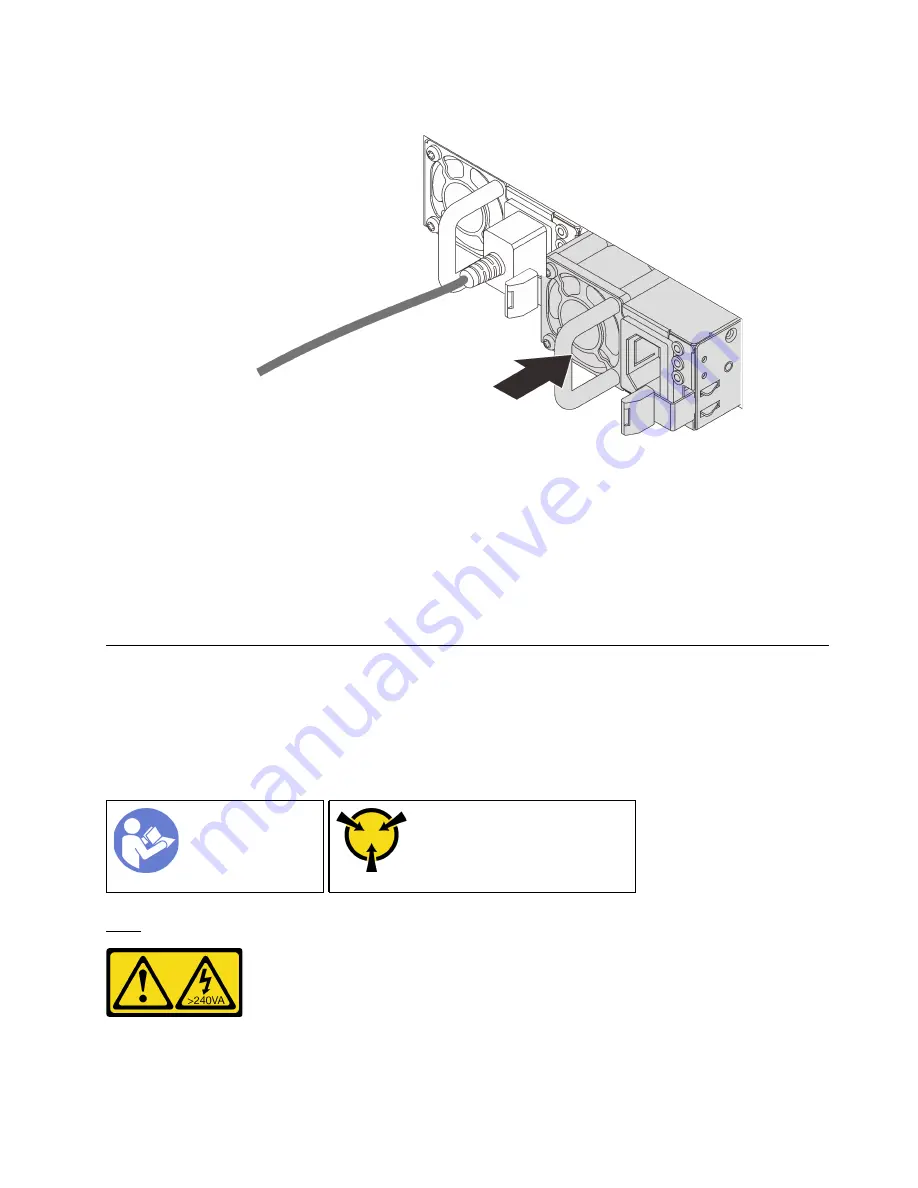
Step 1. Slide the new hot-swap power supply into the bay until it snaps into position.
Figure 23. Hot-swap power supply installation
After installing the hot-swap power supply:
1. Connect one end of the power cord to the new power supply connector; then, connect the other end of
the power cord into a properly grounded electrical outlet.
2. If the server is turned off, turn on the server. Ensure that both the power input LED and the power output
LED on the power supply are lit, indicating that the power supply is operating properly.
System fan replacement
Use this information to remove and install a system fan.
Remove a system fan
Use this information to remove a system fan. You can remove a hot-swap fan without powering off the
server, which helps you avoid significant interruption to the operation of the system.
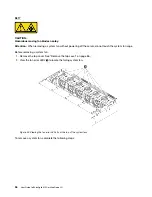
Ground package before opening”
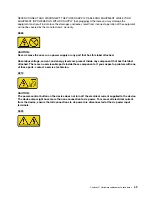
S033
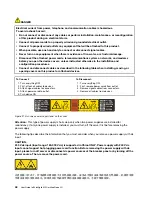
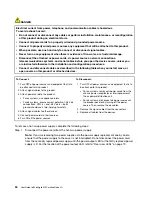
CAUTION:
Hazardous energy present. Voltages with hazardous energy might cause heating when shorted with
metal, which might result in spattered metal, burns, or both.
.
Hardware replacement procedures
55
Содержание ThinkAgile MX Certified Node 2U
Страница 1: ...User Guide for ThinkAgile MX Certified Node 2U Machine Type 7Z20 ...
Страница 4: ...ii User Guide forThinkAgile MX Certified Node 2U ...
Страница 14: ...10 User Guide forThinkAgile MX Certified Node 2U ...
Страница 38: ...34 User Guide forThinkAgile MX Certified Node 2U ...
Страница 94: ...90 User Guide forThinkAgile MX Certified Node 2U ...
Страница 98: ...94 User Guide forThinkAgile MX Certified Node 2U ...
Страница 100: ...96 User Guide forThinkAgile MX Certified Node 2U ...
Страница 103: ......
Страница 104: ......

