“
Power off
the server
for this task”
on page
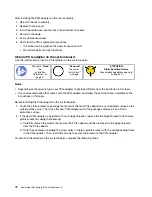
Ground package before opening”
Notes:
• Depending on the specific type, your PCIe adapter might look different from the illustration in this topic.
• Use any documentation that comes with the PCIe adapter and follow those instructions in addition to the
instructions in this topic.
Before removing a PCIe adapter from the riser assembly:
1. ThinkAgile MX Certified Nodes appliances can contain zero or one LOM NIC, with two or four ports, as
well as up to two PCIe NICs. For nodes with multiple NICs, verify which has failed. Identify the failed NIC
by either checking in the XCC or checking the indicator lights on the network ports.
2. Power off the node and if the cable management arm is not in place, disconnect all the cables.
3. Remove the appliance from the rack.
4. Remove the top cover.
5. Remove the riser assembly and lay it upside down on a flat, clean, and static-protective surface.
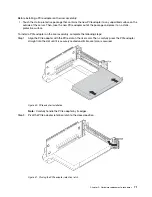
To remove a PCIe adapter from the riser assembly, complete the following steps:
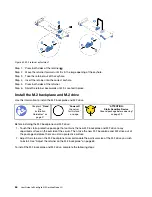
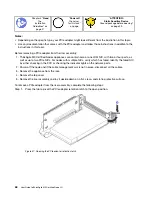
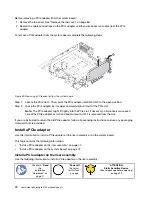
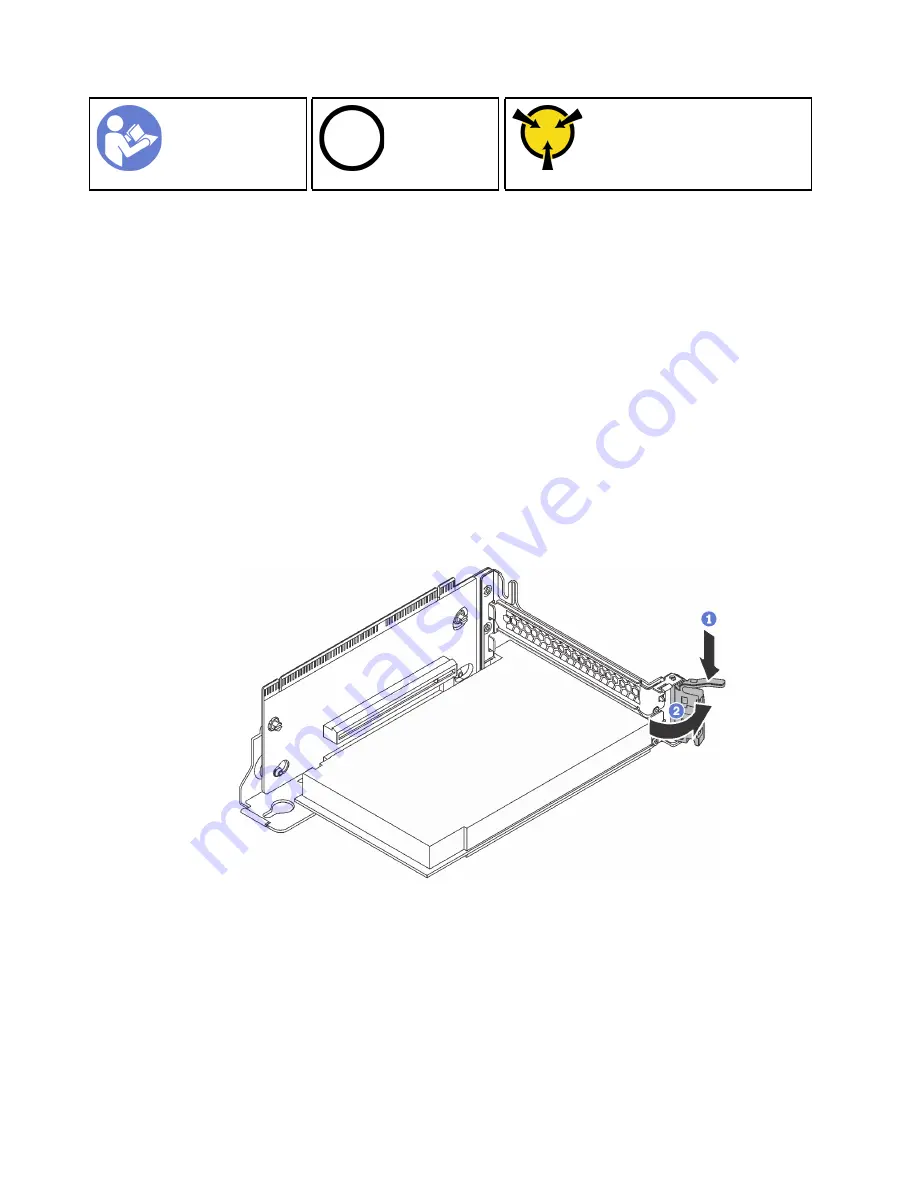
Step 1. Press the tab to pivot the PCIe adapter retention latch to the open position.
Figure 37. Opening the PCIe adapter retention latch
68
User Guide forThinkAgile MX Certified Node 2U
Содержание ThinkAgile MX Certified Node 2U
Страница 1: ...User Guide for ThinkAgile MX Certified Node 2U Machine Type 7Z20 ...
Страница 4: ...ii User Guide forThinkAgile MX Certified Node 2U ...
Страница 14: ...10 User Guide forThinkAgile MX Certified Node 2U ...
Страница 38: ...34 User Guide forThinkAgile MX Certified Node 2U ...
Страница 94: ...90 User Guide forThinkAgile MX Certified Node 2U ...
Страница 98: ...94 User Guide forThinkAgile MX Certified Node 2U ...
Страница 100: ...96 User Guide forThinkAgile MX Certified Node 2U ...
Страница 103: ......
Страница 104: ......


