Name
This section displays the video camera's IP address, name, login username, and the destination folder for
the video recording files. Additionally, using the Camera Configuration link, you can modify the video
camera software configuration settings using the video camera's native software. It also displays an icon
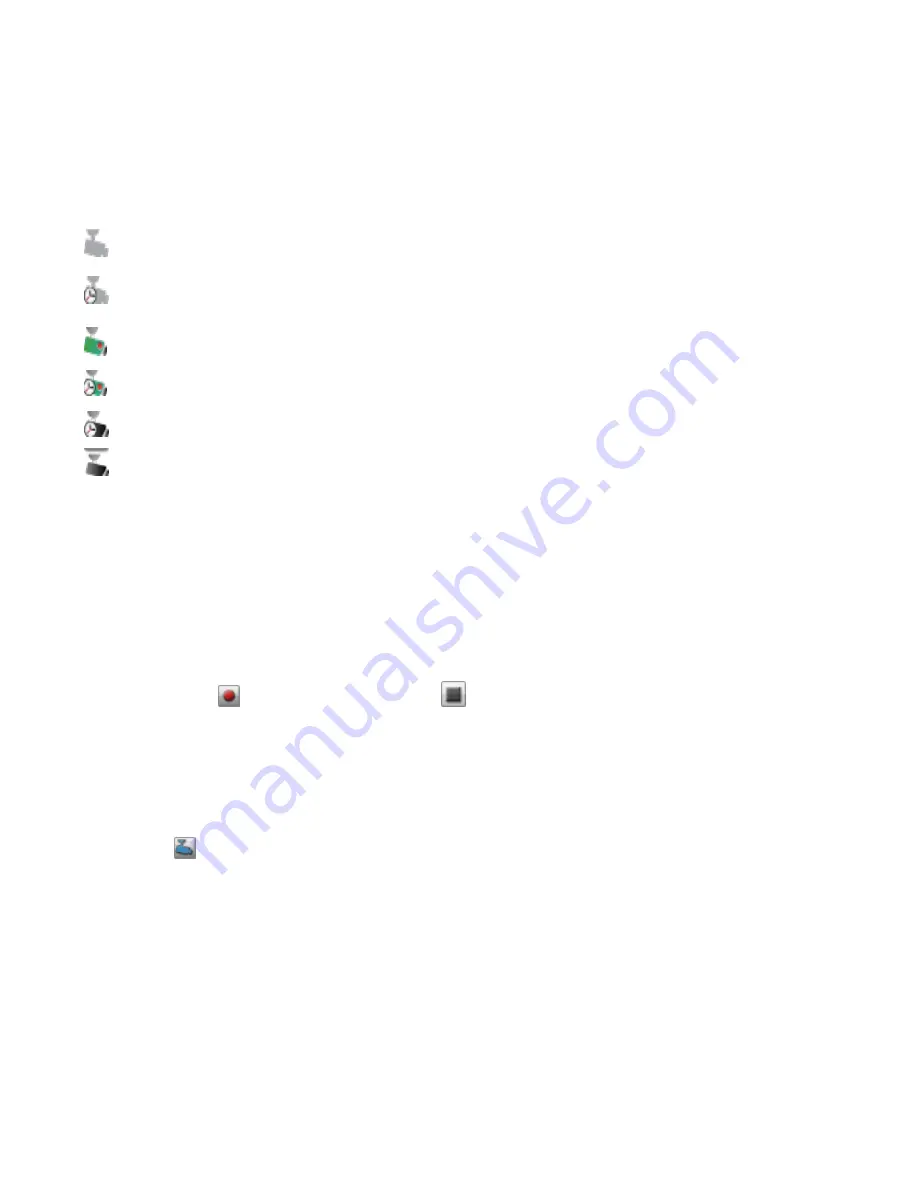
that indicates the current state of the video camera. The possible states are:
The video camera is no longer connected to the network.
The video camera is no longer connected to the network, but a recording schedule is set for it. You
should delete this video camera if it is no longer on the network, or fix the network connection so it
can record as scheduled.
The video camera is connected to the network and is currently recording. There is no schedule for
this recording, since it was started manually. The recording must therefore be stopped manually.
The video camera is connected to the network, a recording schedule is set, and the camera is
currently recording.
The video camera is connected to the network and a recording schedule is set for it, but it is not
currently recording.
The video camera is connected to the network, but no recording schedule is set.
Space
The Space column identifies how much disk space is currently used by the video files in the destination
folder for this video camera.
Model
This column lists the model information for this video camera.
Action
For each video camera, you can perform the following actions:
●
Click either
to manually start recording or
to stop recording. These buttons are
available only for video cameras that are currently connected and accessible on the network. Use
the manual start and stop record buttons to start recording at any point and to stop a recording
until the next scheduled start time.
NOTE: During recording, if you want to change the camera resolution and frame rate, you must
stop recording, change the values on the camera's configuration page, and then start the
recording again.
●
Click
to open a live view from your video camera. You may be prompted to supply the
username and password for the video camera.
Adding a Video Camera
You can use the Video Surveillance page to manually add supported video cameras if they are not
discovered automatically on your ix12-300r. The Video Surveillance page also displays the current settings
for any video camera attached to your network. For example, you might have video cameras on a summer
house in one geographic location, while your ix12-300r is in another geographic location.
If your video camera is already listed, you can modify its settings. To manually add a video camera,
reference the instructions below.
Media Management
Videos
118
Содержание Iomega StorCenter ix12-300r
Страница 1: ...Iomega StorCenter ix12 300r with LifeLine 4 0 User Guide ...
Страница 11: ...Setting up Your Iomega StorCenter ix12 300r Setting up Your Iomega StorCenter ix12 300r 1 CHAPTER 1 ...
Страница 30: ...Sharing Files Sharing Files 20 CHAPTER 2 ...
Страница 53: ...Storage Pool Management Storage Pool Management 43 CHAPTER 4 ...
Страница 64: ...Drive Management Drive Management 54 CHAPTER 5 ...
Страница 67: ...Backing up and Restoring Your Content Backing up and Restoring Your Content 57 CHAPTER 6 ...
Страница 108: ...Sharing Content Using Social Media Sharing Content Using Social Media 98 CHAPTER 10 ...
Страница 114: ...Media Management Media Management 104 CHAPTER 11 ...
Страница 126: ... Delete a torrent job Click to delete the torrent download Media Management Torrents 116 ...
Страница 135: ...Upgrading Your Iomega StorCenter ix12 300r Upgrading Your Iomega StorCenter ix12 300r 125 CHAPTER 13 ...
Страница 140: ...Hardware Management Hardware Management 130 CHAPTER 15 ...
Страница 147: ...Additional Support AdditionalSupport 137 ...
Страница 150: ...Legal Legal 140 ...
Страница 153: ...Warranty Information Legal 143 Warranty Information ...


