25
L-65 SPRAY GUN OVERHAUL
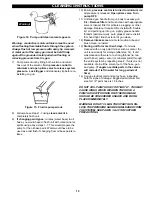
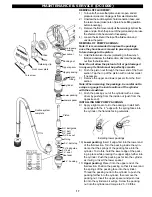
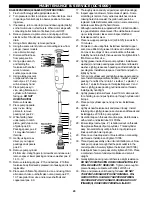
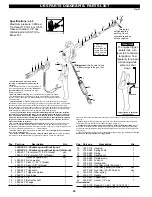
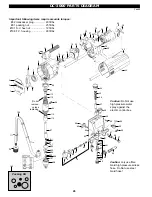
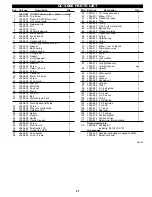
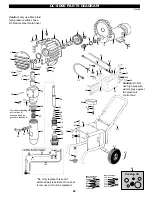
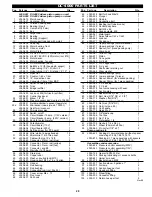
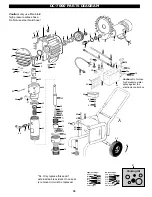
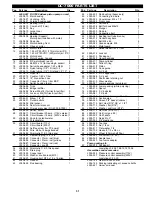
Use diagram on opposite side for reference.
Tools needed:
10 mm socket and driver
2 x 8" or larger crescent wrench
1 x L-65 repair kit
Cleaning brush and lacquer thinner
needle nose pliers
1) Initiate shut down procedure:
Shut Down Procedure: Always follow Shut Down
Procedure before starting any troubleshooting,
servicing or cleaning.
a) Engage the trigger safety lock in the locked posi-
tion. Test the trigger safety lock to ensure the lock
is working properly.
b) Turn pressure regulator to minimum.
c) Disconnect electric plug from wall socket, or
disconnect air supply.
d) Open the dump valve to relieve pressure. Leave
open until ready to spray or test or clean.
e) Remove the spray tip.
f) Disengage the trigger safety lock.
g) Trigger the gun into a metal pail to relieve any
remaining pressure. A metal part of the spray gun
should be held firmly against the grounded metal
pail when relieving the pressure from the gun. (A
grounded metal pail is not required for non-
flammables such as latex.)
h) Reset the trigger safety lock to locked position.
2) Using the two crescent wrenches, disconnect the gun
and gun handle from spray hose.
3) Remove spray tip or attachment assembly from gun.
4) Hold gun trigger open and remove seat (#4) from
gun. Release trigger. Never remove or attach seat
unless trigger is held in the open position. Per-
manent and expensive damage to both ball and
seat will result!
5) Using 10mm socket and driver, remove adjusting nut
(#18) from rear of gun.
6) Grasp retainer cap (#17) and pull away from rear of
gun. Remove the two trigger pins (#9) from gun.
7) The ball spring assembly can be removed from the
rear of the gun body by unthreading six to eight turns
and then pulling firmly towards rear of gun body
(#13). Push packing & wedge (#11&12) out of rear of
gun body.
8) Remove gun handle from gun and remove filter and
filter spring.
9) Using points of needle nose pliers, unscrew housing
nut (#16) from housing (#13). Grasp end of shaft
(#14) and remove. Take spring (#15) off of shaft for
cleaning.
10) If the ball (#10) has a groove worn in it, the ball with
shaft will have to be replaced. Usually the seat will
have to be replaced as well, as it wears against the
ball. Both of these parts are included in the repair kit.
11) Lightly grease wedge & packing & assemble together.
Install wedge first, and then the packing into gun body
until they bottom.
12) Lightly grease spring & outside of housing. Install
spring on spring shaft, and put into housing. Install
housing nut & tighten until flush with rear face of
housing.
13) Thread housing into rear of gun body. Tighten to a
maximum of 3-5 ft/lbs.
14) Examine the trigger pins for wear and equal length.
Lightly grease and install.
15) Install retainer cap on rear of gun and install locking
nut. Tighten locking nut until approximately two
threads show out rear of the nut.
16) Thread gun handle into gun body and hand tighten.
17) Lightly grease threads of seat. Install trigger guard
over open end of seat. Hold gun trigger in open
position and install seat. Tighten to 30-40 ft. lbs. and
release trigger.
18) The retainer cap should have a bit of slack in it and
should not be bottomed against the gun tightly. The
trigger should have 3/8" slack at the bottom of the
trigger before engaging against the trigger pins.
This slack is very important for the correct opera-
tion of your gun. The gun and safety lock will not
work properly if this step is not performed correctly.
To increase slack, loosen the locknut a little and
test slack again.
To decrease slack, tighten the locknut a little and
test slack again.
With too much slack, the gun may not turn on, but
the safety lock will work fine. With too little or no
slack, the gun may be permanently ON and the safety
lock does nothing.
DO NOT RUSH OR IGNORE THIS STEP, COR-
RECT OPERATION OF THE SAFETY TRIGGER
LOCK REQUIRES PROPER ADJUSTMENT OF
TRIGGER SLACK.
19) Install tip attachment onto gun. Remove gun handle,
install spring and filter, lightly grease threads and re-
install.
20) Place trigger in LOCK position. Install gun to hose,
tightening securely. Install tip where applicable. The
gun is now ready for testing and use.
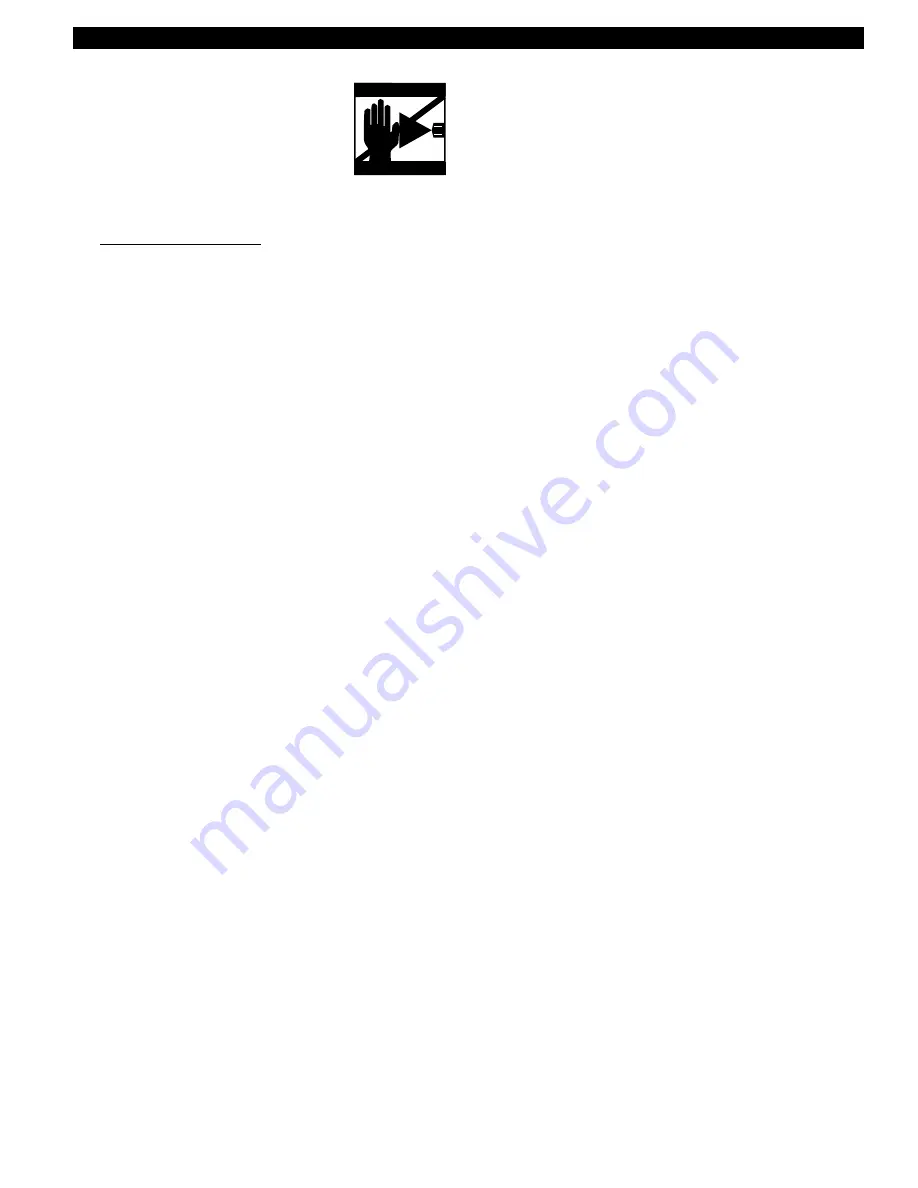
HIGH PRESSURE!
INJECTION HAZARD!

