9.1 CLAMPING THE TIRE
Correctly follow this manual
,
release the beads both side of the tire.
It’s more forceful to use the DAAR ARM. Clamping the tire from out-
side is recommended. (Plastic protections are available ).
1. Depress the corresponding pedal to open the jaw and turn the
spindle to its non-working position.
2. lay the wheel onto the turntable
,
depress the corresponding
pedal to close or open the jaws for the clamping of the rim.
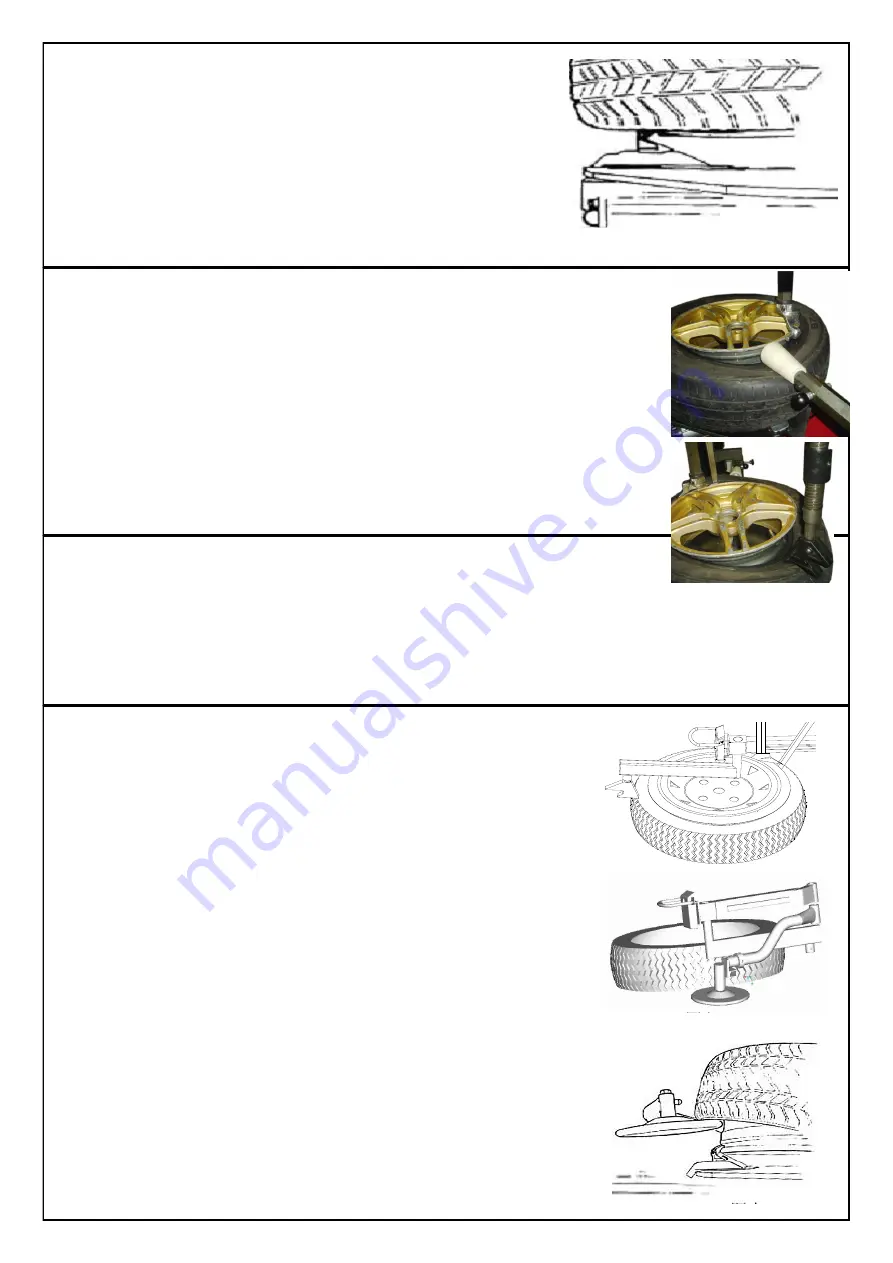
9.2 DEMOUNTING THE TIRE
1. Firstly break and loosen the beads if it is necessary.
Loosen the locking nut to lower the pressing roller
,
make sure the roller is above
the tire and not touching it.
Turn the switch level to bottom
,
lower the tool holding arm 1 to press the tire with
pressing roller. Depress the corresponding pedal to turn the turntable to loosen
the bead. Turn the turntable repeatedly if it is necessary.
NOTICE:
Before any operations
,
lubricate the bead of the wheel.
After loosen the bead
,
raise tool arms and begin the next demounting.
Demount the upper bead.
Close the mounting head to the upper bead as the manual stated.
Move the pressing roller near the mounting head
,
depress the bead for the convenience of position-
ing the mounting head
,
and then insert the level into the clearance between the rim and bead.
Raise the auxiliary arms
,
swivel the tool holding arm 2 to the opposite side
,
control the mounting head
,
insert it into the
drop-center rim
,
and the tire will slide into the center drop. This could
get enough space for operations.
Pull out the bead with the help of mounting head and hang it on the
mounting head.
Raise the auxiliary arm
,
push the mounting head to its non-working po-
sition.
Depress the pedal to turn the turntable; the upper bead will be detached
off.
3. Loosen the second bead if it is necessary.
Push away the switch arm and tool holding arm3.
Position the bead-breaking disc under the tire
,
and make sure it close
to the tire other than touch the tire.
Insert the level into the special hole and exert an inner-toward force to as-
sure the bead breaking disc touch against the lower bead tightly. De-
press the pedal to turn the turntable
,
meanwhile raise the auxiliary
arms slowly to detach the lower bead.
图八
Содержание TWC-512RMB
Страница 4: ...5 Optional Upgrade Accessories...


