HTCA-E400 User Manual
25
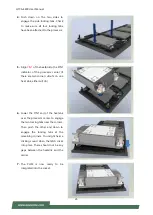
4.
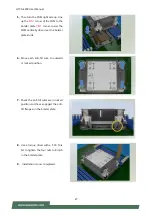
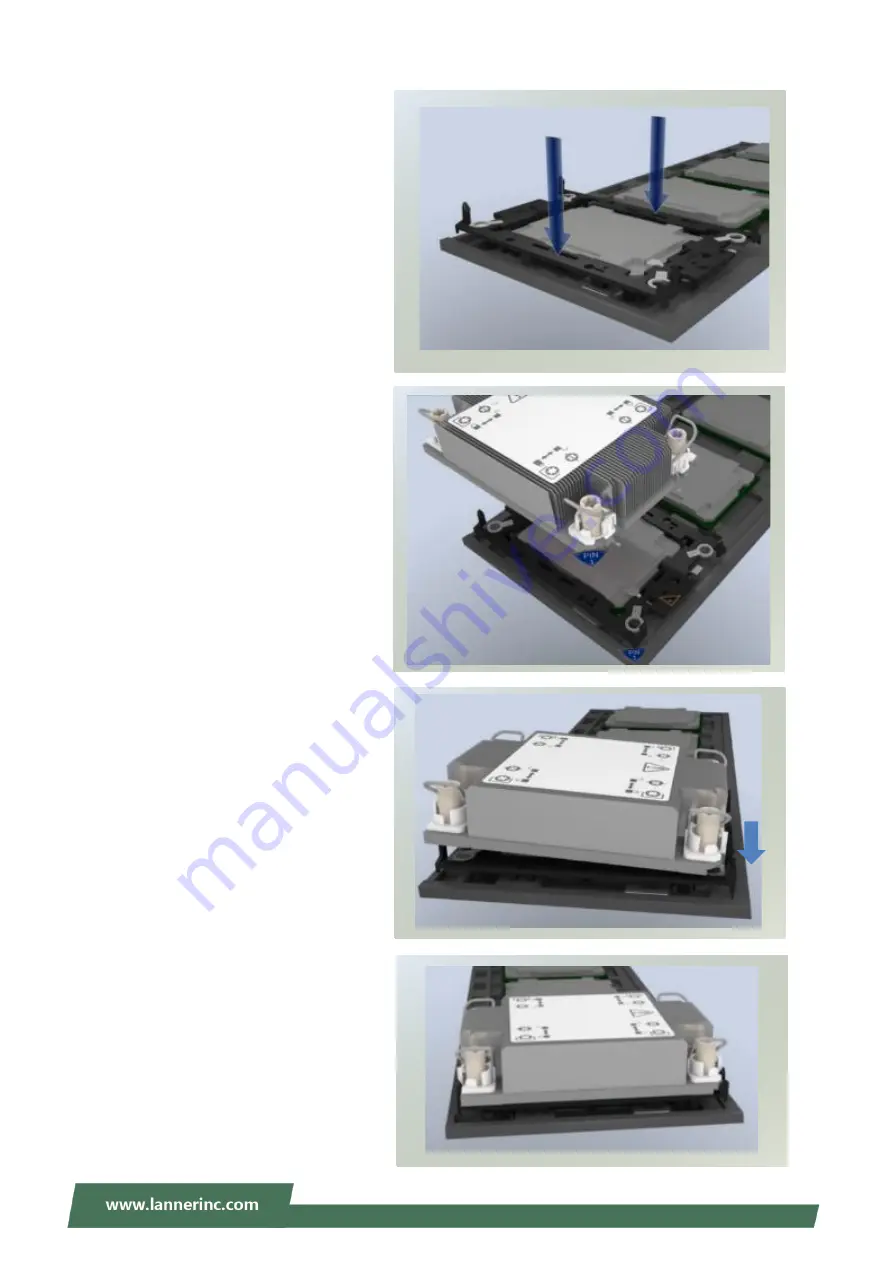
Push down on the two sides to
engage the side locking tabs. Check
to make sure all four locking tabs
have been attached to the processor.
5.
Align
PIN1
of the heatsink to the PIN1
indicator of the processor carrier (if
there are two corner cutouts on one
heat sink, either will do).
6.
Lower the PIN1 end of the heatsink
over the processor carrier to engage
the two locking tabs near the corners.
Then push the other end down to
engage the locking tabs at the
remaining corners. You might hear a
clicking sound when the latch clicks
into place. There should not be any
gaps between the heatsink and the
carrier.
7.
The PHM is now ready to be
integrated into the socket.

