LaCie LightScribe Labeler
User Manual
page 0
Using the LightScribe Labeler
4. Using the LaCie LightScribe Labeler
Burn.
Flip.
Design.
Print.
Tools
Background
Settings
Text
Fill / Stroke
Arrangement
T
Drag
Image
Here
Text
Text
Text
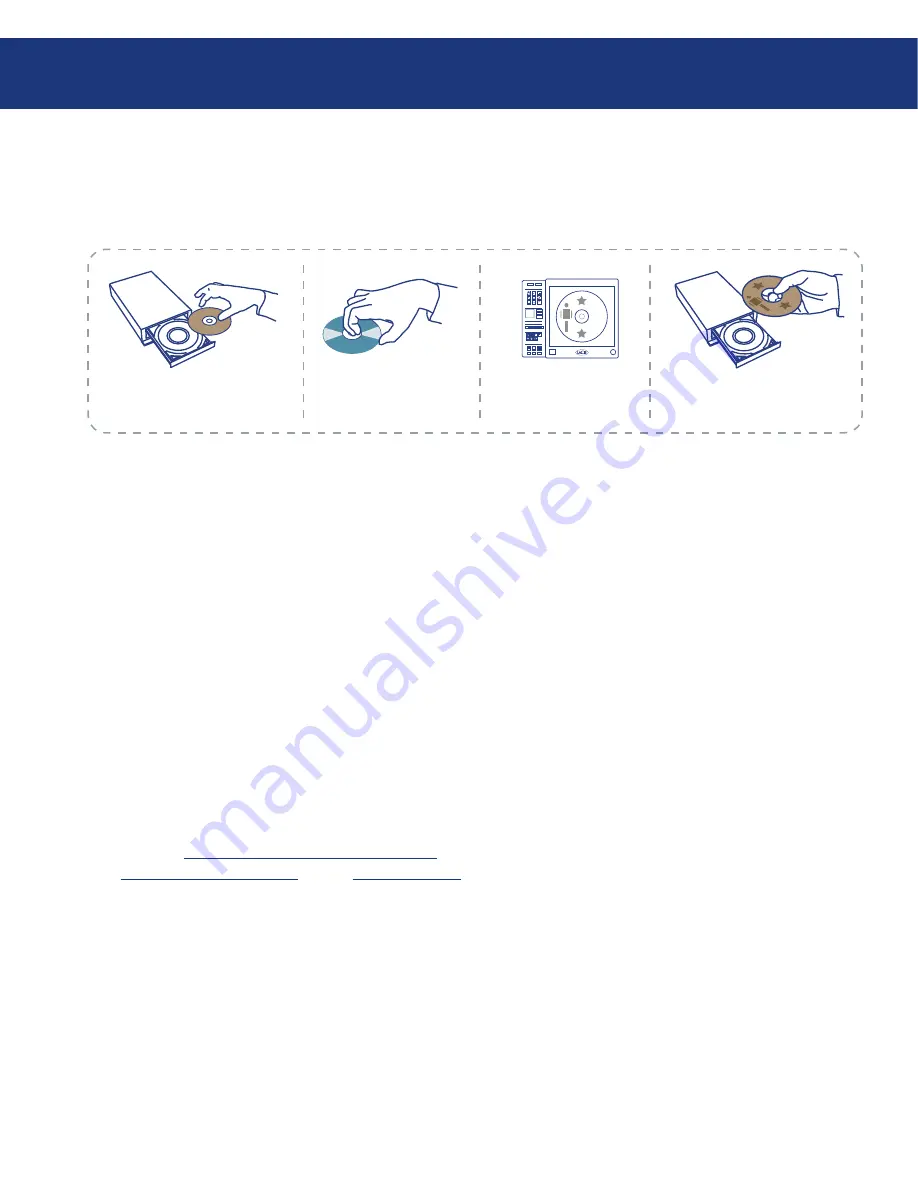
Burn. Flip. Design. Print. It really is that easy! This
chapter will help you create customized CD or DVD
labels in artistic greyscale for your important projects.
To get started, choose the content that you’ll be
burning to the disc. Your content could be anything
from a simple data DVD to a slide-show presentation
to a music mix CD. Once you’ve compiled your content
for your CD or DVD, place your disc into your LaCie
d2 DVD±RW Drive, data side down. Next, burn your
content onto the disc.
Now that you’ve got your content burned, you’re
ready to add the silk-screen quality label. Simply eject
the disc, flip it over so that the data side now faces up
and re-insert the disc.
There are a couple of options for creating your labels:
you can use a template or create your own individualized
label based on your images and design. The following
pages, 11,
Using The Templates To Create A Label
, 12
Create A Customized Label
and 19,
Printing A Label
,
will help guide you through the process.


