7
5) PREPARATION AND INSTALLATION
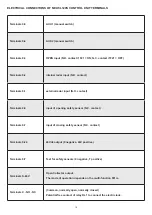
5.1) TOOLS REQUIRED:
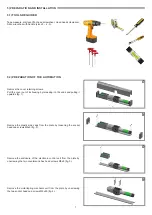
Tape measure, drill, level, flat-head screwdriver, cross-head screwdriver,
Allen wrenches with handle (sizes 3 ‑ 4 ‑ 5).
5.2) PREPARATION OF THE AUTOMATION
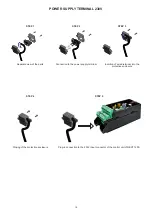
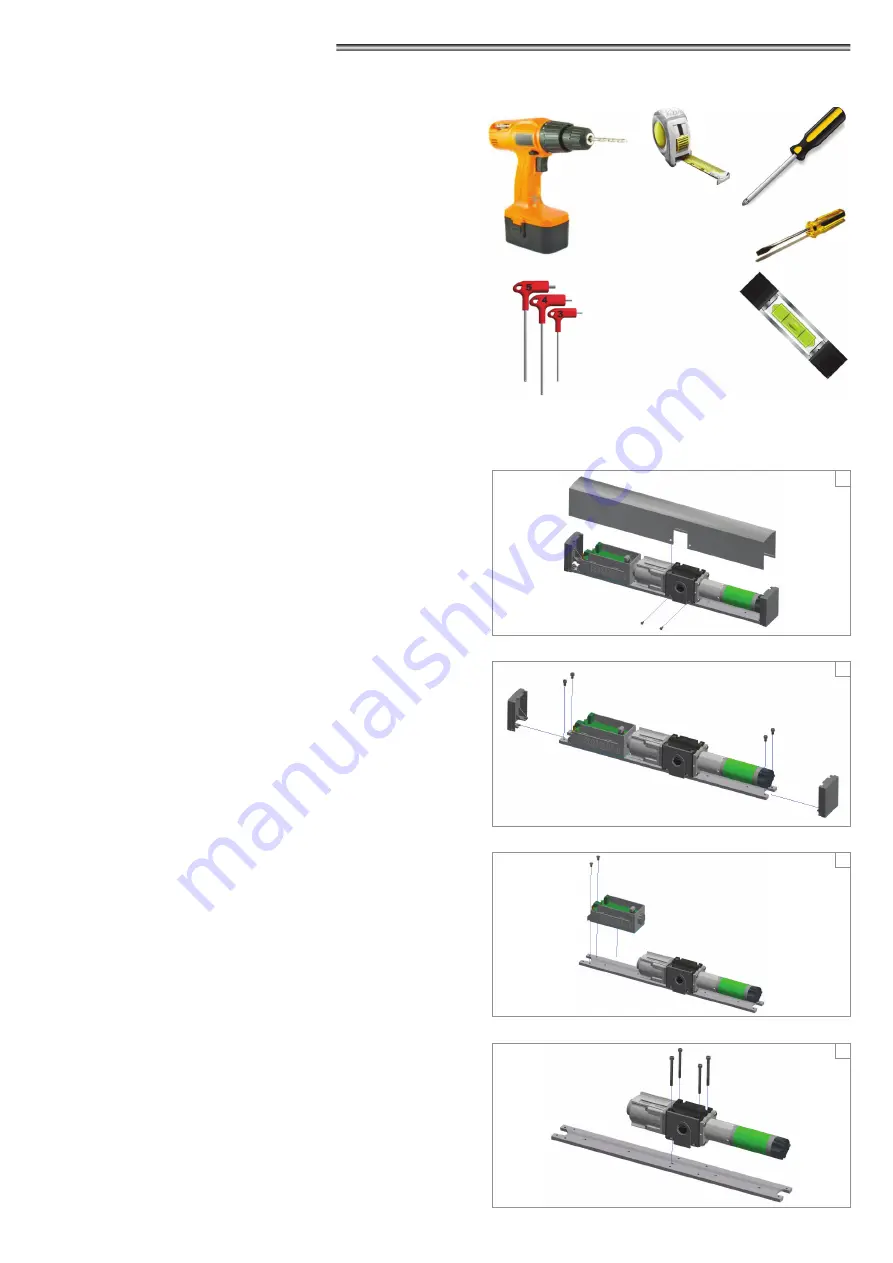
Remove the cover retaining screws.
Pull the cover out of its housing by releasing it at its ends and pulling it
upwards (fig. 1).
Remove the plastic side caps from the plate by loosening the socket
head cap screws M5x8 (fig. 2).
Remove the enclosure of the electronic control unit from the plate by
unscrewing the two countersunk hex head screws M5x8 (fig. 3).
Remove the motor/spring mechanic unit from the plate by unscrewing
the two socket head cap screws M5x60 (fig. 4).
1
2
3
4
Содержание NEXT 120s
Страница 2: ......
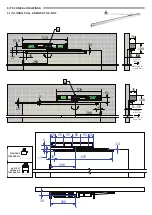
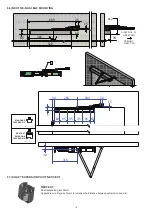
Страница 11: ...11 X 36mm X 6 mm 6 2 SLIDING PUSH ARM NEXT120 BDS STANDARD TAPERED PIN NEXT EXT EXTENSION TAPERED PIN ...
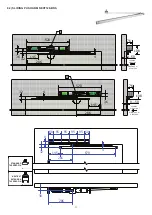
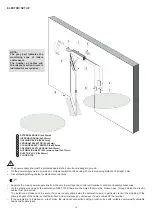
Страница 12: ...12 x X 36mm X 6 mm 6 3 ARTICULATED PUSH ARM NEXT120 BAS STANDARD TAPERED PIN NEXT EXT EXTENSION TAPERED PIN ...
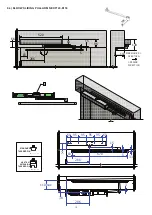
Страница 13: ...13 X 91mm X mm 6 4 ELBOW SLIDING PULL ARM NEXT120 B150 STANDARD TAPERED PIN NEXT EXT EXTENSION TAPERED PIN ...
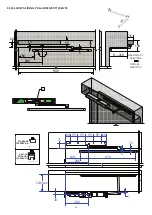
Страница 14: ...14 X 91mm X mm 6 5 ELBOW SLIDING PULL ARM NEXT120 B250 STANDARD TAPERED PIN NEXT EXT EXTENSION TAPERED PIN ...
Страница 62: ...62 ...
Страница 63: ...63 ...

