Kudo3D Titan 1 - Build Manual
Ver. 1.1
17
of
33
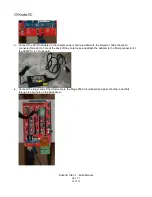
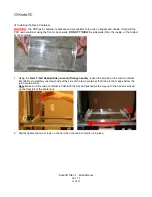
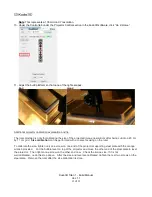
2. Carefully put the T-nuts into the frame railing and slightly tighten the 2 hex screws using the
3mm T-ball
Headed Allen wrench (Orange handle)
.
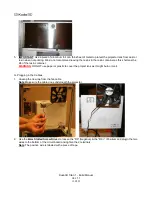
3. Slide the fan towards the front of the printer box.
4. Once in position, completely tighten the hex screws using the
3mm T-ball Headed Allen wrench (Orange
handle)
.
Note
: Confirm the position of the fan aligns to the vent opening in the black side panel.
F. Installing the Projector
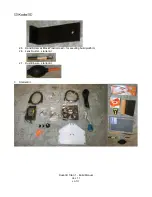
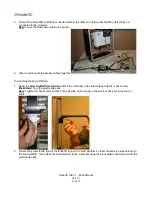
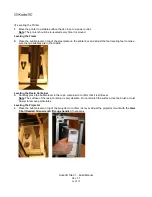
1. Locate the 3 hex screws (
M3x14mm
) and 2 spacers in the small parts pack.
Note
: Do not remove the plastic covering from the projector as this will protect it from resin splashing on it.
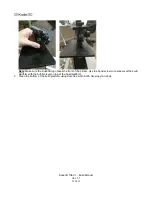
2. Place the 3 hex screws (
M3x14mm
) so that the screw heads are facing the panel. On the side opposite of
the 2 bottom hex screws (
M3x14mm
) place the 2 spacers.

