Kudo3D Titan 1 - Build Manual
Ver. 1.1
28
of
33
V. Calibrating the Build Platform
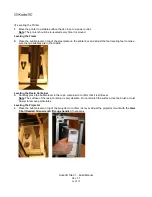
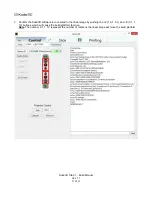
1. Confirm the linear stage is powered.
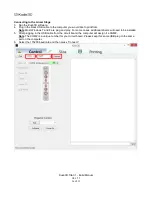
2. Run the Kudo3D software.
3. Confirm the Kudo3D software is connected to the linear stage.
4.
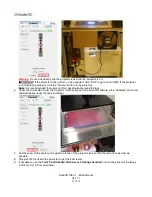
Click “Enable Z-zero”.
Note
: This will establish where the position of the stepper motor.
Warning
: Click the +Z and -Z buttons very carefully as the resin container may be damaged if the build
platform is moved past the physical home position.
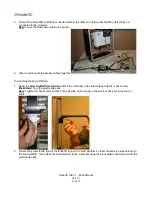
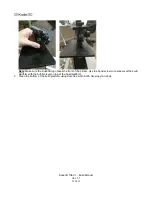
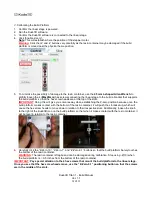
5. To minimize the possibility of damage to the resin container, use the
2.5mm L-shaped Allen Wrench
to
slightly loosen the 4 (
M4x20mm
) hex screws connecting the linear stage to the build L-bracket that supports
the build platform so that the hex screw heads are at the top of the slots.
IMPORTANT
: Doing this will give you some leeway when establishing the Z-zero position because once the
build platform makes contact with the bottom of the resin container, it will push the L-bracket up, which will
cause the hex screw heads to move down in relation to their respective slots. Additionally, loosen the knob
to the right of the Kudo3D icon on the build platform so that when it makes contact with the resin container, it
will be level in relation to the resin container.
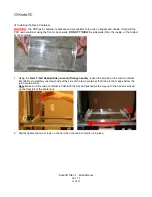
6.
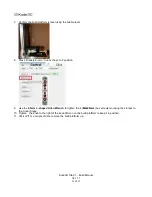
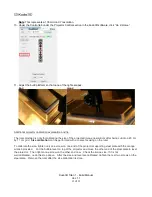
Carefully click the “Z-Zero-10”, “Z-Zero-1”, and “Z-Zero-0.1” buttons so that the build platform barely touches
the bottom of the resin container.
WARNING
: The resin container is fragile and can be damaged during calibration. Stop using -Z(10) when
the build platform is < 0.5 inches from the bottom of the resin container.
IMPORTANT
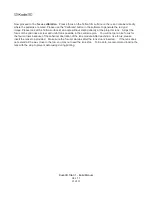
: Pay special attention to the 4 hex screws that mount the build platform to the linear stage.
Once you see that the hex screw heads move, use the “Z-Zero-0.1” positioning button so that the screws
are in the middle of the slots.

