Kudo3D Titan 1 - Build Manual
Ver. 1.1
16
of
33
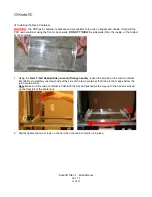
Warning
: Make sure the heat sink does not touch any of the metal tips on the circuit board to prevent a
static discharge that may ruin components on the circuit board.
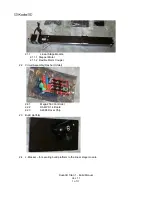
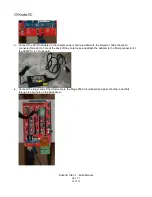
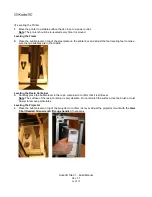
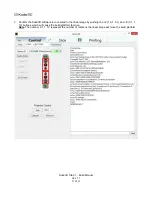
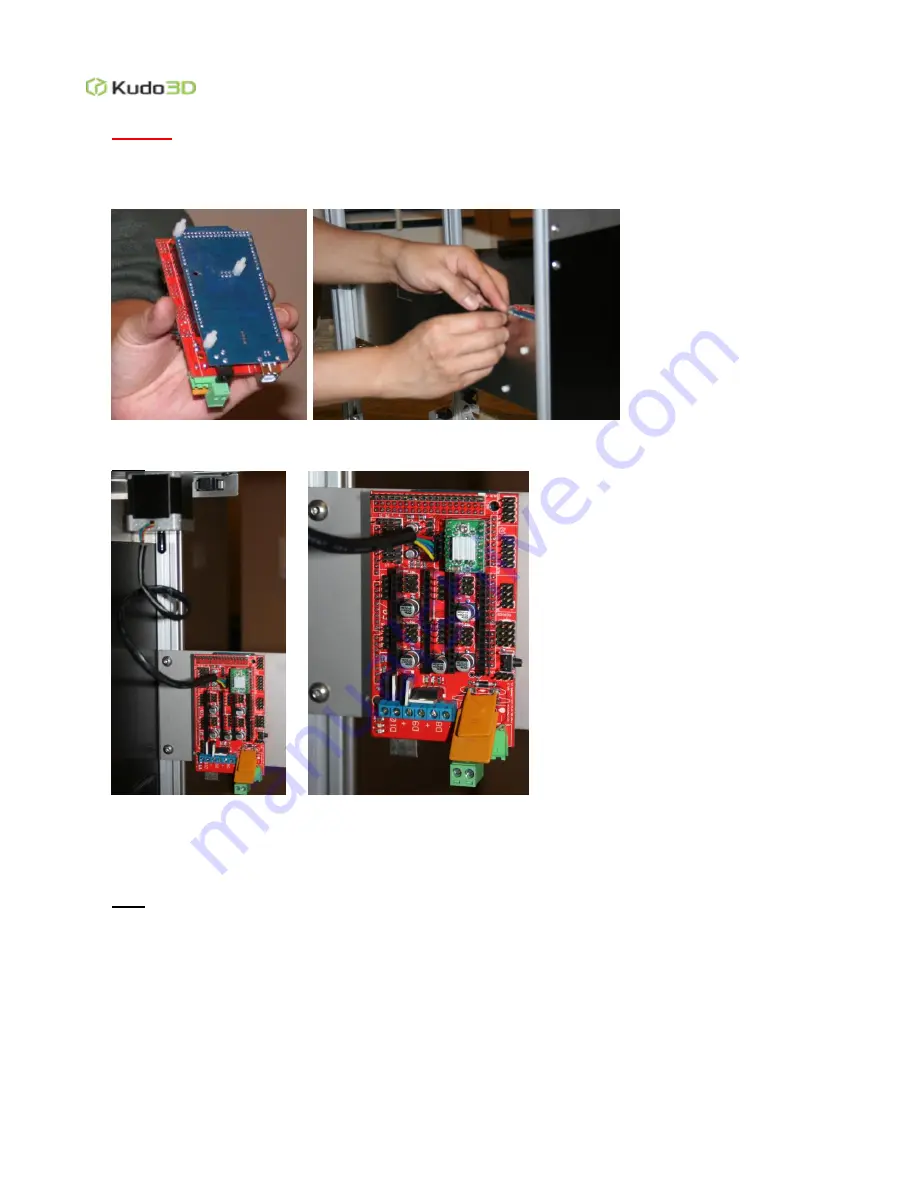
3. Remove the 3 plastic nuts from the back of the circuit board. Insert the three plastic stands of the circuit
board through the set of holes on the left side of the steel projector mounting plate. Tighten the plastic nuts
to mount the circuit board.
4. Connect the cable from the linear stage (with the
Red
wire
UP
and
Yellow
wire
DOWN
) to the vertical
column of pins in the Z section of the red circuit board closest to the A4988 chip (Heat sink).
Note
: Confirm the cable from the linear stage is plugged in correctly to prevent damage.
E. Mounting the Fan
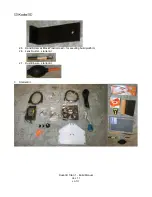
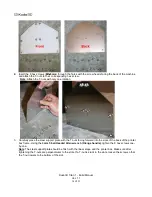
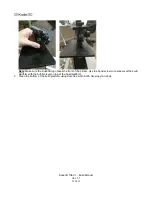
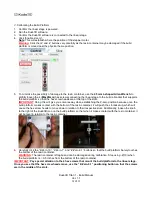
1. Place 2 hex screws (
M5x6mm
) so that the screw heads are in the back of the fan mounting plate and secure
the corresponding T-nuts on the screw with only 1 rotation.
Note
: The front of the fan has a sticker in the middle of the fan frame.


