


Kudo3D Titan 1 - Build Manual
Ver. 1.1
30
of
33
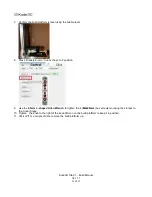
VI. Calibrating the Projector
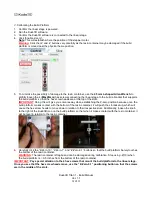
Important
: During calibration, make sure there is no resin in the resin container or anything on the projector lens.
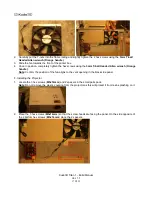
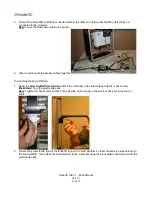
1. Cut the ruler plate into 20 cm by 11 cm and place it in the resin container.
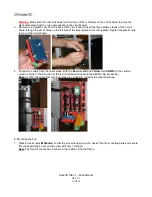
2. Plug everything in:
Plug in the projector's power cable.
Plug in the black HDMI cable to your computer.
Plug in the blue USB cable from the USB-to-RS232 conversion cable to your computer.
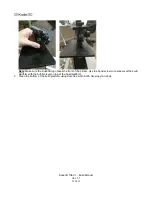
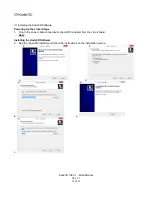
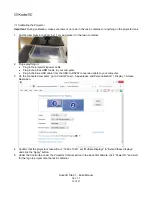
3.
On the connected computer, go to Control Panel > “Appearance and Personalization” > Display > Screen
Resolution.
4.
Confirm that the projector’s resolution is “1920 x 1080”, set “Multiple Displays” to “Extend these displays”
and click the “Apply” button.
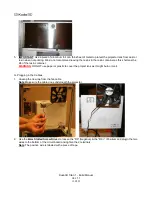
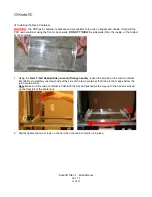
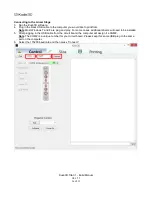
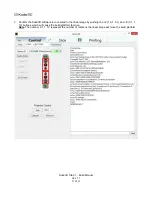
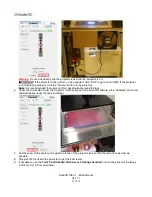
5.
Under the Control tab under the Projector Control section in the Kudo3D software, click “Power On” and wait
for the logo to project onto the resin container.


