32
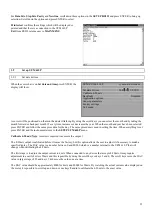
For Data bits, Stop bits, Parity and New line, scroll down these options in the SET UP RS232 and press ENTER to bring up
selection. Scroll down the options and press ENTER to select.
Printer test confirms the settings which will be displayed or
printed and that there is a connection to the UFM 610 P.
Exit from RS232 returns user to MAIN MENU.
3.9
Set up UFM 610 P
3.9.1
Set date & time
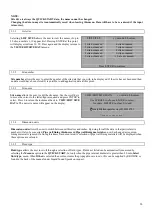
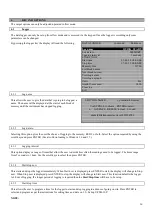
When the cursor bar is on Set date and time press ENTER, the
display will show.
SETUP UFM 610 P
yy-mm-dd h:mm:ss
Set date & time
96-0
1
-0
1
09:30:31
Calibrate 4-20mA
Backlight
Disabled
Application options
Sensor parameters
Factory settings
Exit menu
A cursor will be positioned on the month and start flashing. By using the scroll keys you can select the month and by taking the
month forward or back past month 12 every time, increases or decreases the year. When the month and year have been selected
press ENTER and follow the same procedure for the day. The same procedure is used in setting the time. When everything is set
press ENTER and the instrument returns to the SETUP UFM 610 P menu.
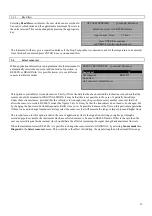
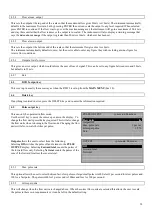
Calibrate 4-20mA (Note: A meter is required to measure the output.)
The 4-20mA output is calibrated before it leaves the factory, but this option allows the user to adjust it if necessary to match a
specific display. The DAC value is a number between 0 and 40,000 which is a number internal to the UFM 610 P that will
change when calibrating the 4-20mA.
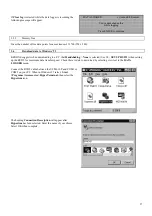
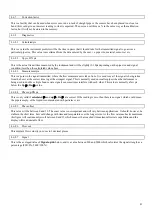
The first stage is to adjust the output current to 4mA. When connected to any device that accepts 4-20mA, it may require
adjustment to exactly 4mA or 20mA and this is possible by using the scroll keys or keys 5 and 6. The scroll keys move the DAC
value in larger steps of 25 and keys 5 & 6 move the value one at a time.
The DAC value should be approximately 8000 for 4mA and 40000 for 20mA. By watching the actual current value displayed on
the meter, it is possible to scroll up and down or use keys 5 and 6 to calibrate the 4-20mA to the exact value.


