User's Guide
- 29 -
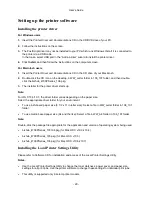
Setting up the printer software
Installing the printer driver
For Windows users
1.
Insert the
Printer Driver and Documentations
CD in the CD/DVD drive of your PC.
2.
Follow the instructions on the screen.
3.
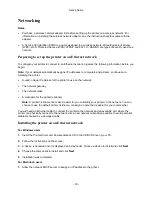
The PostScript driver may not be installed to your PC which runs Windows Vista if it is connected to
the printer via a USB cable.
In that case, select USB port in the “Add a printer” wizard to install the printer driver.
4.
Click
Install
, and then follow the instructions on the computer screen.
For Macintosh users
1.
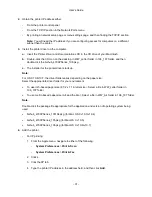
Insert the
Printer Driver and Documentations
CD in the CD drive of your Macintosh.
2.
Double-click the CD icon on the desktop, in WW_Letter folder in 106_107 folder, and then double-
click the bizhub_4700PSeries_106.pkg.
3.
The installer for the printer driver starts up.
Note:
For OS X 10.6/10.7, the driver folder varies depending on the paper size.
Select the appropriate driver folder for your environment.
•
To use inch-based paper size (8 1/2 x 11 in letter size): Select a file in WW_Letter folder in 106_107
folder.
•
To use metric-based paper size (A4 and the like): Select a file in WW_A4 folder in 106_107 folder.
Note:
Double-click the package file appropriate for the application and version of operating system being used.
•
bizhub_4700PSeries_103104.pkg (for Mac OS X v10.3/v10.4)
•
bizhub_4700PSeries_105.pkg (for Mac OS X v10.5)
•
bizhub_4700PSeries_106.pkg (for Mac OS X v10.6/v10.7)
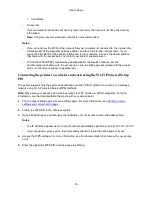
Installing the Local Printer Settings Utility
Please refer to
Software
CD for installation and access of the Local Printer Settings Utility.
Notes:
•
Use the Local Printer Settings Utility to change the toner darkness, power saver, and paper size
settings for all print jobs. Use the printer software to change these settings for individual print jobs.
•
This utility is supported only in select printer models.

