


Solving Other Problems
232
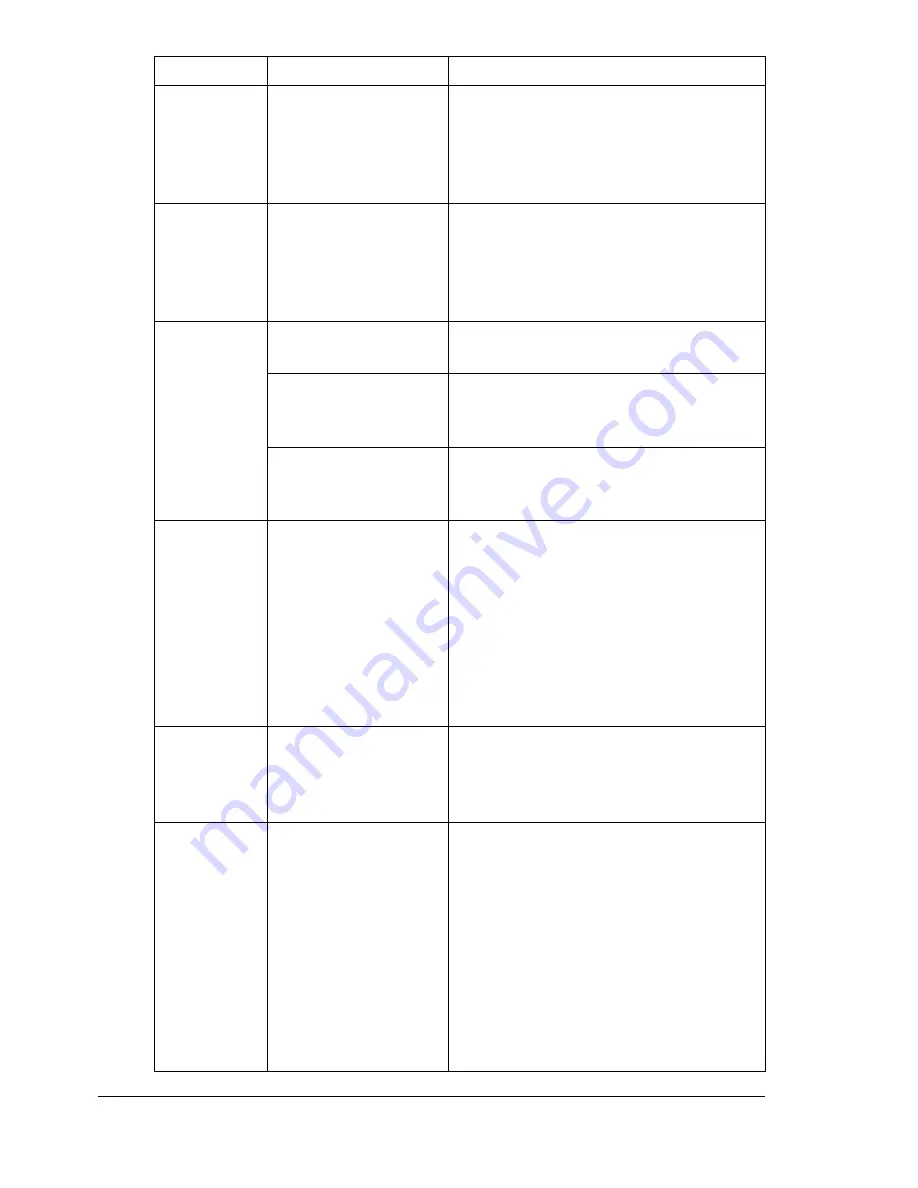
With N-up on
multiple cop-
ies, the out-
put is
incorrect.
Both the printer driver
and the application
have been set for col-
lation.
For N-up on multiple copies, choose
Collate only in the printer driver’s Basic
Tab. Do not set collation in the applica-
tion.
Booklet Left
and Right
Binding out-
put is incor-
rect.
Both the printer driver
and the application
have been set for col-
lation.
For Booklet Left Binding and Booklet
Right Binding, choose Collate only in
the printer driver’s Basic Tab. Do not
set collation in the application.
You hear
unusual
noises.
The machine is not
level.
Place the machine on a flat, hard, level
surface.
The tray is not
installed correctly.
Remove the tray that you are printing
from and reinsert it completely into the
machine.
There is a foreign
object stuck inside
the machine.
Turn off the machine and remove the
object. If you cannot remove it, contact
Technical Support.
When copy-
ing or scan-
ning with the
ADF, a band
appears at
the end of
the image or
paper (5 to 6
mm).
A malfunction may
have occurred while
paper was being
transferred with the
ADF.
If a band appears in the copy after
copying, select a copy density setting
that is one level darker.
If a band appears in the image after
scanning, scan using the original
glass.
Cannot copy
with the ADF.
Envelope DL, Enve-
lope Monarch, or
Envelope C6 is set to
the ADF.
Place the document on the original
glass. With the Envelope DL size,
some areas may not be copied.
While scan-
ning with the
ADF at 600
dpi, the
image has
become
lighter and
the back-
ground has
become
darker.
Immediately after the
machine is turned on,
the lamp intensity
increases. There-
fore, the image may
become lighter and
the background may
become darker.
If the image becomes lighter or darker,
scan using the original glass. In addi-
tion, perform the scan operation after
turning the machine on and lighting the
lamp for an hour and a half or more.
Symptom
Cause
Solution
Содержание A0FD011
Страница 1: ...magicolor 4690MF Printer Copier Scanner User s Guide A0FD 9561 00A 1800859 001A...
Страница 13: ...1Introduction...
Страница 23: ...2Control Panel and Configuration Menu...
Страница 40: ...Configuration Menu Overview 28 REPORTING SCAN SETTING...
Страница 46: ...Configuration Menu Overview 34 PAPER SETUP Menu PAPER SETUP TRAY1 PAPER TRAY2 PAPER...
Страница 76: ...Configuration Menu Overview 64...
Страница 77: ...3Media Handling...
Страница 100: ...Loading Media 88 6 Close Tray 3...
Страница 109: ...4Using the Printer Driver...
Страница 118: ...Printer Driver Settings 106...
Страница 119: ...5Using the Copier...
Страница 133: ...6Using the Scanner...
Страница 143: ...Scanning With the Machine 131 3 Press the or key to select SCAN TO USB MEMORY and then press the Select key...
Страница 162: ...Scanning With the Machine 150...
Страница 163: ...7Replacing Consumables...
Страница 182: ...Replacing Consumables 170 3 Remove the transfer roller 4 Prepare a new transfer roller...
Страница 198: ...Replacing Consumables 186...
Страница 199: ...8Maintenance...
Страница 204: ...Cleaning the Machine 192 3 Clean the media feed rollers by wiping them with a soft dry cloth 4 Close the tray...
Страница 211: ...9 9Troubleshooting...
Страница 220: ...Clearing Media Misfeeds 208 3 Close the right side cover...
Страница 228: ...Clearing Media Misfeeds 216 4 Remove any misfed media 5 Close the ADF cover 6 Close the ADF feed cover...
Страница 237: ...Clearing Media Misfeeds 225 4 Close the cover and slowly lower the scanner unit 5 Close the front cover...
Страница 263: ...10 10Installing Accessories...
Страница 270: ...Tray 3 Lower Feeder Unit 258...
Страница 271: ...AAppendix...
Страница 282: ...Our Concern for Environmental Protection 270...


