background image


  Please press the LEFT or RIGHT button if you wish to change mode. 

When the LEFT or RIGHT button is pressed, available values and modes are 

displayed in order. Please keep pressing the button until you get to the mode you 

as you desire. 

  Please select 'EXIT' and then press the SETUP button to finish the setting. 


Note 

• If appears at the mode you wish to operate, it means that there is a sub-menu which can 

be selected by pressing the SETUP button. 

• If appears at the mode item, it means that there is no mode available to be selected

.


1) LENS   


This  function  is  used  to  adjust  the  brightness  of  the 

screen. 

① 

When the Setup menu is displayed on the screen, 

please position the arrow to point to 'LENS' by using 

the up and down buttons. 

② 

Please select the type of the lens you wish to use 

by pressing the left or right Button 

▶ 

Manual


: MANUAL lens selection


▶ 

DC : DC Auto Iris lens selection 

*

 Please don’t be selected in MANUAL for IR camera. 
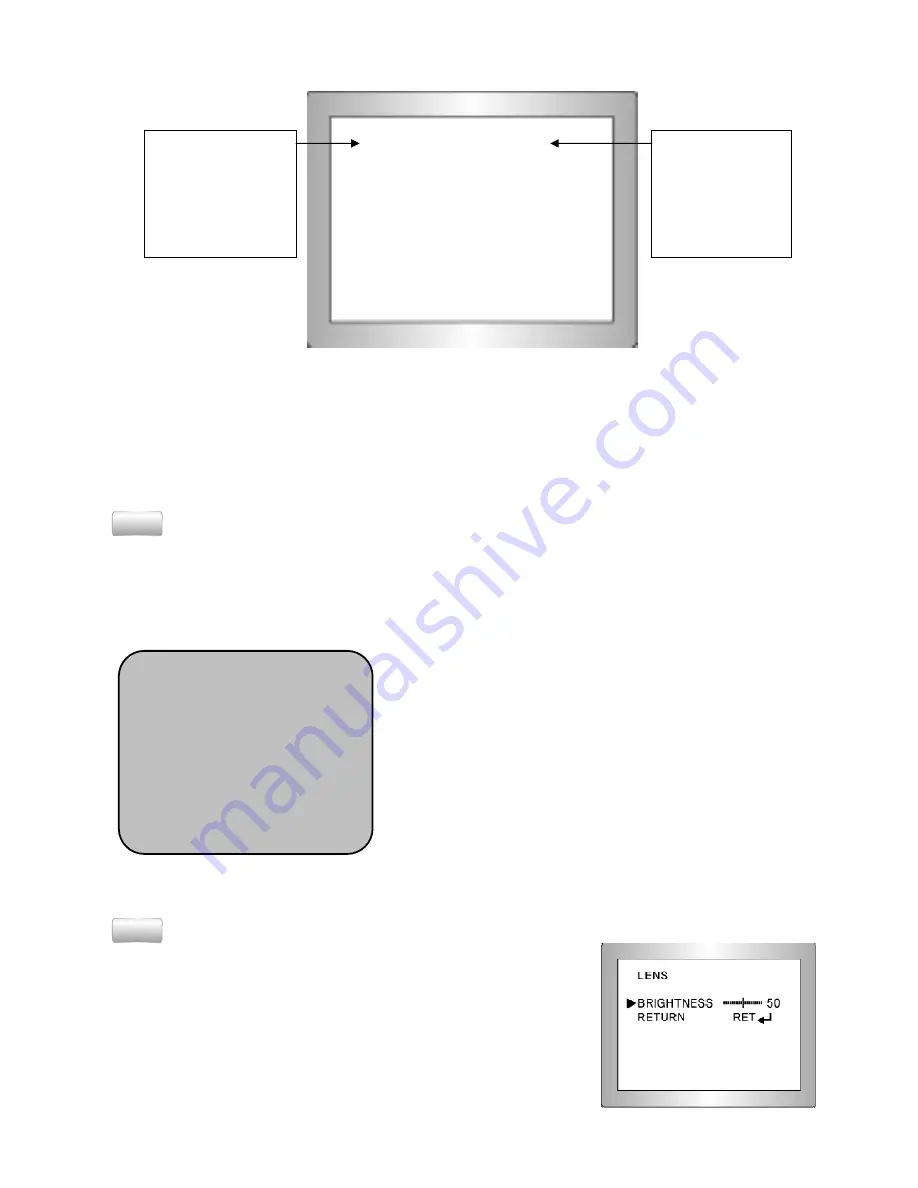
③ 

Please press the SETUP button if you wish to return to the previous menu 

  Note 

• In DC selecting, it can adjust BRIGHTNESS in the sub-menu 

with RIGHT button and in MANUAL selecting, it can adjust 

BRIGHTNESS at EXPOSURE of menu. 

• The brightness can be adjusted within the range of 0 ~ 100. 

The optimum level of brightness for the user can be achieved 

by adjustment. 

SETUP 

1. LENS                          DC


2. EXPOSURE               


3. WHITE BAL                ATW-L 

4. DAY NIGHT                EXT 

5. 3DNR                        ON


6. SPECIAL                   


7. ADJUST                     


8. RESET                       


9. EXIT                           


Select any function 

you wish to operate 

by  using the UP and 

DOWN buttons. 

Modes can be 

changed using the   

LEFT and RIGHT   

buttons. 

SETUP 

1. LENS                          DC


2. EXPOSURE               


3. WHITE BAL                ATW-L 

4. DAY NIGHT                EXT 

5. 3DNR                        ON


6. SPECIAL                   


7. ADJUST                     


8. RESET                       


9. EXIT                           


Содержание KVDM-580IR(W)

Страница 1: ...IR Day Night IR Vandal Resistant Dome Camera KVDM KVDM KVDM KVDM 580IR 580IR 580IR 580IR W W W W MANUAL...

Страница 2: ...to obtain better picture definition Motion Detection Since the camera detects motion and generates signals without any additional external sensors you can monitor activity more efficiently by connect...

Страница 3: ...ton Used for the menu display This button can be used to confirm settings after changing the value of the selected function or current conditions UP DOWN buttons Used for selecting items by moving the...

Страница 4: ...R OFF INDOOR OUTDOOR EXPOSURE RETURN WHITE BAL ATW AWB AWC SET MANUAL INDOOR OUTDOOR ATW L DAY NIGHT EXT B W COLOR 3DNR OFF ON CAM TITLE D EFFECT FREEZE MIRROR D ZOOM GAMMA MEG IMAGE MOTION OFF ON PRI...

Страница 5: ...down buttons Please select the type of the lens you wish to use by pressing the left or right Button Manual MANUAL lens selection DC DC Auto Iris lens selection Please don t be selected in MANUAL for...

Страница 6: ...x8 x4 x2 selectable 2 BRIGHTNESS When the lens is selected MANUAL it can be adjusted BRIGHTNESS 3 AGC Auto Gain Control OFF Deactivates the AGC function LOW Allows automatic gain control to 14 dB MID...

Страница 7: ...tializing HSBLC area L EFT RIGHT Moving left right in HSBLC area WIDTH Adjusting left right width in HSBLC area T OP BOTTOM Moving up down in HSBLC area H EIGHT Adjusting height of up down in HSBLC ar...

Страница 8: ...K and 20 000 K AWB Select this when the color temperature is between 2 500 K and 9 500 K AWC SET To find the optimal setting for the current luminance environment in this mode set the point the camer...

Страница 9: ...essing the LEFT or RIGHT button COLOR The pictures are always displayed in color IR LED Off EXT This mode allows you to apply a desired filter to external signals CdS B W The pictures are always displ...

Страница 10: ...y using the UP or DOWN button Please select ON by pressing the LEFT or RIGHT button Please press the SET button Up to 15 letters can be used for the ID Please move the cursor to the letter you wish to...

Страница 11: ...n The name will appear at the top left corner Please find the position you wish to display the name by using the 4 directional buttons and then press the SETUP button Please select END and then press...

Страница 12: ...H Adjust horizontal width of the programmed motion area TOP BOTTOM Move vertical position of the programmed motion area HEIGHT Adjust vertical height of the programmed motion area SENSITIVITY Adjust m...

Страница 13: ...phase of multiple cameras using the power synchronization function Line Lock without using a synchronization signal generator INT Internal Synchronization Type L L Power Synchronization Type Line lock...

Страница 14: ...s SHARPNESS Adjust brightness of the video picture BLUE Adjust CB GAIN of the color RED Adjust CR GAIN of the color 8 RESET Reset the camera settings to the factory defaults 9 EXIT Press the SET butto...

Страница 15: ...15 5 Dimensions...

Страница 16: ...2 White Balance ATW AWB AWC Set Manual Indoor Outdoor ATW L BackLight OFF BLC HSBLC Wide Dynamic Range 52dB AGC Low Middle High Off 3D DNR On Off Privacy Zone Motion Detection 8 Area 4 Zone Sharpness...

Отзывы: