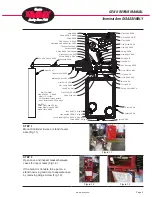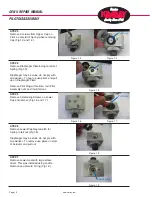
STEP 1
Install retaining nut, seal and O ring on
terminal arm. Do not push O ring over
threads or it may be cut by threads. Roll
O ring over threads (Fig 1.1).
Roll over threads
Very important
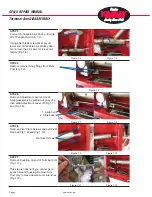
STEP 2
Apply Blue Loctite to housing threads
(Fig 1.2). Insert terminal arm and tighten
(Fig 1.3).
Loctite
STEP 3
Apply Blue Loctite to arm post and tighten
(Fig 1.4).
Loctite
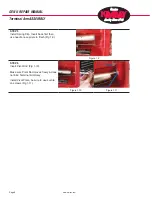
STEP 4
Install adjustment assembly and spring
assembly. Put adjustment arm on first
then rotate back to align spring assembly
on post (Fig 1.5).
Install snap rings make sure they snap
into grooves on post (Fig 1.6).
www.kimray.com
Page 7
GEN II REPAIR MANUAL
Terminal Arm ASSEMBLY
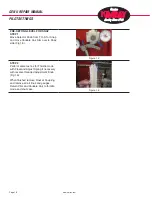
Figure 1.1
Figure 1.2
Figure 1.3
Figure 1.4
Figure 1.5
Figure 1.6
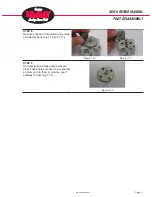
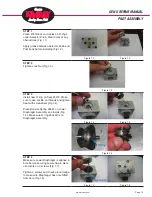
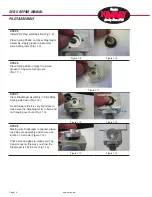
Figure 1.7
Figure 1.8
Содержание GEN II
Страница 1: ...GEN II Repair Manual...
Страница 8: ...www kimray com Page 6 GEN II REPAIR MANUAL NOTES...
Страница 14: ...www kimray com Page 12 GEN II REPAIR MANUAL NOTES...
Страница 18: ...www kimray com Page 16 GEN II REPAIR MANUAL NOTES...
Страница 21: ...www kimray com GEN II REPAIR MANUAL NOTES...
Страница 22: ......


