54-5501 Rev A Service Department (800) 888-7009
(559) 256-8000
9
Chain Replacement
Tools required:
9/16-inch socket and torque wrench
Release the resistance to the flywheel by moving the shifter to the maximum clockwise position. Remove
the chain cover and slightly loosen the forward screw. From behind the bike, push the flywheel forward
until the chain is loose enough to remove. Install the new chain by carefully threading it over the crank
arm sprocket and flywheel cog. If the replacement chain is supplied by Keiser, it is lubricated before
leaving the factory and requires no additional lube at this time. If the chain is not purchased from Keiser,
then lubricate the chain as previously instructed. Replace the chain cover. Tension the chain as described
in the
“Chain Tension Adjustment”
section on page 6. Re-torque the chain cover screws to 35 ft-lbs.
Friction Belt Adjustment
To adjust the friction belt, lift and release the lever on the friction belt buckle. To increase tension, pull the
belt through the buckle toward the main frame. To decrease tension, pull the belt away from the main
frame. Depress and lock the lever on the buckle.
Friction Belt Replacement
Note! The friction belt is reversible. The friction belt should be reversed or replaced when it
becomes black, shiny, slick or thin. Always clean the flywheel groove when reversing or replacing
the friction belt.
Release the resistance to the flywheel by moving the shifter to the maximum clockwise position. Remove
the friction belt and use the reverse side, if possible, and exchange the ends. Place the end that was in
the friction belt buckle on the tension spring. Wrap the belt around the flywheel being careful not to twist
the belt. Insert the free end of the belt into the belt buckle and adjust the friction belt as previously
instructed.
Shift Lever Tension Adjustment
Tools required:
#2 Phillips screwdriver
If the shift lever moves during the workout, the tension screw should be tightened to prevent that
movement. Use a Phillips screwdriver to rotate the shift lever tension screw clockwise to the desired
tension.
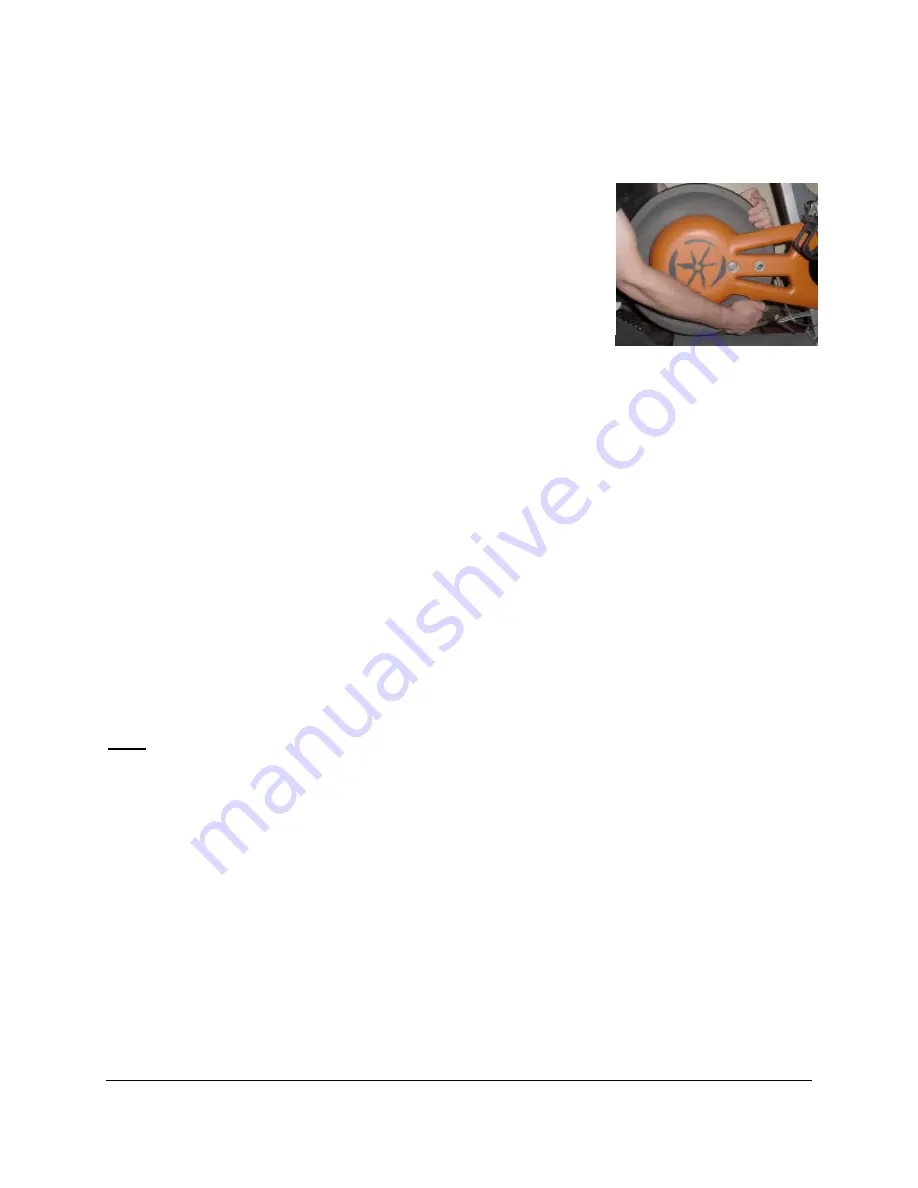
Release the resistance to the flywheel by moving the shifter to the
maximum clockwise position. Loosen the screws on the chain cover. From
behind the bike, grasp the underside of the flywheel. Your hand should be
between the friction belt and the bottom of the chain cover, but it should
not be touching either. Pull the flywheel firmly toward your body. Make
sure that the flywheel is aligned with the bike frame. Re-torque the screws
on the chain cover to 35 ft-lbs. Check the adjustment by gently moving the
crank arm back and forth being careful not to rotate the flywheel. The
crank arm should not move more than 1/8”.


