17
2. Add the ingredients as per recipe
into the soup maker jug. Ensure
the food contents and liquids do
not exceed the 1.5L MAX marking
shown on the soup maker jug.
3. Place the assembled lid on the
soup maker and turn in a clockwise
direction to lock into place.
4. Place the soup maker jug onto
the soup maker base ensuring it is
securely positioned.
5. Plug the power cord into a 230V or
240V power outlet and switch on at
the power point.
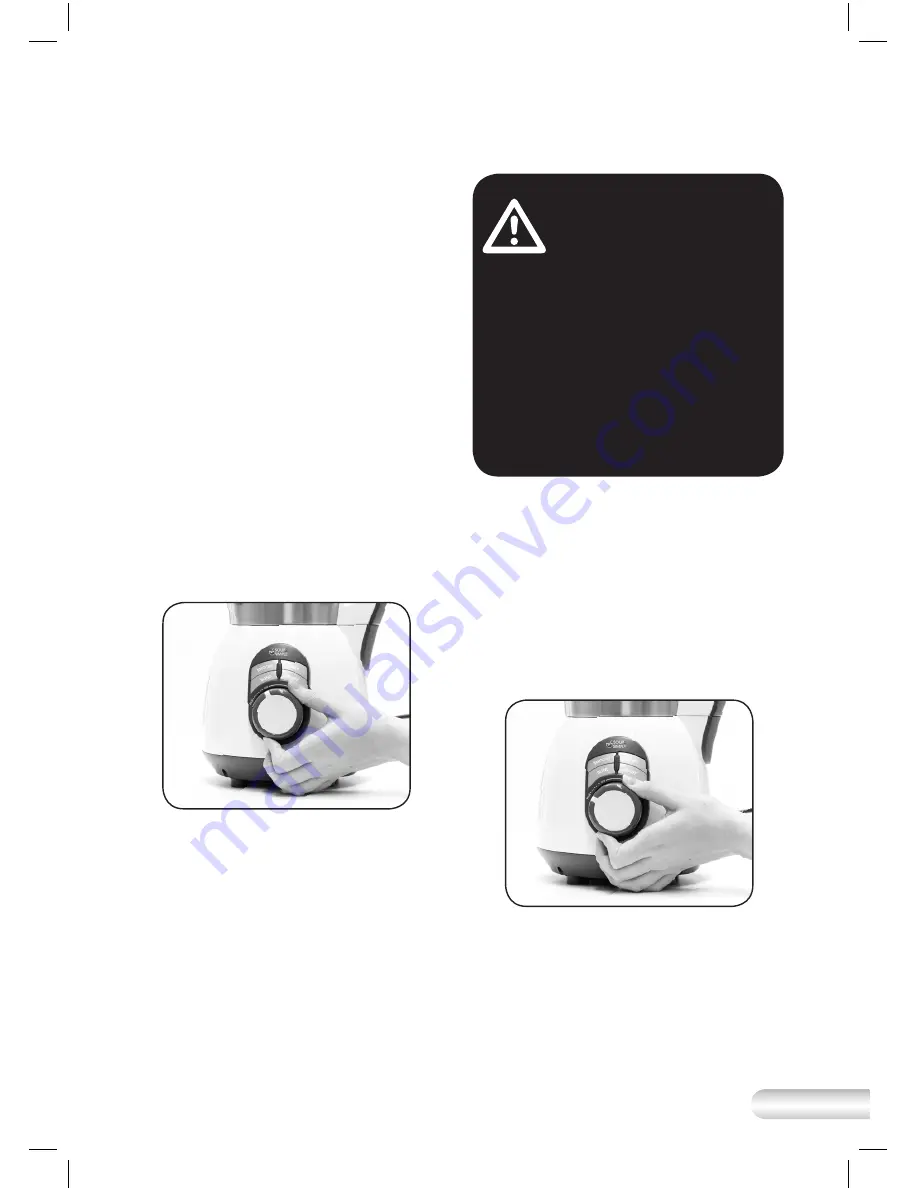
6. Turn the speed control dial
clockwise for the LOW and HIGH
blending speed settings. The speed
can be changed at any time
during the blending process. Ideally,
start blending on LOW speed and
then increase to a HIGH speed as
required (Fig. 6).
Fig. 6
7. Once the desired consistency
is achieved, turn the blending
speed control dial back to the OFF
position; turn the soup maker off at
the power outlet and remove the
power plug from the power outlet.
WARNING:
Do not
operate continuously on
LOW or HIGH blending
speeds for more than
2 minutes. Allow the
motor to rest for 1 minute
in between each use.
maker lid is correctly
positioned between the
grooves on the outside
edge. The seal should sit
flat and securely around
the soup maker lid.
8. For ingredients that require a
short burst of power, use the
PULSE setting. Start with the speed
control dial in an OFF position, turn
the speed control dial in an anti-
clockwise direction and hold it in
this position for desired blending
time (Fig. 7). This setting is ideal for
thick liquids, or harder foods i.e.
nuts or ice cubes with liquid.
Fig. 7
9. Once the desired consistency
is achieved, release the speed
control dial and it will return to
the OFF position; turn the soup
maker off at the power outlet and
remove the power plug from the
power outlet.
KBL620_IB_D17.indd 17
27/01/2017 10:52 am


