20
ENGLISH
3
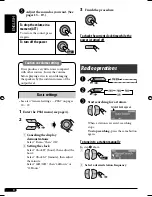
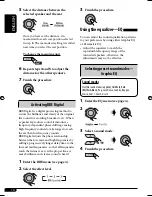
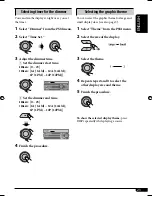
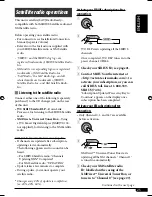
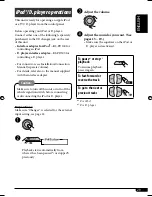
Select or adjust the selected PSM item.
4
Repeat steps
2
and
3
to adjust the
other PSM items if necessary.
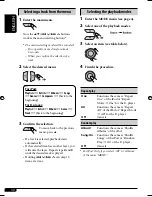
5
Finish the procedure.
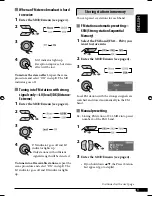
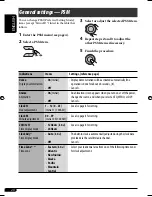
You can change PSM (Preferred Setting Mode)
items (except “Sirius ID”) listed in the table that
follows.
1
Enter the PSM menu (see page 4).
2
Select a PSM item.
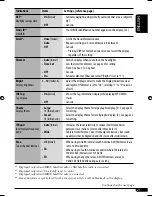
General settings — PSM
Indications
Items
Settings, [reference page]
Demo
Display demonstration
•
On
[Initial]
•
Off
: Display demonstration will be activated automatically if no
operation is done for about 20 seconds, [8].
: Cancels.
Anime
Animation
•
On
[Initial]
•
Off
: An animation screen appears when you turn on or off the power,
change the source, and when you select an EQ, MENU, or DSP.
: Cancels.
Clock H
Hour adjustment
1
–
12
(
0
–
23
)
[Initial: 1 (1:00AM)]
: See also page 8 for setting.
Clock M
Minute adjustment
00
–
59
[Initial: 00 (1:00AM)]
: See also page 8 for setting.
24H/12H
Time display mode
•
12Hours
[Initial]
•
24Hours
: See also page 8 for setting.
Clock Adj
*
1
Time display mode
•
Auto
[Initial]
•
Off
: The built-in clock is automatically adjusted using the clock data
provided via the satellite radio channel.
: Cancels.
Time Zone
*
1,
*
2
Time zone
•
Eastern
[Initial]
•
Atlantic
•
Newfndlnd
•
Alaska
•
Pacific
•
Mountain
•
Central
: Select your residential area from one of the following time zones
for clock adjustment.
EN16-23_SH1000J_001A_2.indd 20
EN16-23_SH1000J_001A_2.indd 20
1/17/06 10:46:02 AM
1/17/06 10:46:02 AM

