


5.
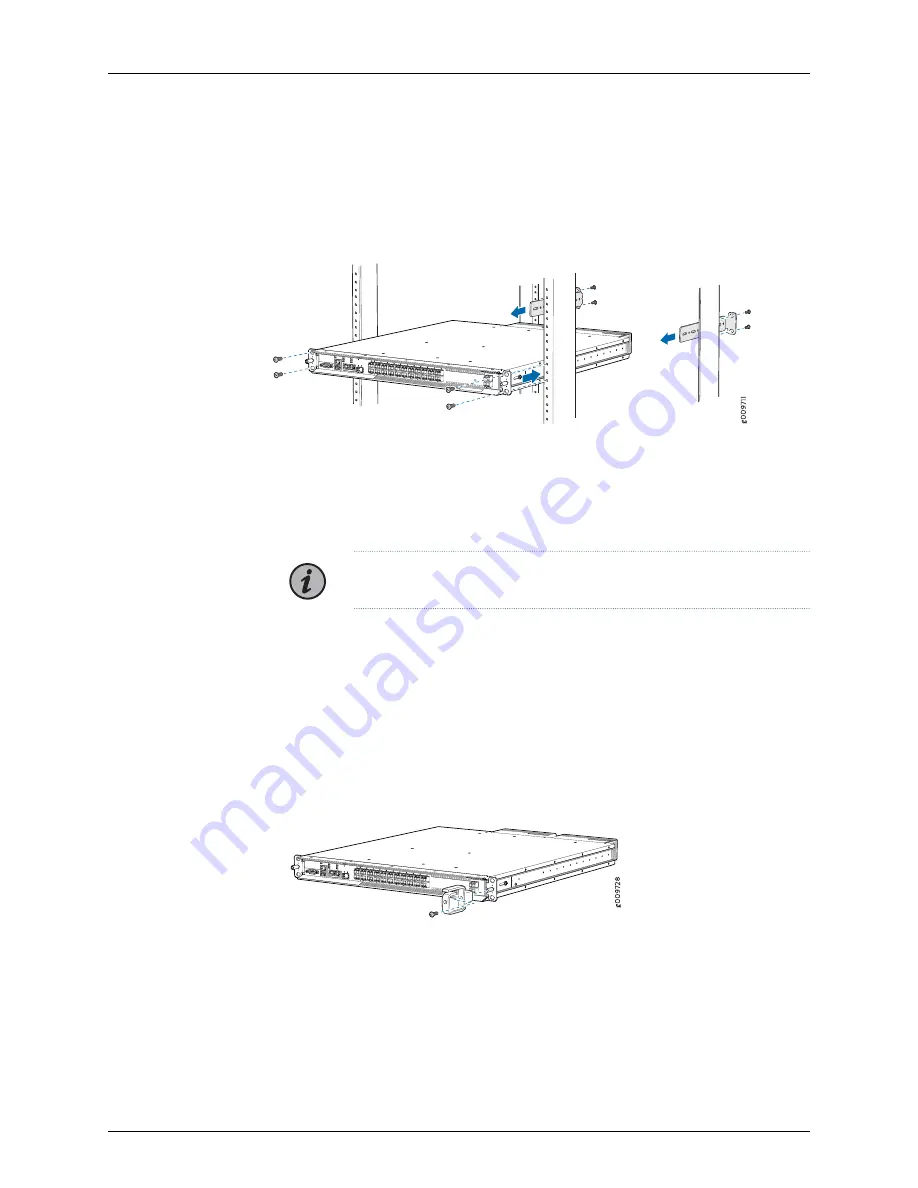
Have a second person secure the front of the chassis to the rack using four mounting
screws (and cage nuts and washers if your rack requires them.) Tighten the screws.
See
Figure 1: Installing the TCX1000-RDM20 on a Rack
6.
Continue to support the chassis while sliding the rear brackets into the channel of the
side-mounting rails and securing the brackets to the rack. Use the four mounting
screws (and cage nuts and washers if your rack requires them) to attach each bracket
to the rack. Tighten the screws.
NOTE:
The rear bracket is long enough to allow for various bracket depths.
7.
Ensure that the chassis is level by verifying that all the screws on the front of the rack
are aligned with the screws at the back of the rack.
8.
Secure the rear bracket to the chassis using the saved screws from Step
.
9.
Install the fiber management clip on the front of the chassis, on the right or left hand
side, as required. See
Figure 2: Installing the Fiber Management Clip on the TCX1000-RDM20
Copyright © 2018, Juniper Networks, Inc.
4
TCX1000 Programmable ROADM Quick Start Guide