19
www.jbl.com
E
ngli
sh
4. Use the Cursor Left and Cursor Right buttons to set the distance you
measured for the speaker. (The arrowheads indicate which speaker is
being adjusted.) The distances are in meters. Each .3 meters equals 1
foot.
5. Press the “Clear/Exit” button twice to return to the speaker-setup
screen and select the next speaker distance to be adjusted.
6. Repeat steps 2 – 5 for each speaker until you have adjusted the
distance to all the loudspeakers in your 5.1-channel speaker system
(except the subwoofer).
7. After you have entered all the distances, press the “Clear/Exit” button to
return to the Level screen.
NOTE: Leave all the speaker levels set at “0” for now. You will be able to
adjust the individual speaker levels once your system is set up and you’re
playing music or films. See
Adjusting Individual Speaker Volumes,
on
page 20.
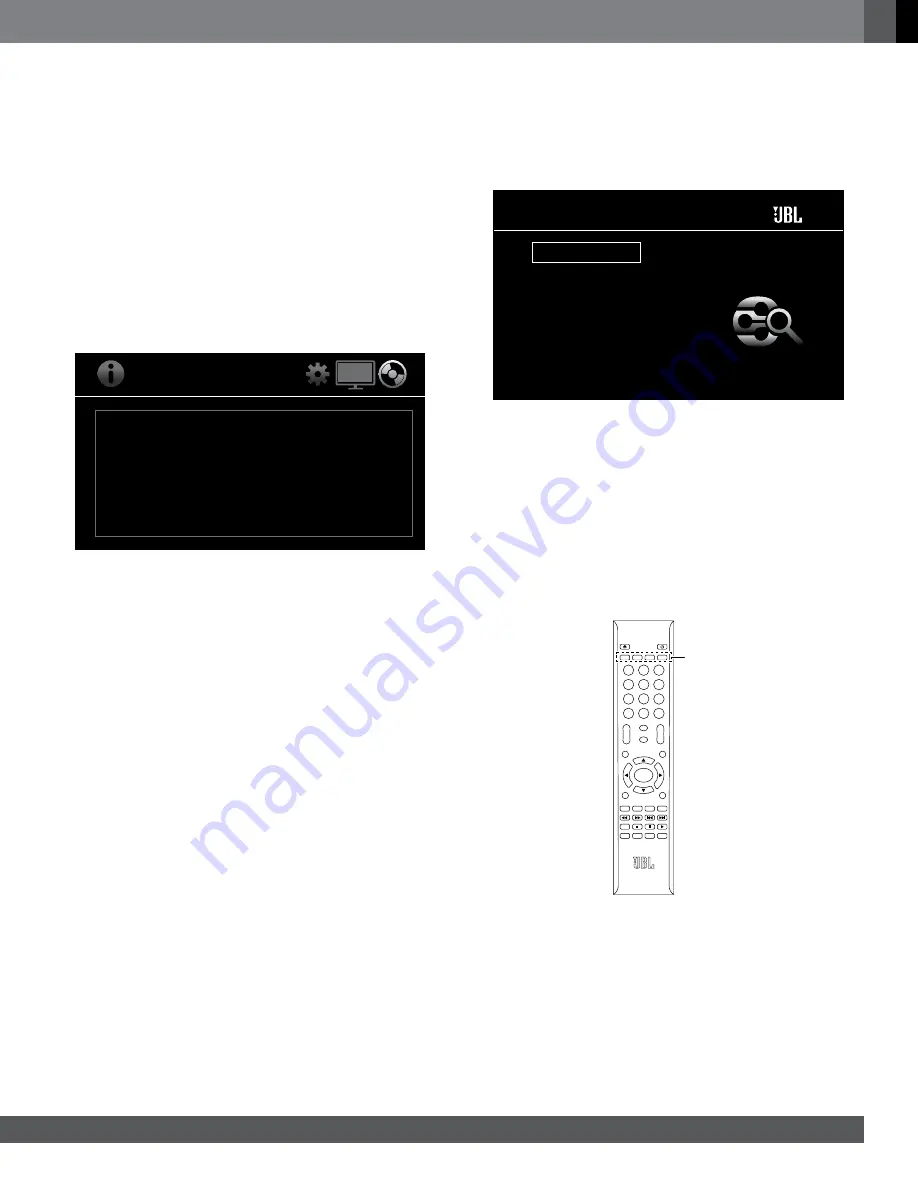
INFoRMATIoN MENU
Software Version: BD100 V24.24.06
MAC : 00 -1C -50 -00 -D8 -9B
System Information
The Information menu will display the receiver’s software/firmware version
number and the receiver’s factory-assigned network MAC address. This
screen is for information only and has no user adjustments.
using The ReCeiVeR
NOTE: Before using your new BD receiver, be sure to set the speaker
distances, as explained in
Audio Settings: Speaker Settings,
on page 18.
hoMe Menu
Press the Home button to display the Home Menu screen:
DLNA Search
Pandora
Picasa
YouTube
FM Radio
Bluetooth
Input
Home Menu
The available sources are listed on the left.
If a disc has been inserted into the receiver’s built-in disc slot, it will appear
on the list as either “CDDA” (CD), “DVD Video” (DVD) or “Blu-ray Disc.” If
you have inserted a USB device into the receiver’s USB port, it will appear
on the list as “USB.”
Digital and analog audio sources connected to the receiver’s rear-panel
digital and line inputs can be accessed by selecting “Input” from the source
list (see
Listening to Audio Sources,
on page 24).
To select a source from the list, use the Cursor Up/Down buttons to
highlight the desired source, then press the Enter button to select it. You
can also select sources by pressing the four Source buttons on the remote.
DISC
MUTE
VOL+
VOL–
CH+
CH–
SETUP
HOME
ENTER
TOP MENU
POP-UP MENU
CLEAR/EXIT
REPEAT
A–B
PROGRAM BOOKMARK THUMBNAIL
ZOOM
SUBTITLE
AUDIO
SURR
OPTIONS
DISPLAY
1
2
3
4
5
6
7
8
0
9
RADIO
STREAM
SOURCE
Source
Buttons
• Disc: Selects the receiver’s built-in disc player.
• Radio: Selects the receiver’s built-in FM tuner.
• Stream: The first press of this button selects the last-used source among
the following:
Bluetooth,
YouTube, Picasa, Pandora, DLNA. Subsequent
presses advance through the sources in order. (Note: YouTube, Picasa
and Pandora streaming services are region-dependent.)
• Source: The first press of this button selects the last used digital or
analog source connected to the receiver’s rear-panel optical, coaxial,
HDMI ARC, HDMI 1 (BD300 only), HDMI 2 (BD300 only) and Aux inputs.
Subsequent presses advance through the inputs in order.
To use the Playlist function, see
Using Playlists,
on page 27.


