11
7. Finish configuration
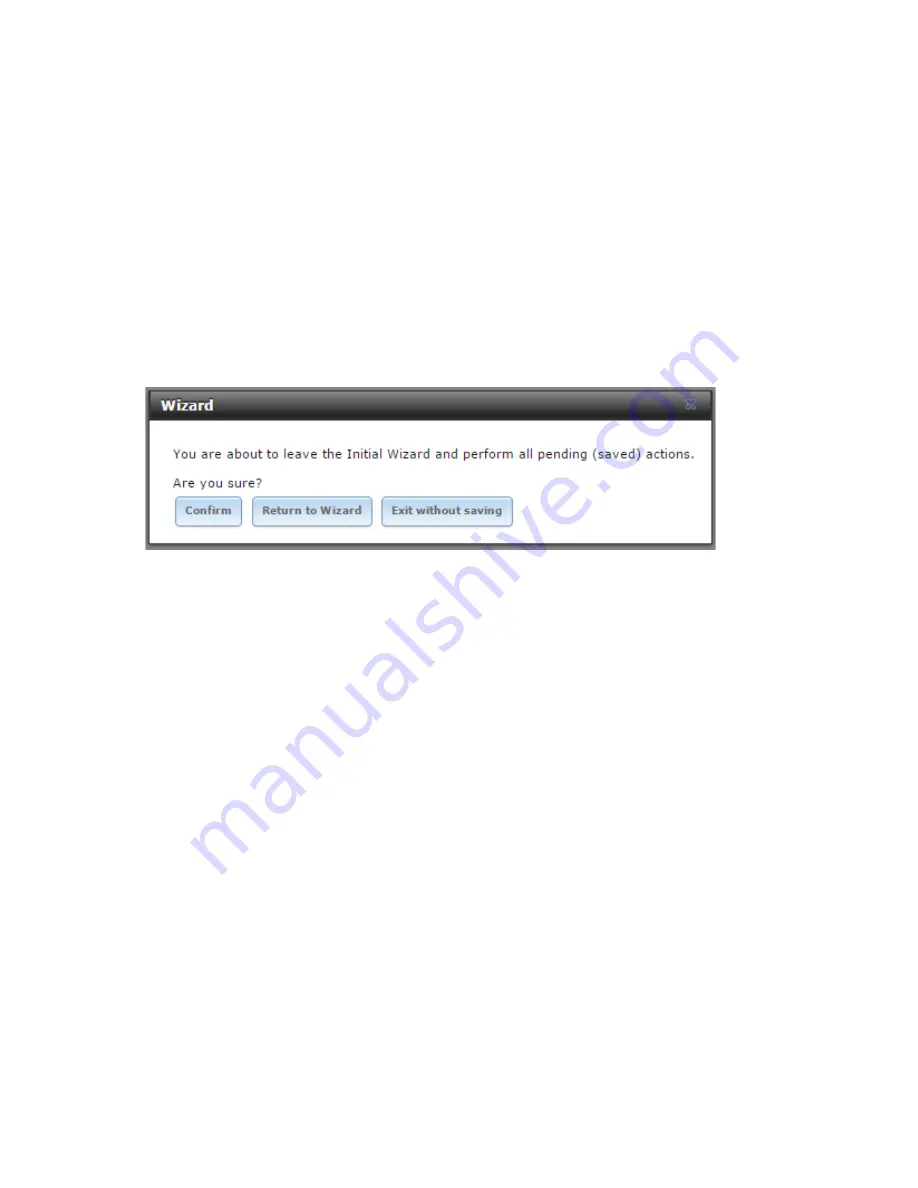
If you’re sure about all your settings, click “Confirm” to have FreeNAS perform
the configuration you’ve selected. If you want to check one more time, click
“Return to Wizard”, which will take you back through the steps of the wizard
with all your selected configurations already in place. If you’d rather discard
your changes and proceed to the FreeNAS UI, you may click “Exit without
saving” at this time.
Figure 9: Save or Confirm your settings.
8. connect to your share
Now, it’s time to connect to your share. The wizard will already have started
the CIFS (windows share) service, so it would already be working. We’ll use
Windows as an example. Open an Explorer window in a Windows computer
on the same network as your FreeNAS Mini. In the address bar at the top,
enter \\ followed by the hostname of your FreeNAS Mini Appliance (“freenas”
by default). The current hostname also appears in the title bar of the browser
window where you configure your FreeNAS Mini. Your share contents should
appear. You may have to enter the username and password you entered earlier
as well.


