Hydra Super-S LCM LCD Display
3 LCD Display
The LCD display shows the system status, detailed information about the hard drives as well as
the system configuration and provides the option to modify certain device settings.
To select a menu or change an option, use the [Select] button. To enter a menu and confirm a
change, use the [OK] button. For further details, follow the on-screen wizard or refer to the
following step by step descriptions.
3.1 Main Menu
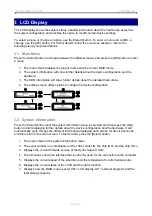
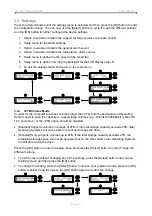
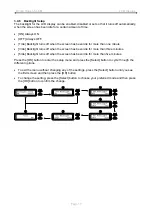
Press the [Select] button to change between the different menus and press the [OK] button to enter
a menu.
1. The main screen displays the product name and the current RAID mode.
2. The system information will show further details about the device configuration and the
hardware.
3. The HDD information will show further details about the installed hard drives.
4. The settings menu offers options to change the device configuration.
3.2 System Information
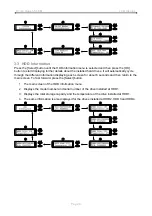
Press the [Select] button until the system information menu is selected and then press the [OK]
button to start displaying further details about the device configuration and the hardware. It will
automatically cycle through the different information displaying each screen for about 8 seconds
and then return to the main screen. To fast forward, press the [Select] button.
1. The main screen of the system information menu.
2. The serial number is a combination of the 1394 vendor ID, the chip ID Hi and the chip ID Lo.
3. Displays the current firmware version of the Hydra Super-S LCM.
4. The I/O status shows the interface that is currently used for the connection to the computer.
5. Displays the current speed of the smart-fan and the temperature from its thermal probe.
6. Displays the current status of the >2TB and the alarm function.
7. Displays how the RAID mode is set (LCM = LCD display, AP = external program) and the
total storage capacity.
Page 7

