Hydra Super-S LCM LCD Display
3.4.2 RAID Mode Setup
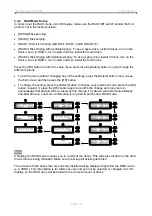
In order to set the RAID mode via LCD display, make sure the RAID SET switch behind the front
panel is not in the locked position.
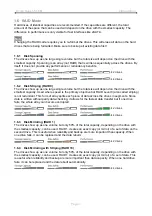
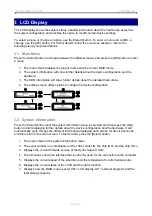
[SPAN] Disk spanning.
[RAID 0] Disk striping.
[RAID 1/10] Disk mirroring (2xHDD
RAID 1, 4xHDD RAID 10).
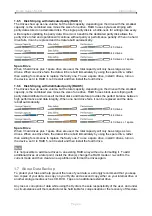
[RAID 3] Disk striping with dedicated parity. To use a spare drive, install 3 drives, turn on the
device, set it to RAID 3, let it restart and then install the fourth drive.
[RAID 5] Disk striping with distributed parity. To use a spare drive, install 3 drives, turn on the
device, set it to RAID 5, let it restart and then install the fourth drive.
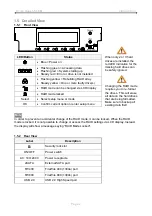
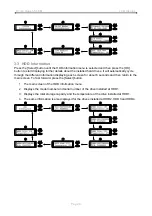
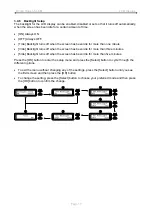
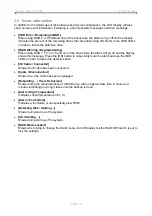
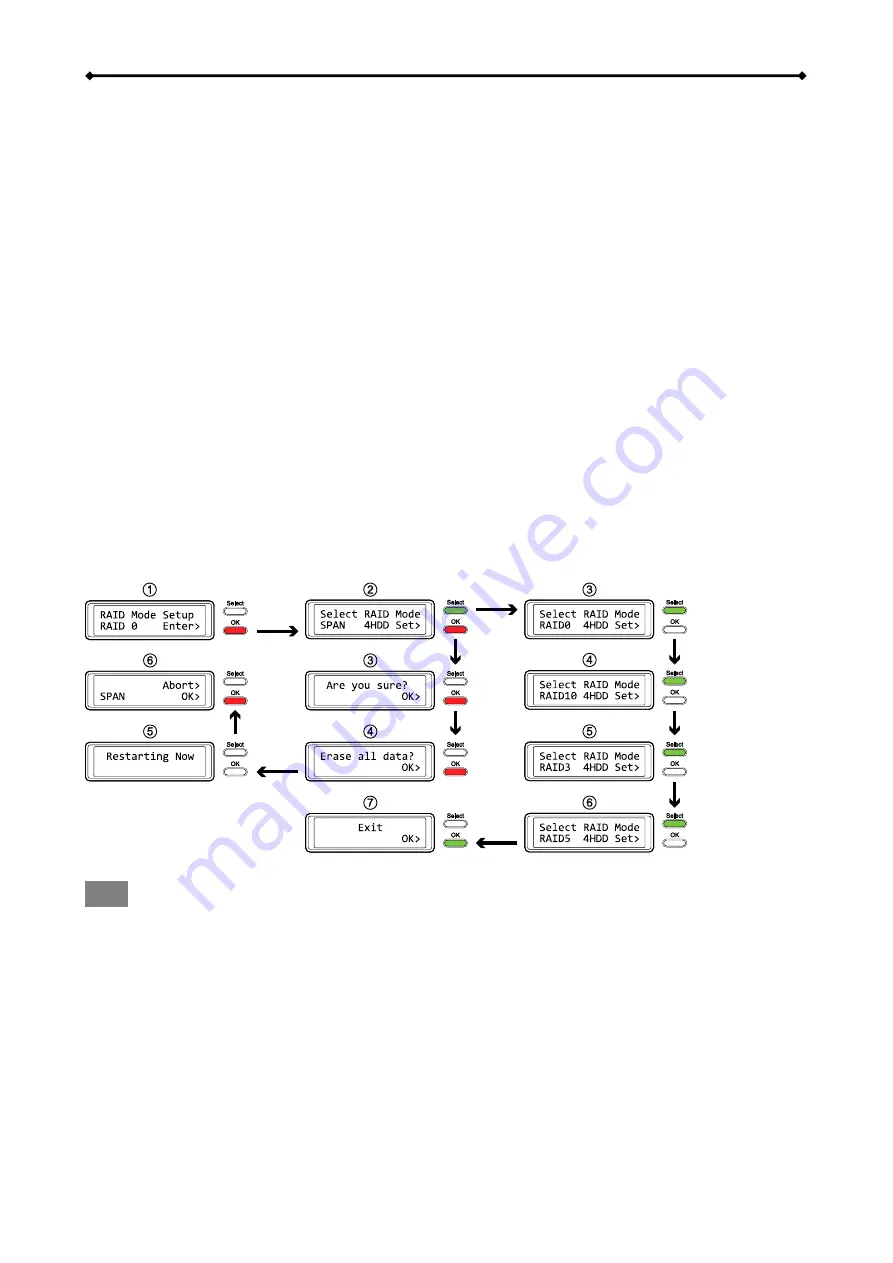
Press the [OK] button to enter the setup menu and press the [Select] button to cycle through the
different options.
To exit the menu without changing any of the settings, press the [Select] button until you see
the Exit screen and then press the [OK] button.
To change the setting, press the [Select] button to choose your preferred mode, press the [OK]
button to select it, press the [OK] button again to confirm the change and once more to
acknowledge that all data will be erased by this change. The device will restart automatically
and after start up, one more confirmation is required to set the new RAID mode.
Note
Changing the RAID mode requires you to re-format the drives. This will erase all data on the hard
drives that are being formatted. Make sure to backup all existing data first!
The amount of hard drives that are currently installed will be displayed right after the RAID mode
(e.g. 4HDD). This information is for reference only and can not be selected or changed via LCD
display, so the RAID array will be built with the current amount of drives.
Page 10


