34
35
CLEANING AND MAINTENANCE
CLEANING AND MAINTENANCE
iV-Compact ventilation system
•
Installation and operating instructions
iV-Compact ventilation system
•
Installation and operating instructions
►
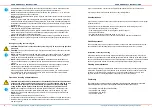
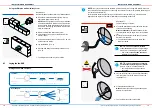
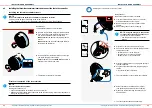
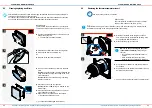
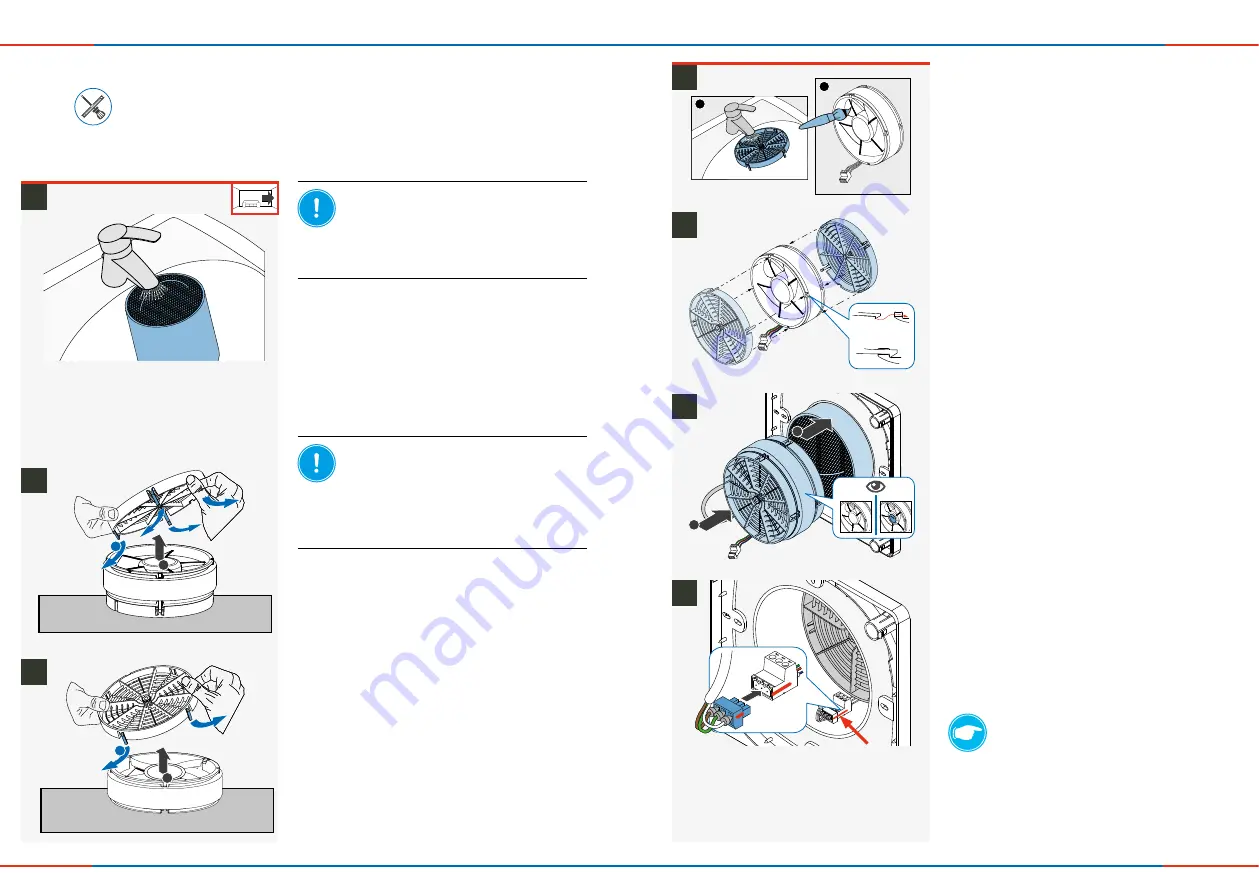
Re-connect the plug-in connection.
Make sure
that the markings on the plug and
socket are aligned.
If there are no markings on the connector start one
of the paired fans in extract air direction and the
other in supply air direction.
(
Appendix 1: Wiring protocol
or
4.7)
►
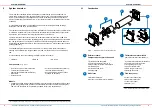
Slide inVENTron as far as the thermal accumulator.
►
Re-attach the filter and the inner cover panel:
6.2, page 32.
HINT:
When looking from the side, the plug-in
connection forms an
"S"
like
"Supply"
when
in starting direction supply air.
Ö
You have cleaned and re-installed the thermal
accumulator insert.
►
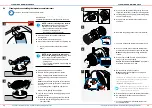
Reattach the guiding vanes to the reversible fan.
►
Step 1: Clean both parts of the guiding vane care-
fully with a soft brush or under warm flowing water.
►
Let the guiding vane drip dry. Wait until the guiding
vane is completely dry.
►
Step 2: Clean the reversible fan carefully with a
soft brush.
Ö
You have cleaned the thermal accumulator insert.
►
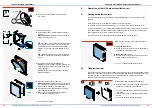
Step 1: From the interior, slide the thermal accu-
mulator into the wall sleeve as far as the end-stop.
Make sure
that the handle is facing towards the
interior.
►
Step 2: Insert inVENTron into the wall sleeve so
that you can reach both cables.
Ensure
that the fan's side
WITHOUT
type plate is
directed to the interior room side.
►
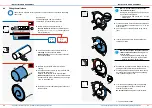
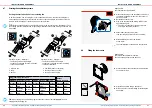
Place inVENTron on an even surface.
►
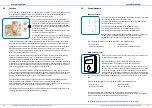
Remove the first guiding vane from the fan.
Step 1: Carefully bend the lateral strips on the
guiding vane away from the fan one after the
other.
Hold
the first removed strip in the current position
with one hand until the guiding vane is completely
removed.
Ö
The guiding vane is separated from the fan
Step 2: Lift the guiding vane upwards.
NOTE:
Incorrect cleaning of the thermal
accumulator
will result in damage to the
insulation on the thermal accumulator.
• Always clean the thermal accumulator
under warm running water.
Never clean it in the dishwasher.
Ö
You have removed the thermal accumulator
insert.
NOTE:
When breaking the attachment
strips on the guiding vane,
the guiding vane
can no longer be attached to the fan!
• Carefully bend the strips away from the
guiding vane.
• If you can feel resistance, stop bending the
strips outwards.
►
Turn the fan, so that the remaining guiding vane is
pointing upwards.
►
Remove the remaining guiding vane from the fan.
Ö
Remove the remaining guiding vane as previ-
ously described.
1
2
1
2
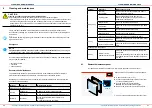
6.4
Cleaning and reassembling the thermal accumulator insert
Soft brush, lint-free soft cloth and warm water
Requirements:
The thermal accumulator insert has been removed.
►
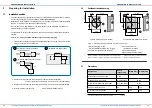
Clean the thermal accumulator under warm
running water.
►
Let the thermal accumulator drip dry.
►
Wait until the thermal accumulator is completely dry.
2
1
1
2
3
2
1
2 x
4
5
6
7

