


Chapter 3: Using the Web browser
UltraView IP PTZ 36X Camera User Manual
17
Item
Name
Description
7.
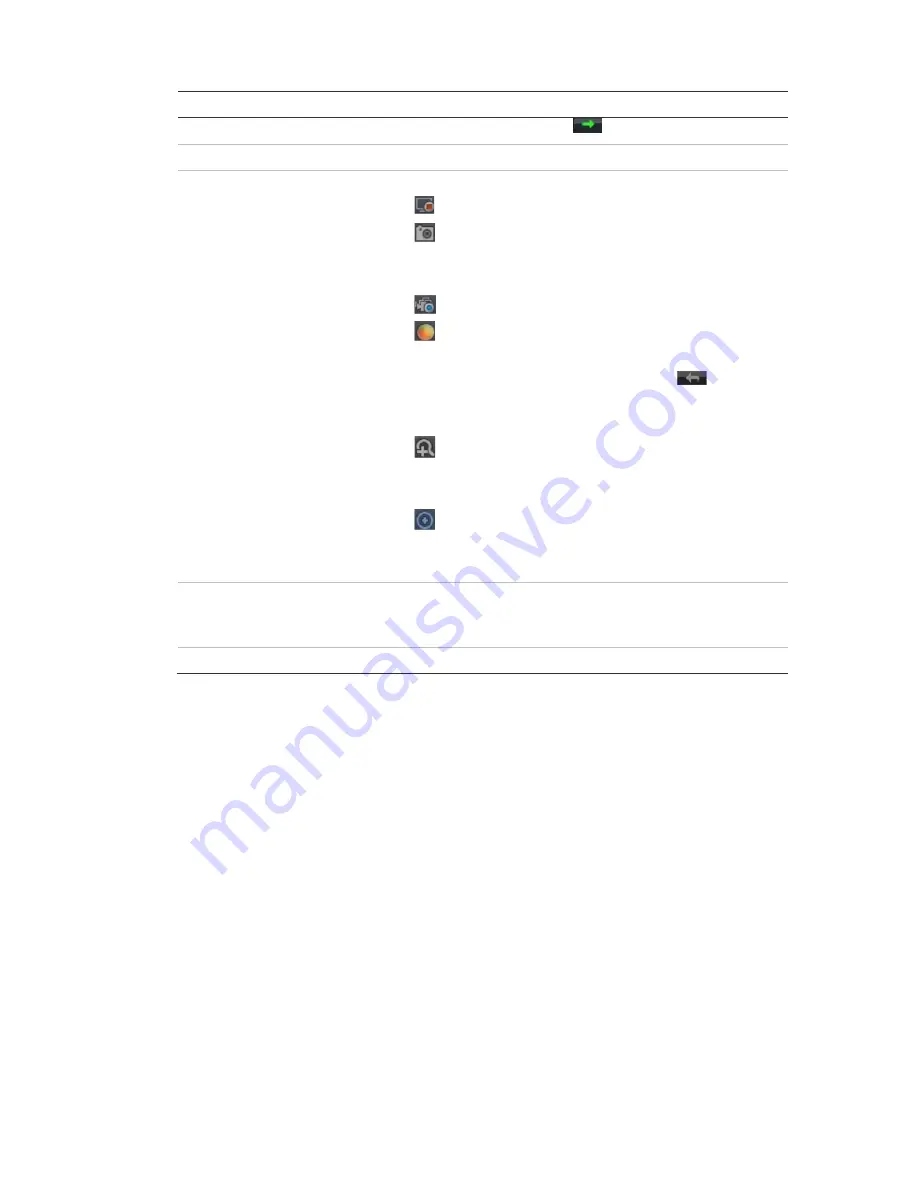
Preset selection
Select a preset. Click the
button to activate.
8.
Full screen
See video image as full screen.
9.
Video function
Lets you do the following:
Start/stop live view.
Take a snapshot of the live video. The snapshot will
be saved to the default folder in JPEG format. See
“Local configuration” on page 18 for more information.
Start/stop live view recording.
Adjust video image settings such as brightness,
contrast, saturation and hue. A pop-up window
appears to adjust the settings. Click
to return to
default settings. These values can also be adjusted
from the Channelparameters>Camera settings menu.
Enable/disable e-PTZ. When enabled, scroll on the
mouse wheel to zoom in and out of an image on-
screen
Use for 3D positioning. Select an area on screen and
click this button. The camera will zoom in on the area
and show it centered on screen.
10.
Audio setting
Start/stop bi-directional audio.
Note
: You need to have a microphone attached to your PC
to be able to send out audio.
11.
Audio
Turn the audio function on or off.
Configuring the camera
Once the camera hardware has been installed, the camera can then be
configured using your PC. In the camera browser interface, click the
Configuration
button on the menu toolbar to access the configuration screens.
See Figure 7 on page 18.
You can easily change to live view or playback, for example, by clicking these
buttons on the menu toolbar.
The configuration pane displays the configuration tree with the configuration
parameter folders. The configuration pane is always visible. Each folder has a list
of subfolders that display the different configuration screens.
The camera is shipped with on-screen display (OSD) menus in English only.
Содержание UltraView IP PTZ 36X
Страница 1: ...UltraView IP PTZ 36X Camera User Manual P N 1071693C ISS 06JUN12...
Страница 16: ...Chapter 2 Installation 12 UltraView IP PTZ 36X Camera User Manual Alternating current Dome camera relay output...
Страница 78: ...Appendix A Pin definitions 74 UltraView IP PTZ 36X Camera User Manual...
Страница 82: ......


